
How to photograph birds at the Canadian Raptor Conservancy
/I wanted to share with you some tips on how to photograph birds at the Canadian Raptor Conservancy.

For three years I would take my clients to see James and his birds as it was an exciting experience. Some years I would be there at least 10 times in all different weather conditions. I have learned many tricks so I wanted to pass them along to you.
So you decided that you wanted to see what kind of photos you can get with some raptors in a controlled environment? How hard could it really be to be honest, they fly from post to glove or post to post. You can see when they are ready to leap and you know where they are flying to so really it has to be easy right? The real answer is no, its not easy and it will test the best of photographers to pull off great images. I'm not saying its impossible, you just need to keep a some factors in mind and I'm going to tell you what made my shots and clients shots more successful.
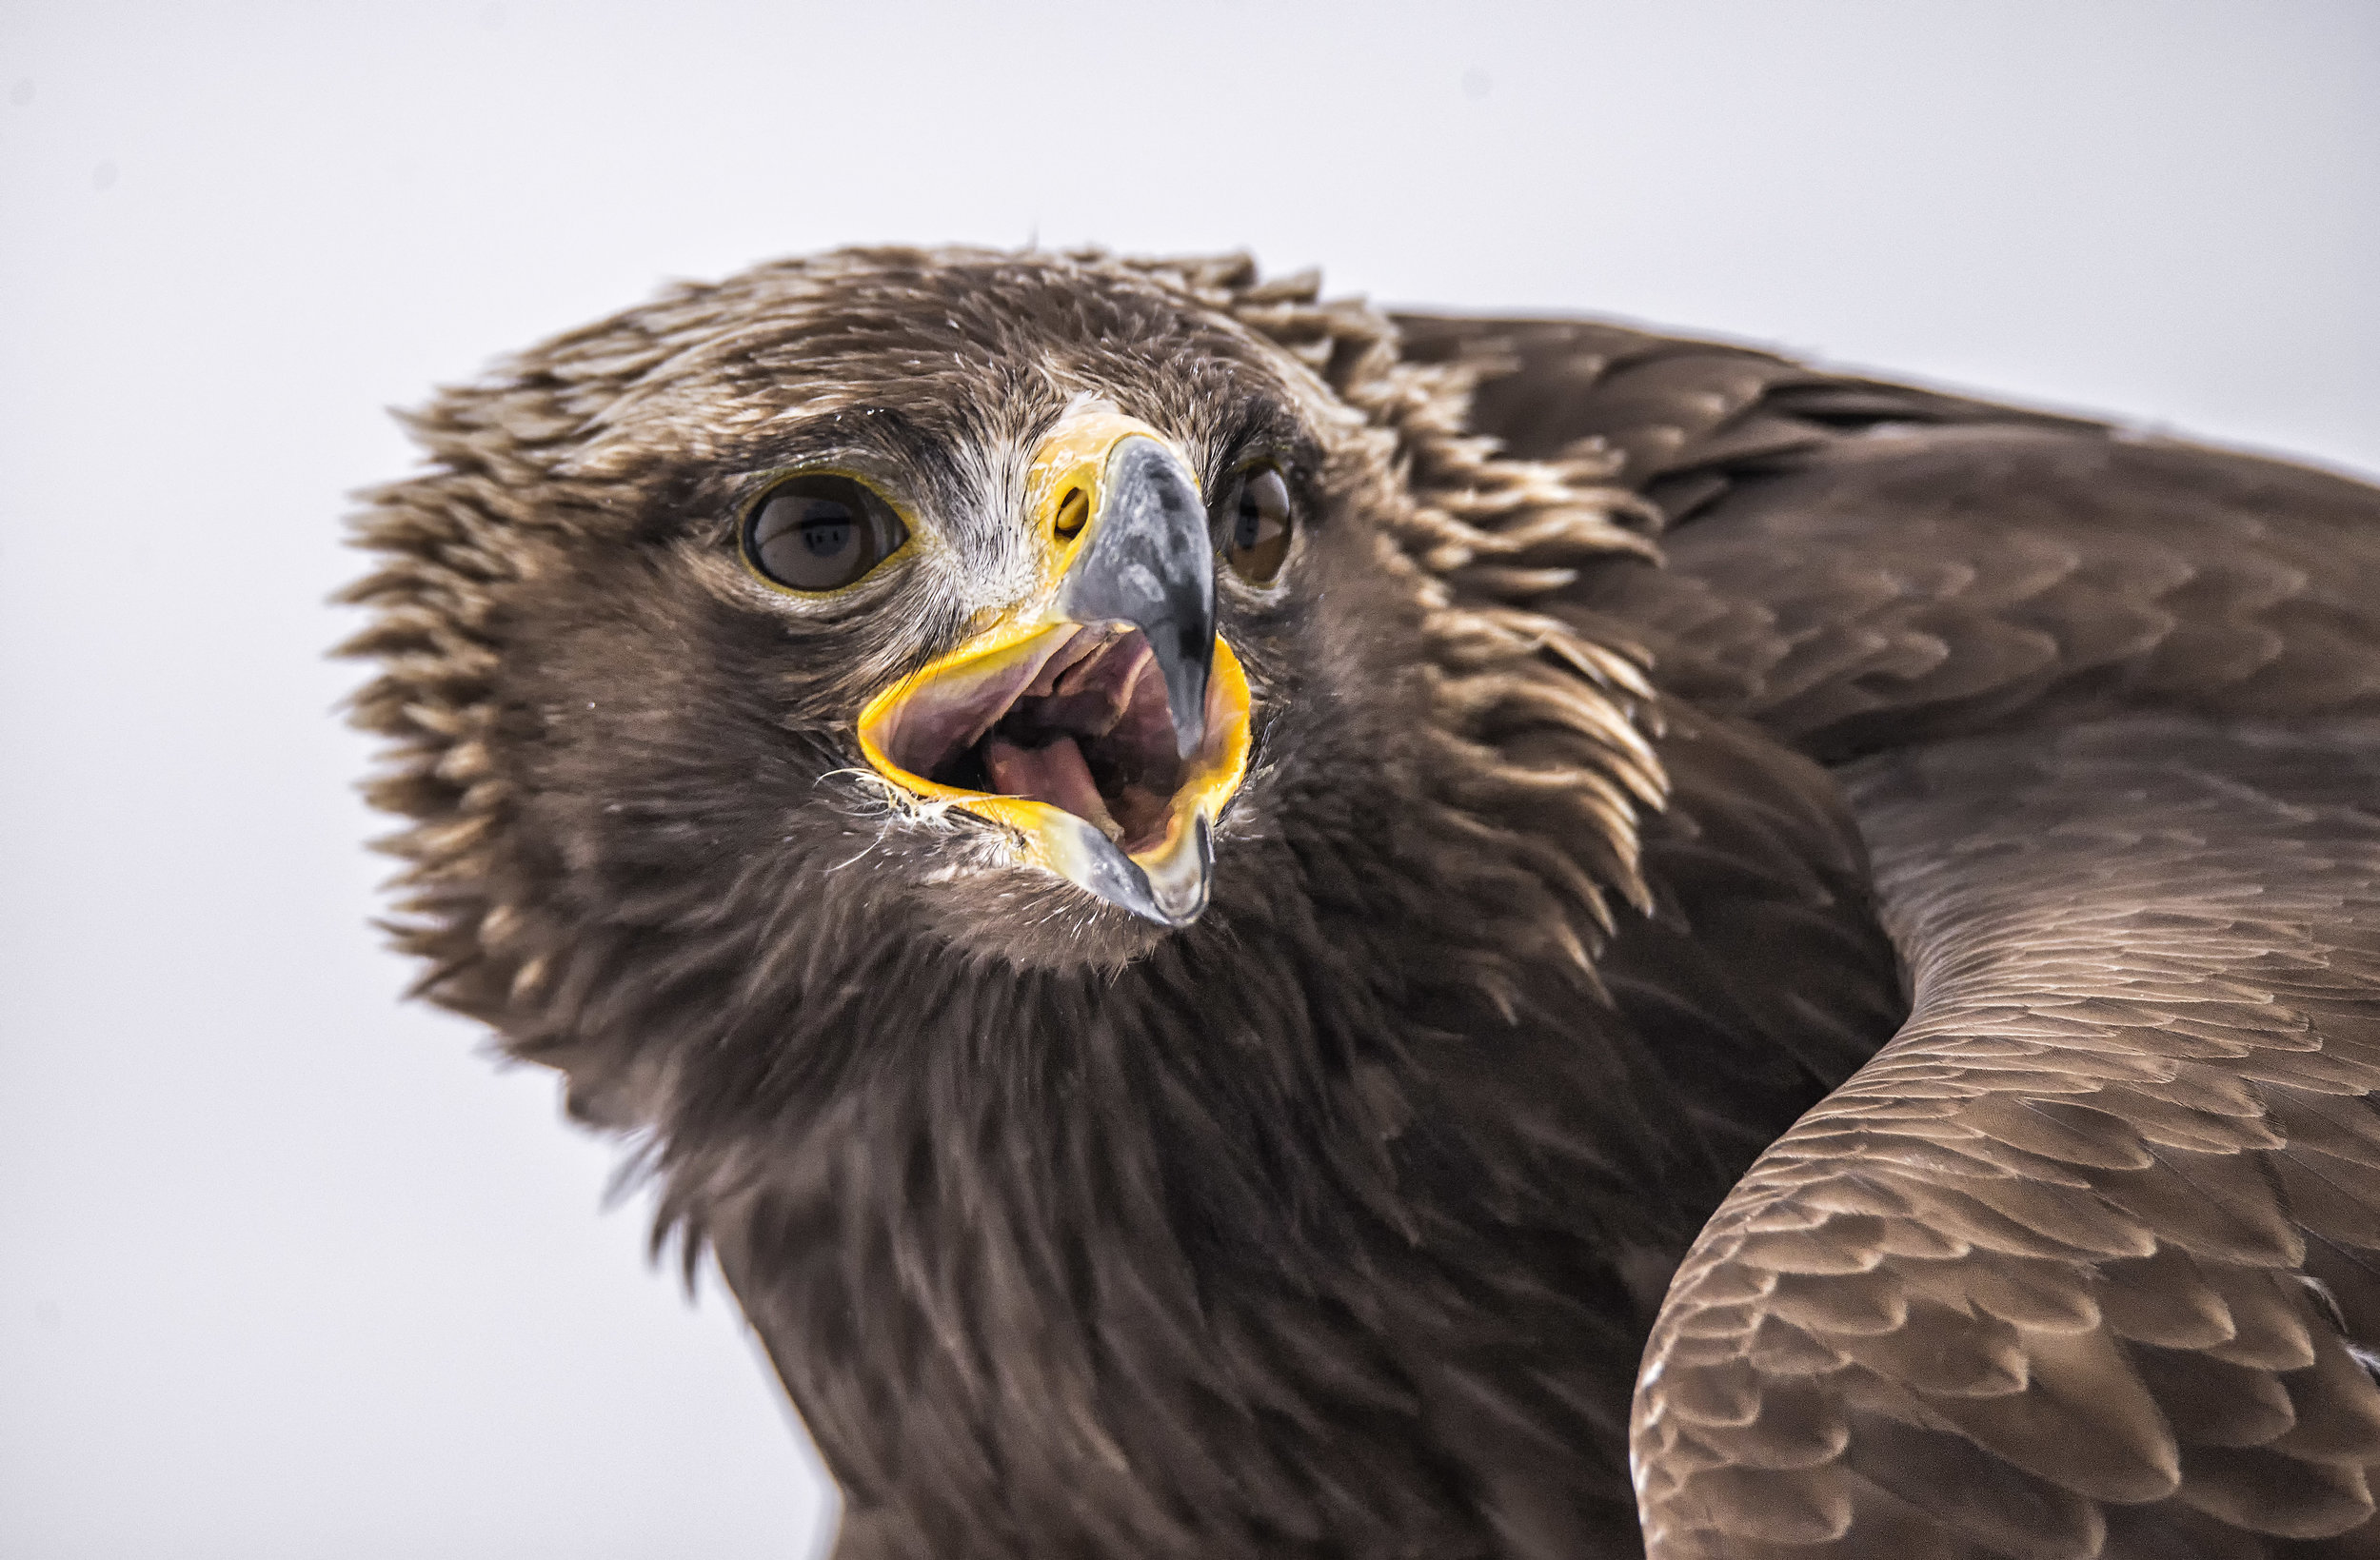
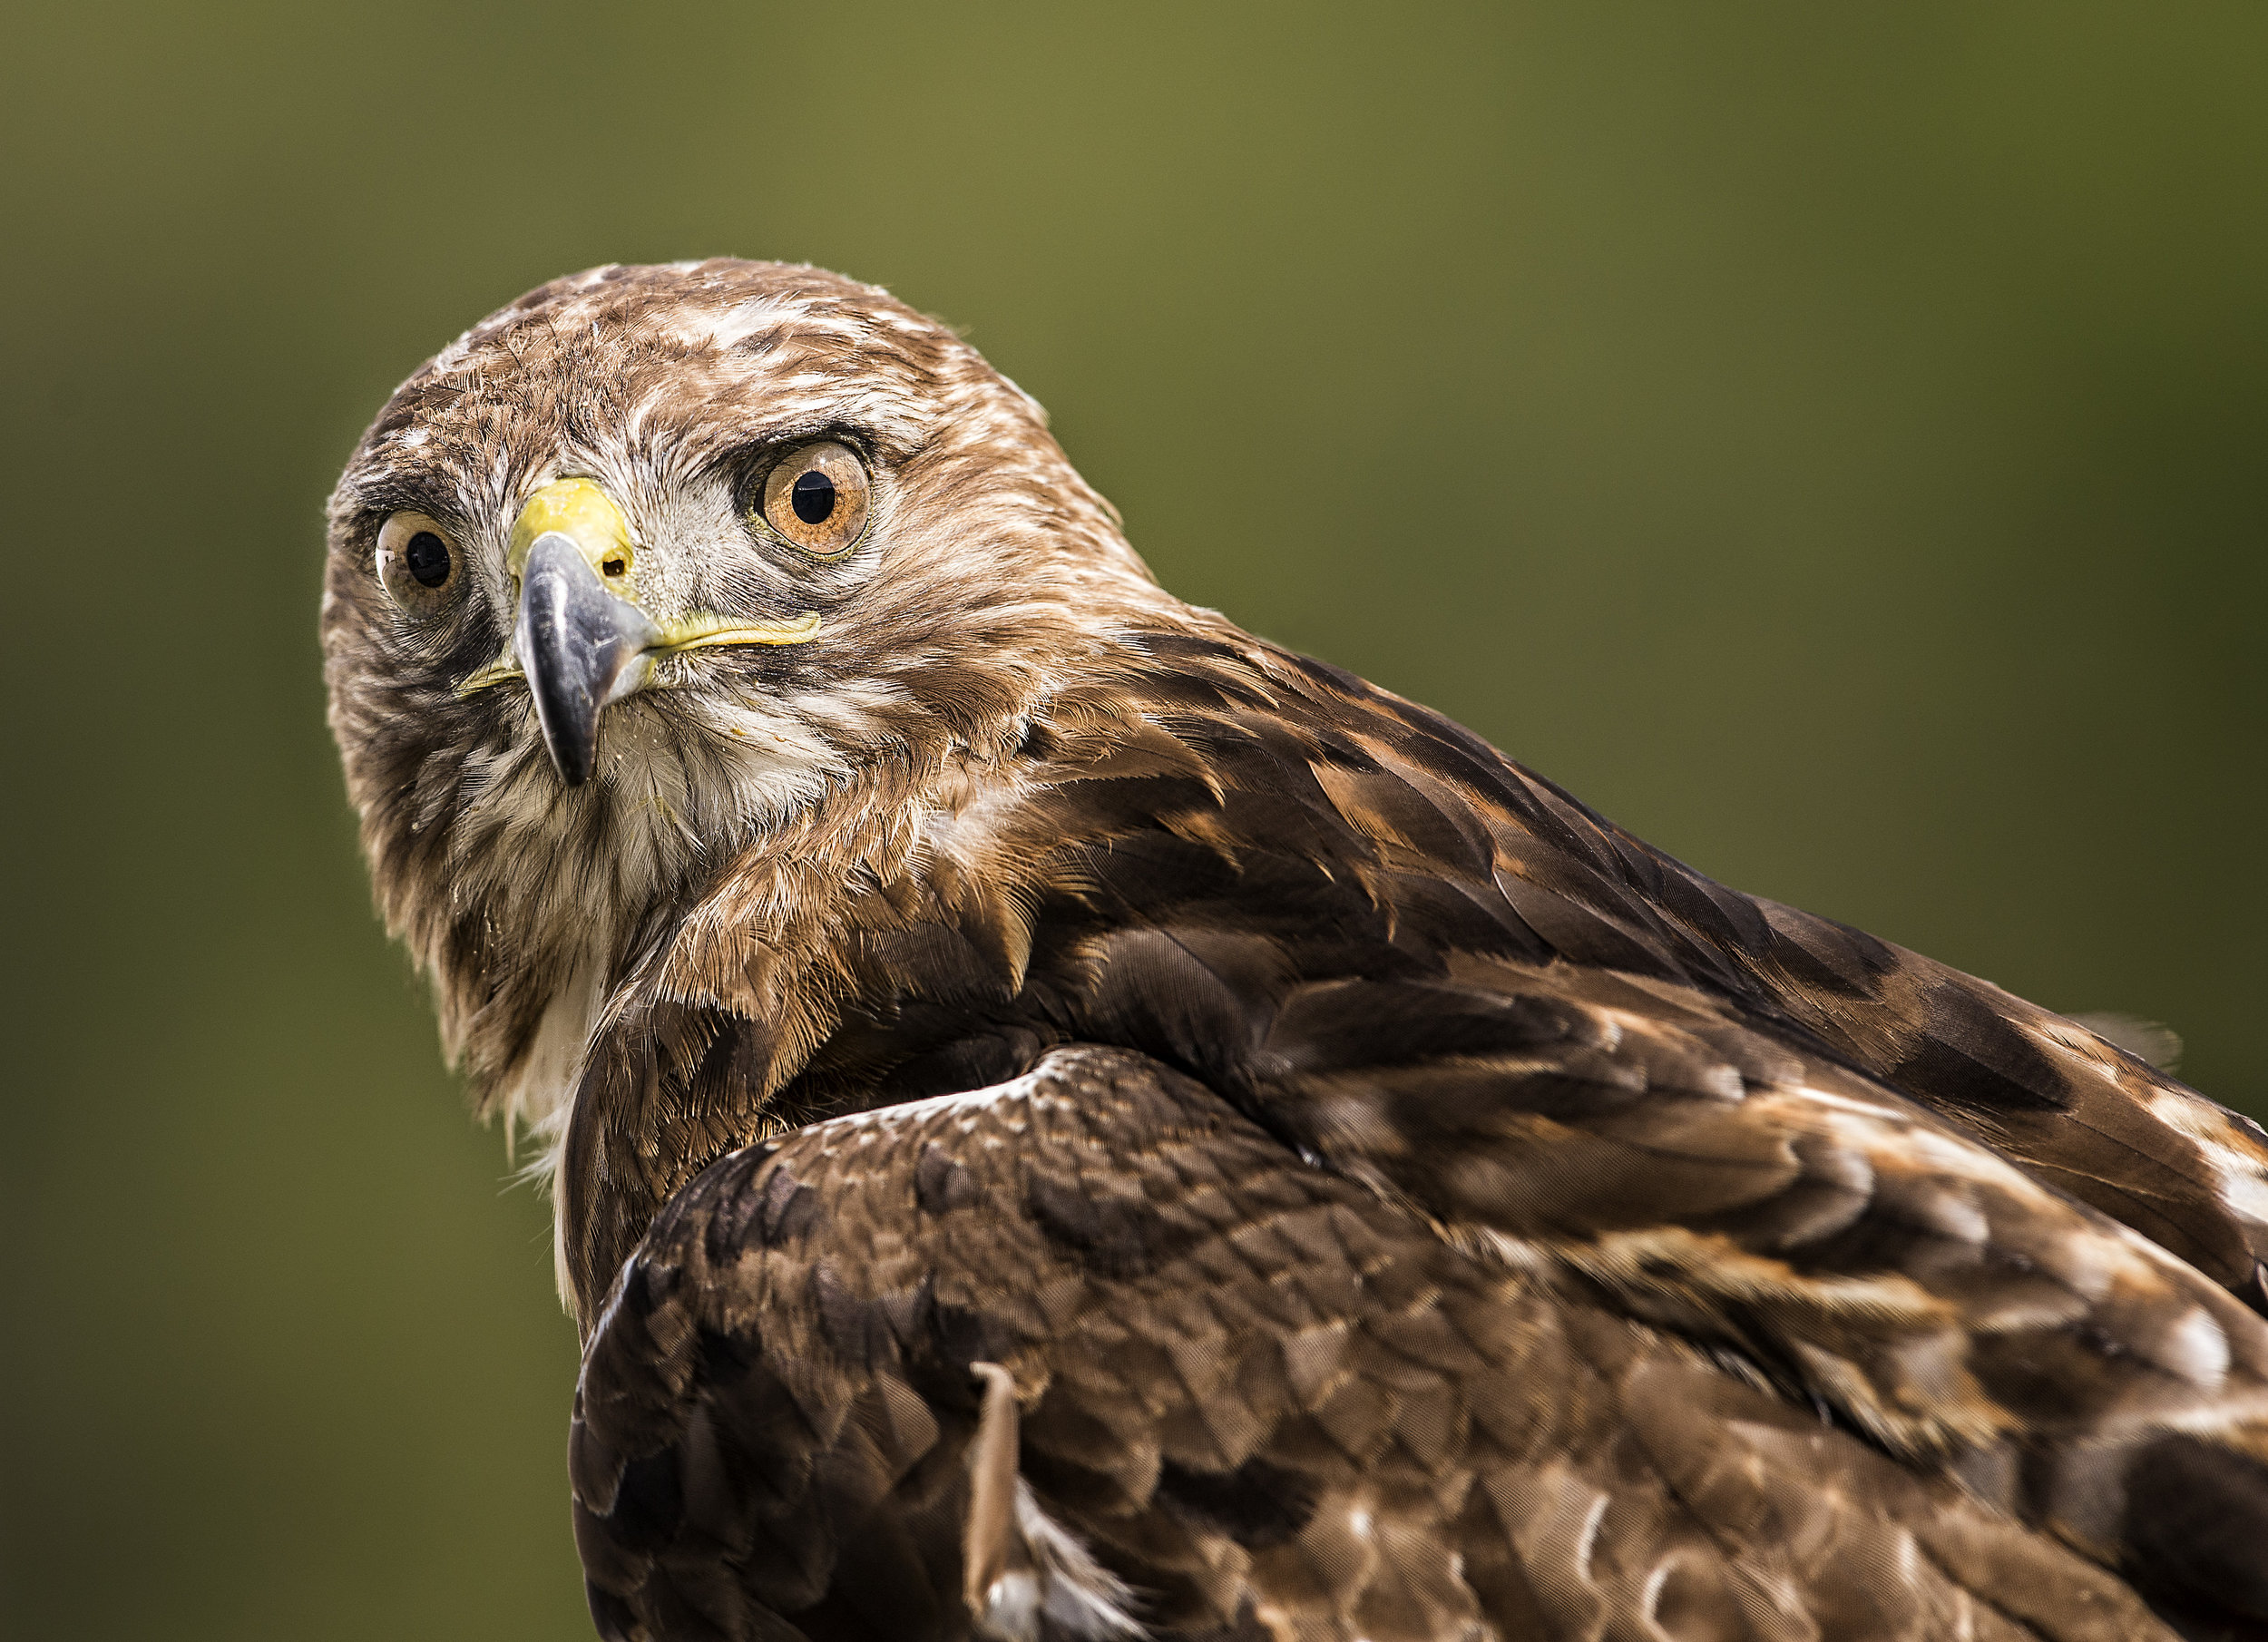
First lets talk about species, there will be many different birds you will photograph over a session. This will depend on the time of the year and weather type conditions. James and his falconers are well trained and first off think more about their birds then your photographs. You may not want to hear that as a photographer but safety and wellbeing of their birds come first and foremost. So when you have expectations of what you think you may see just remember the season you are photographing in. For example, you generally won't see a great gray or a snowy owl in the hot summer days in Ontario due to the heat. So don't expect that you will have flight or static opportunities with these raptors. Birds also go through different moult periods in life stages and times of the year, most likely these birds will not be present in these conditions. His birds are well taken care of, and 99% of the time fit in the category of feathered perfection! None of his raptors or sickly or under weight, his birds are weighed on the way out to fly and on the way back in.
A quick note when you show up in the parking lot, please don't walk up to all the eagles in the huts or any young raptors in the large cage. Being to close to these birds will cause them stress, give all the raptors at this location personal space. If you would like to get close to a bird please ask first. Most are super friendly and don't mind it at all, others just like humans prefer to have their space and we need to respect that. This is for your safety and most of all the safety and stress of the raptors.
Lets talk about how to get better shots of the birds and this may take you a few visits to master. Before you walk up close to the raptors to get a close shot just step back a bit and shoot a little wider then you normally would. This will help you learn flight paths of the birds and help you track the subject better. Once you can follow the bird move in closer or zoom in a little more and try to tighten up your shot. You will see that shooting a few steps back can train your eye quite quickly.
Next lets think about the wind, birds or raptors use the wind to their advantage. When they take off they will generally use their wings to lift into the wind for a better take off. Watch the birds on the first few flights for their take off and landing patterns. Same with the landing, generally they will fly into the wind so they can glide into that glove or post for a nice wings out landing. You may notice that depending on the size or species of the raptor they may have different flight techniques. Specially large winged birds vs the small birds.
For these situations look and position yourself accordingly so you can get an anticipated shot. The biggest problem I see people have is they try to photograph the whole series of photos from one post to the other. Don't do that because there will be shots you will miss and it will start to aggravate or frustrate you. Just relax and split the whole flight sequence into little pieces and just look to get shots you have in mind not the whole sequence. Now lets split this up into three different target ares for you to work on while you are there.
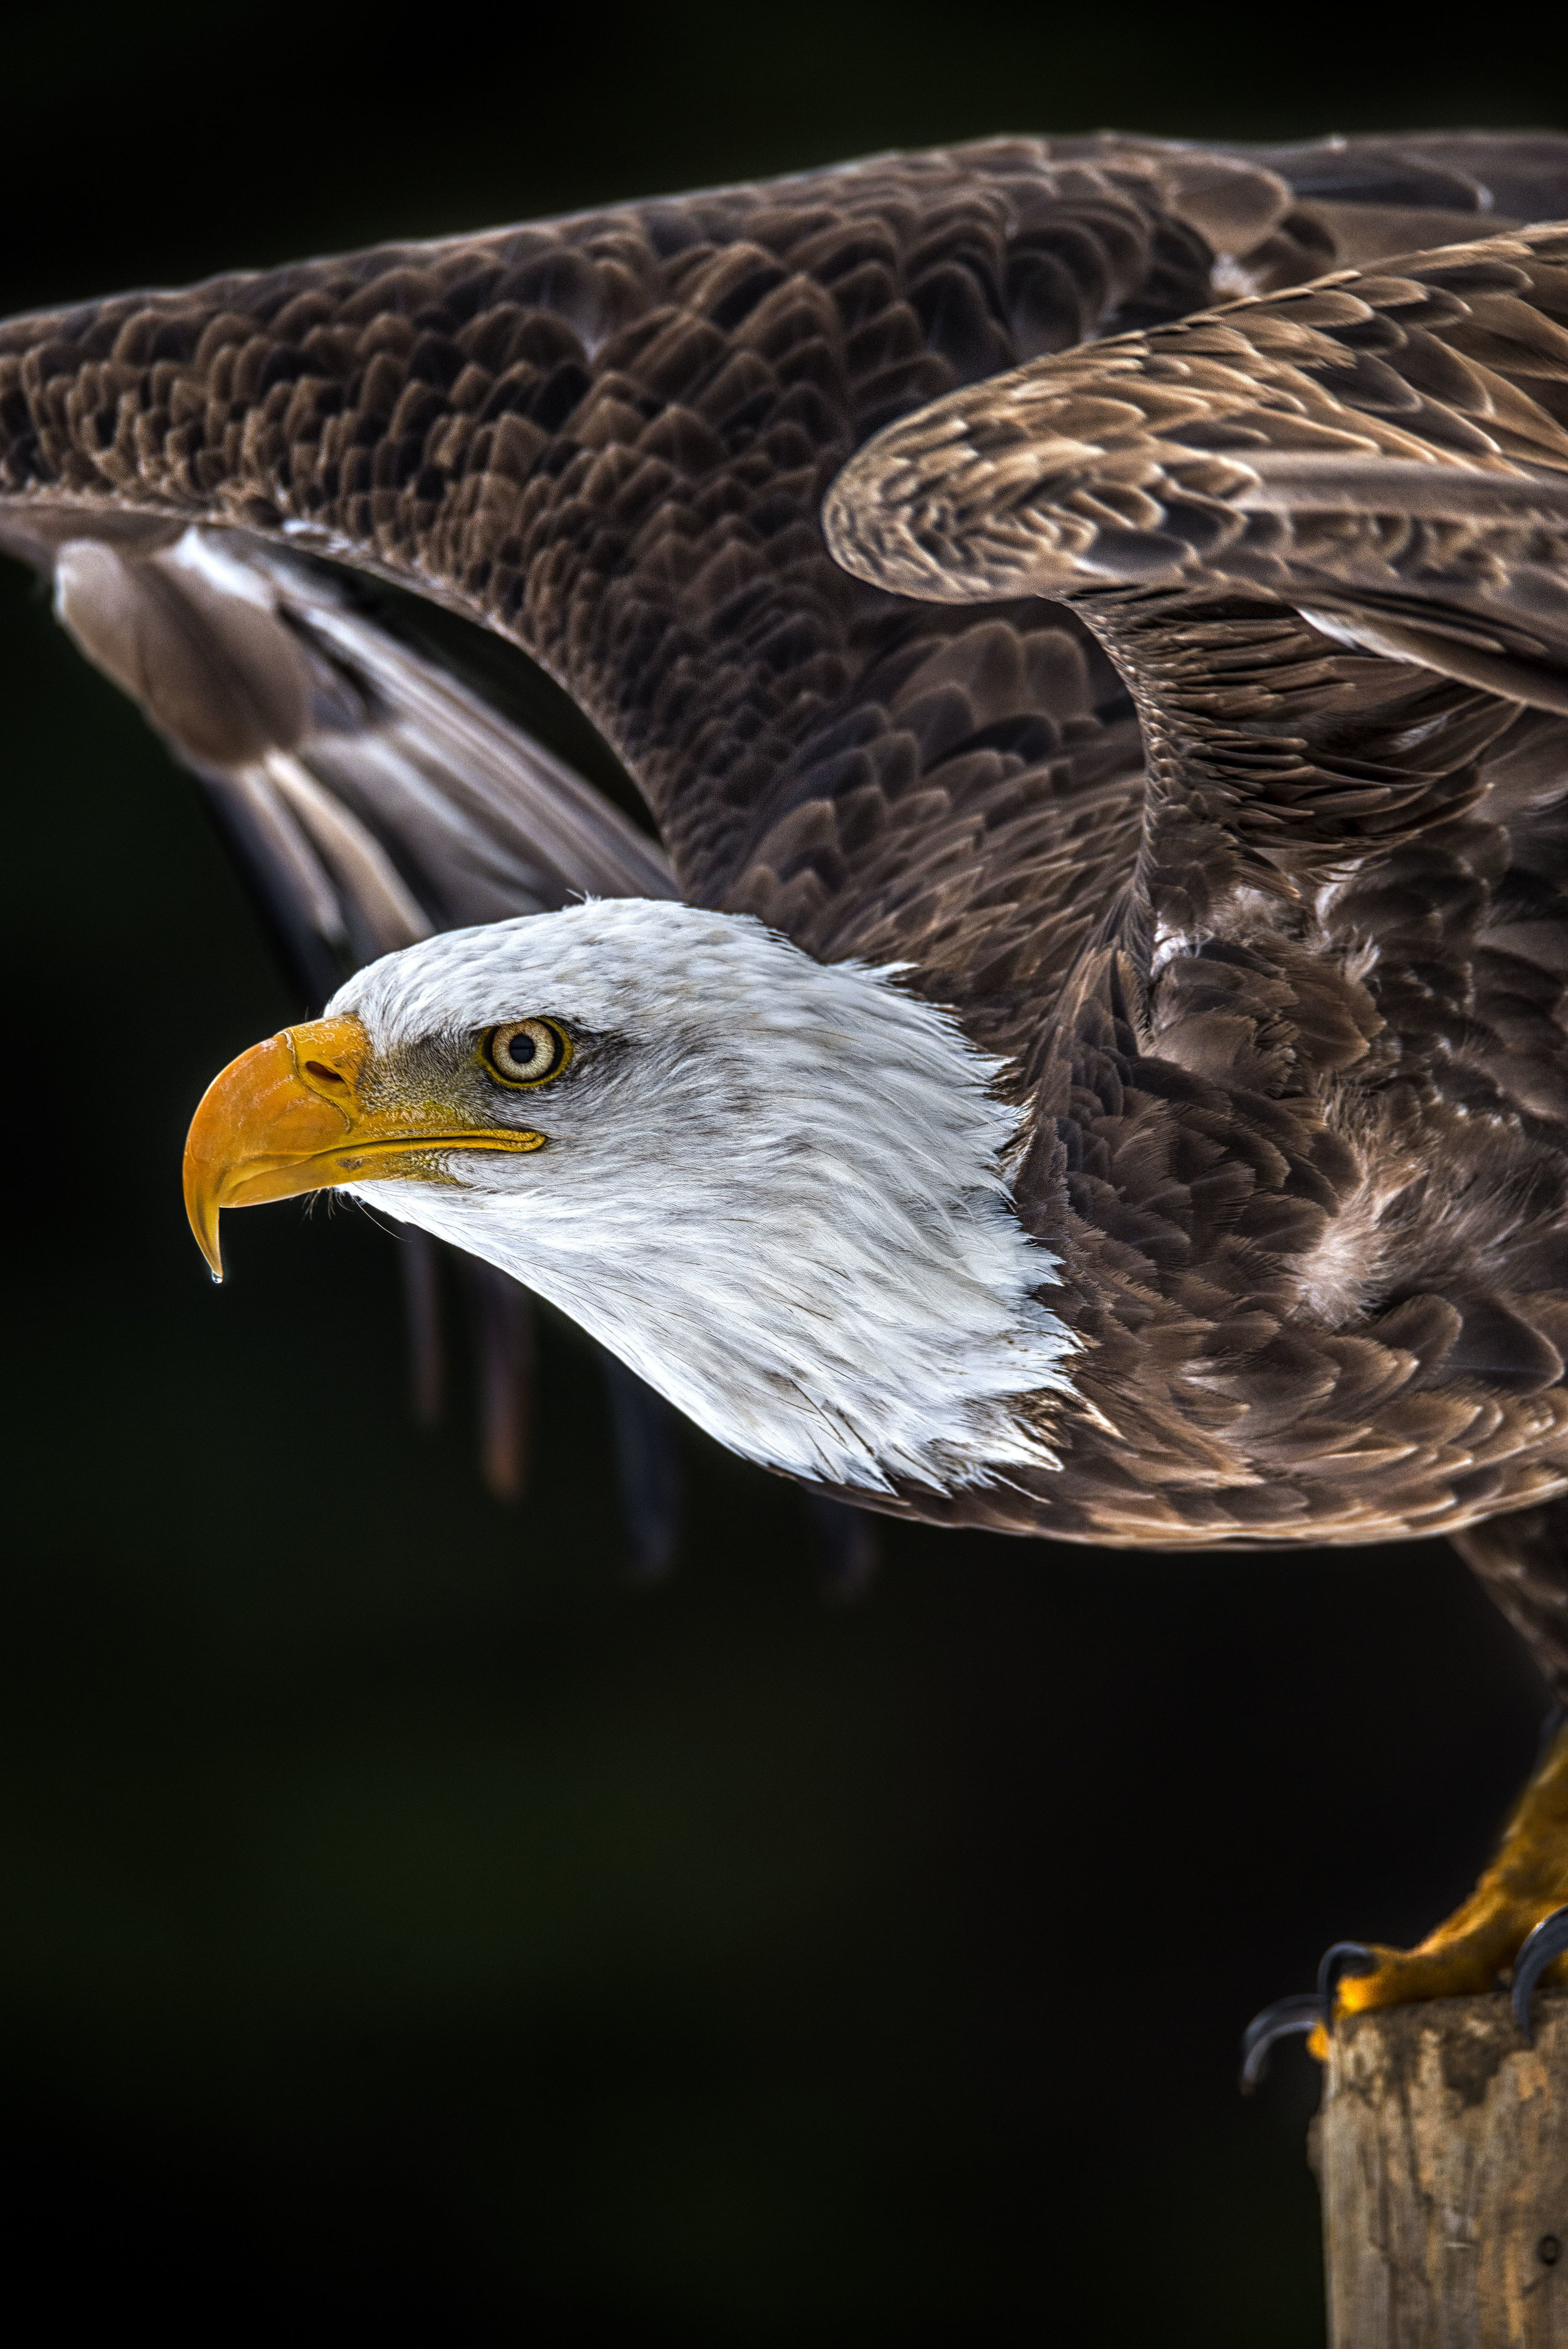
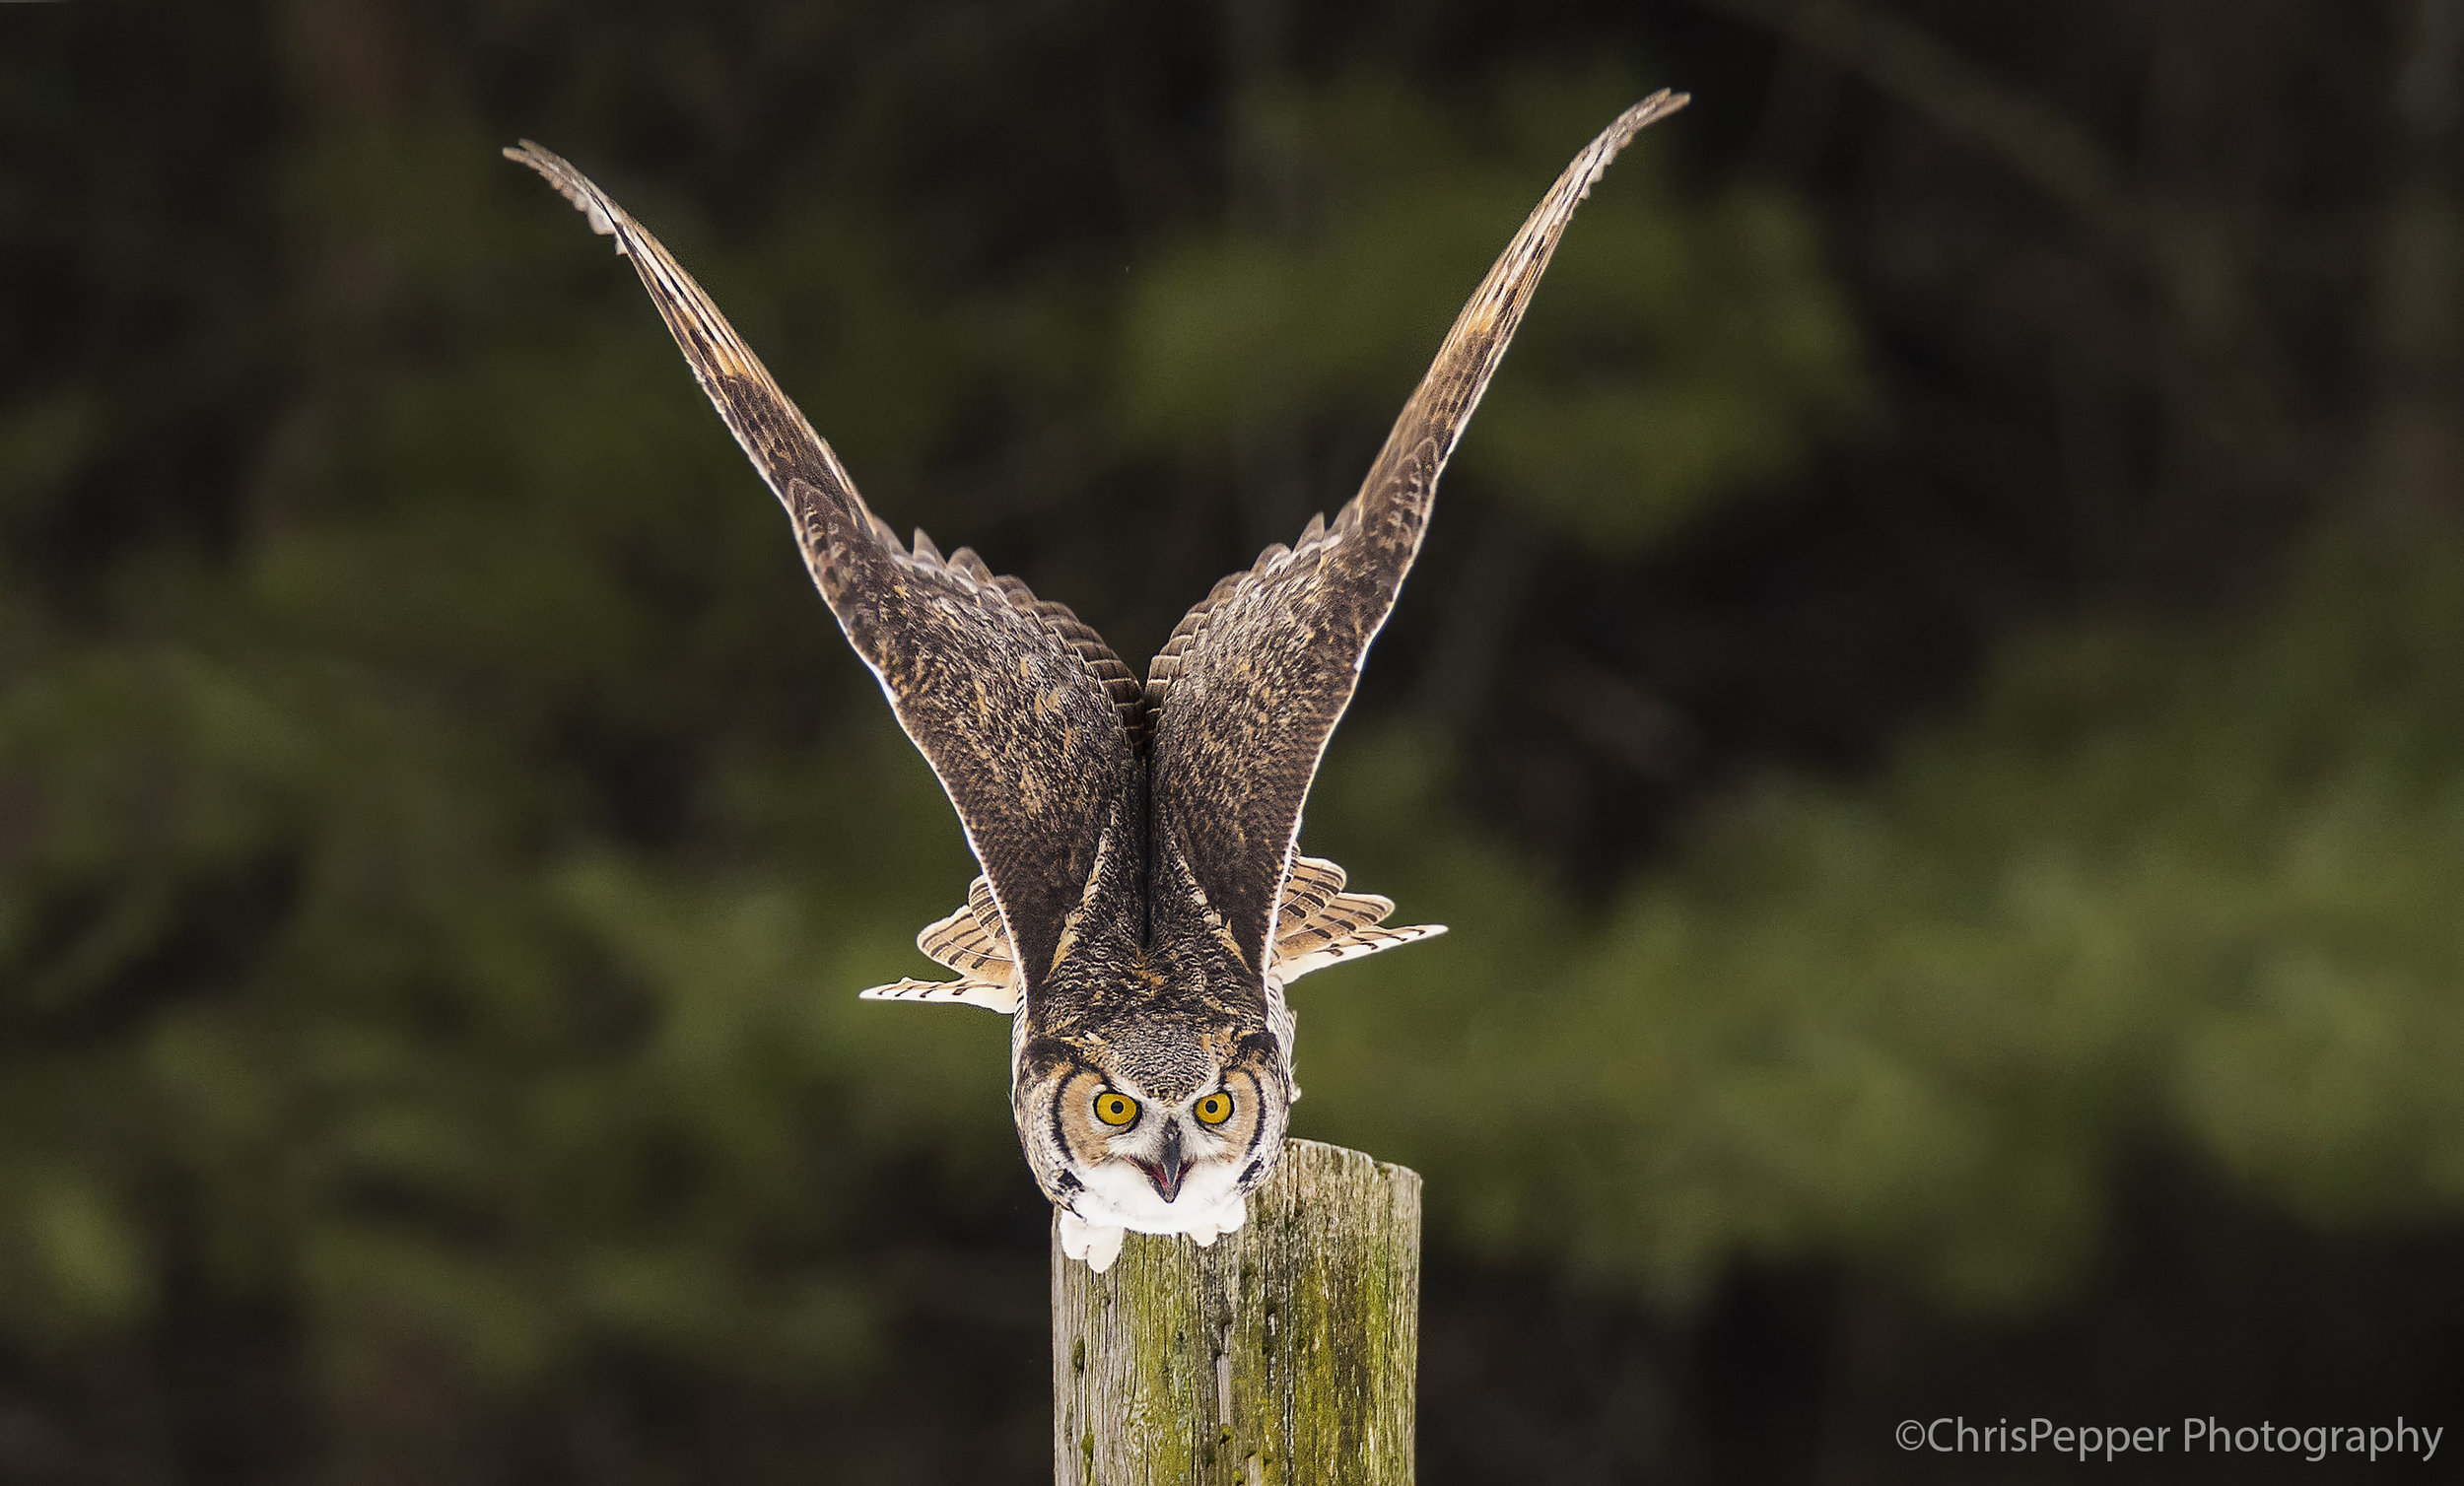
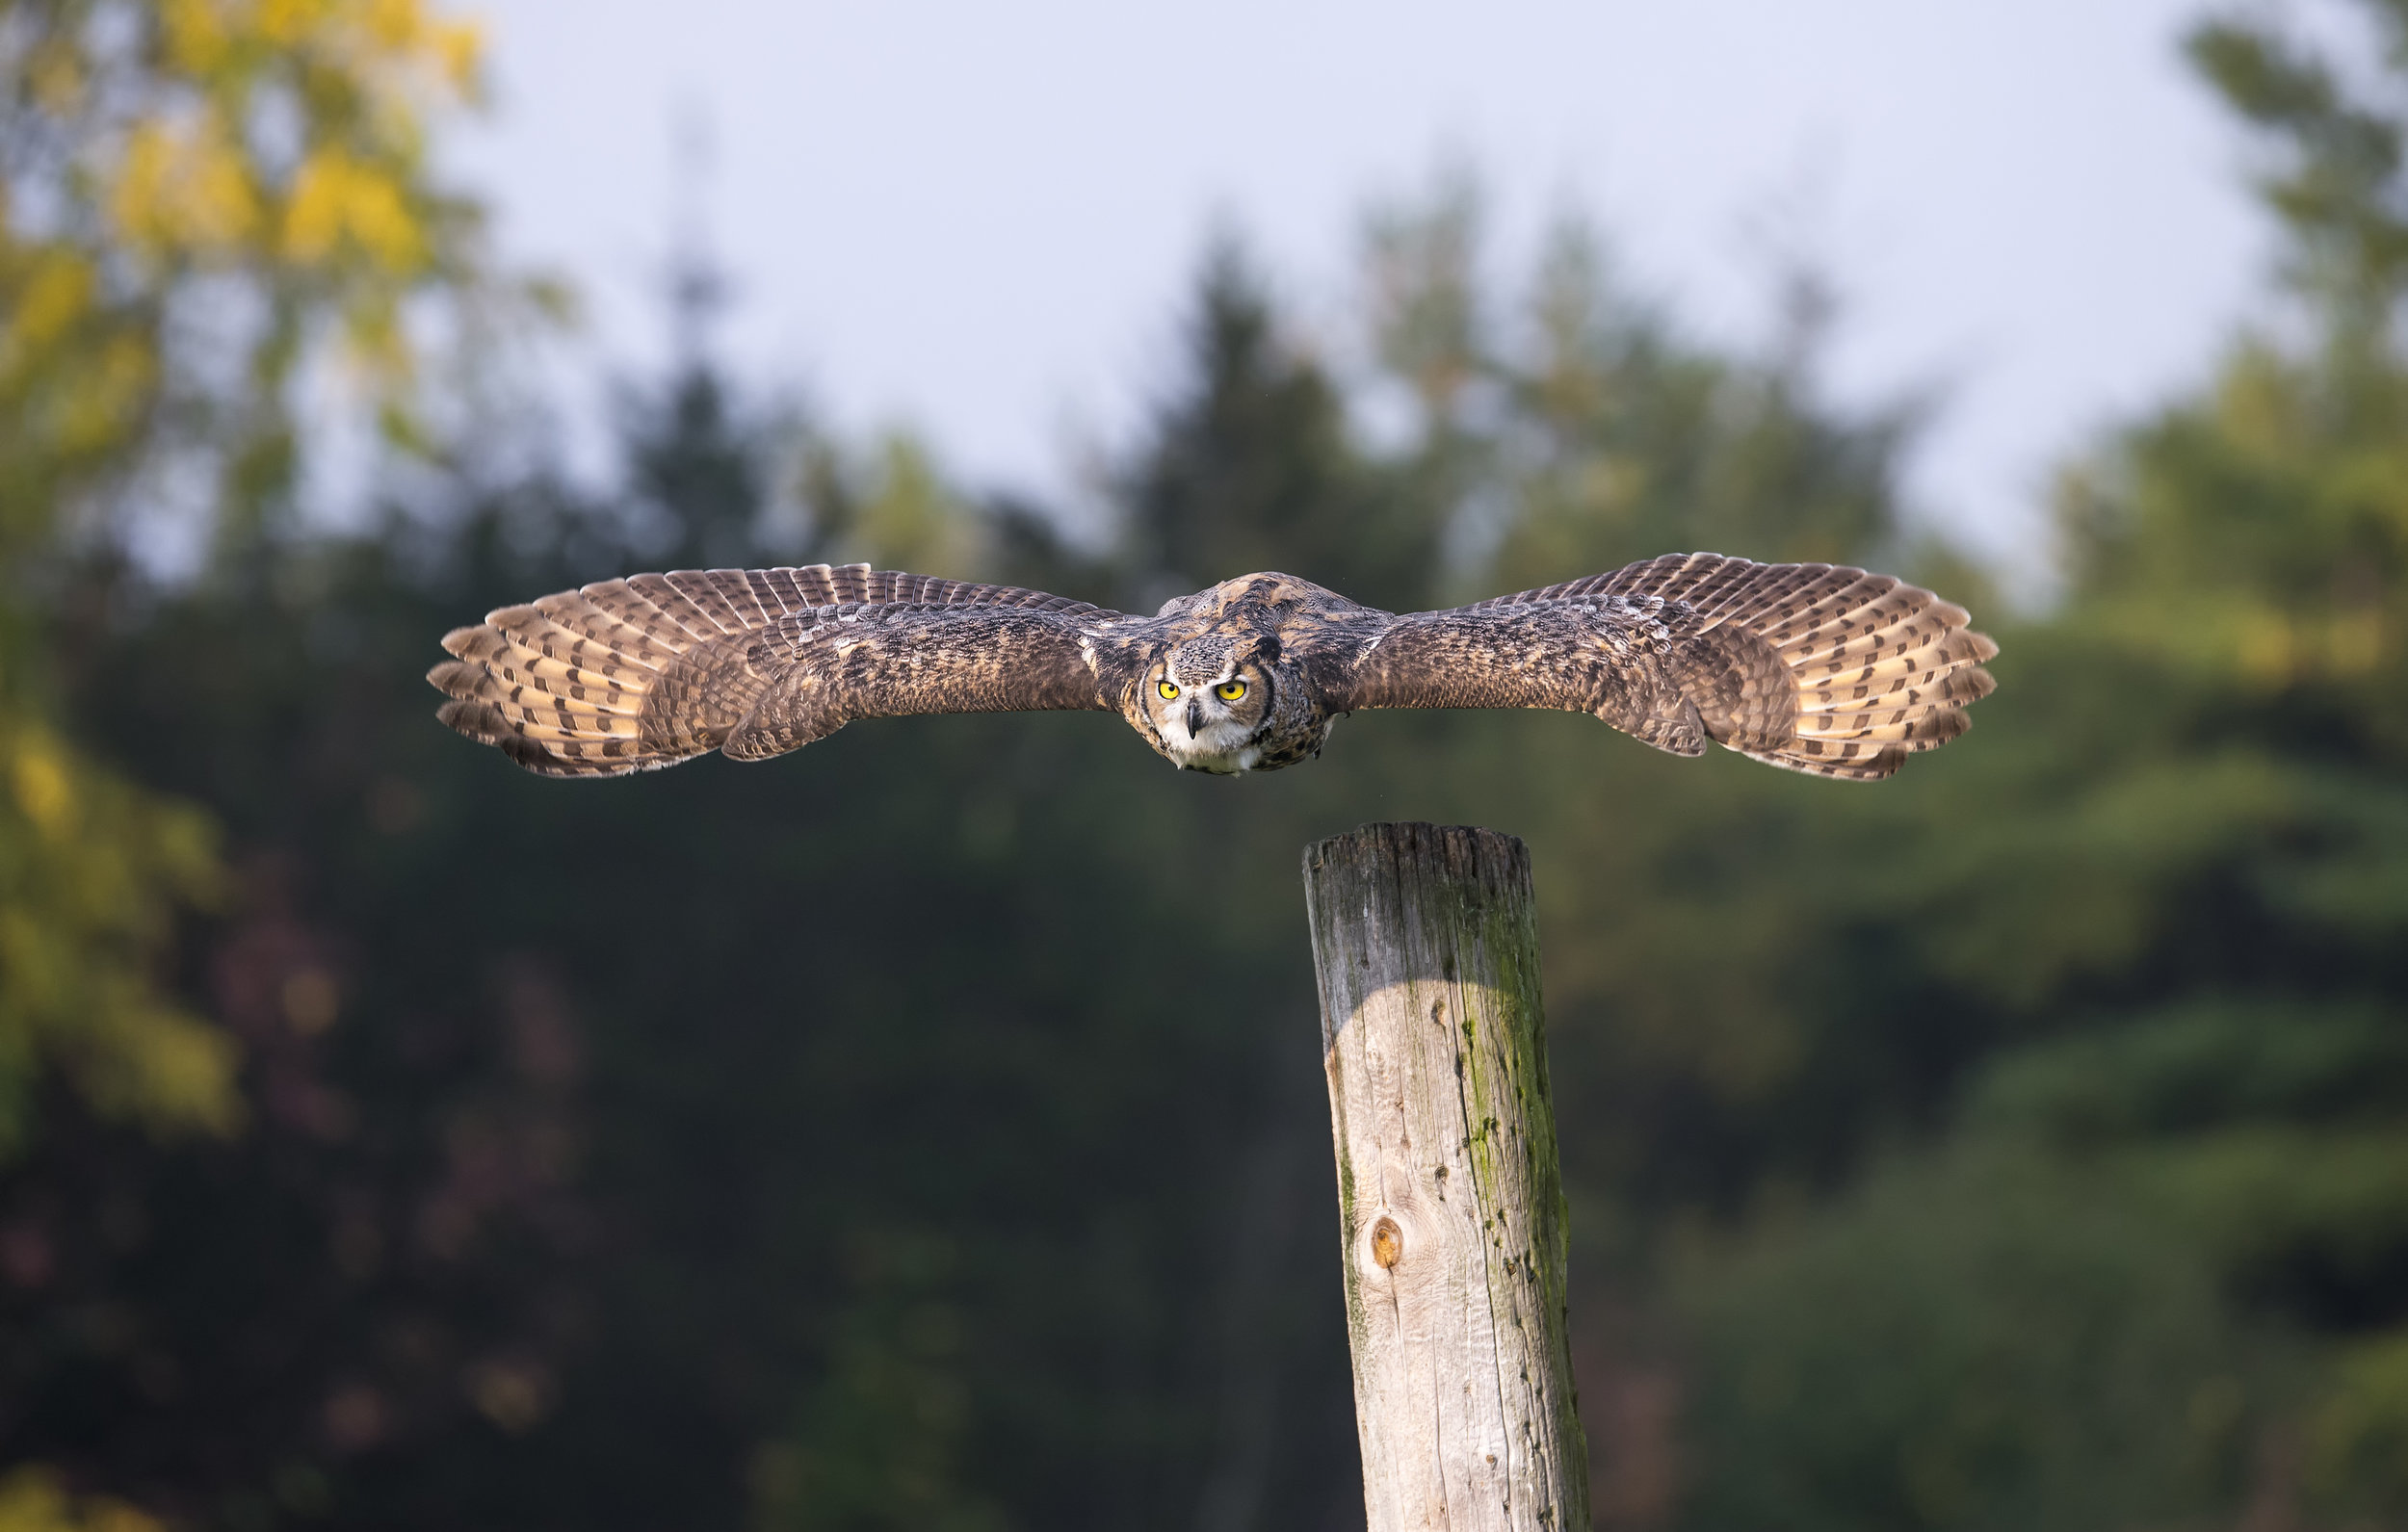
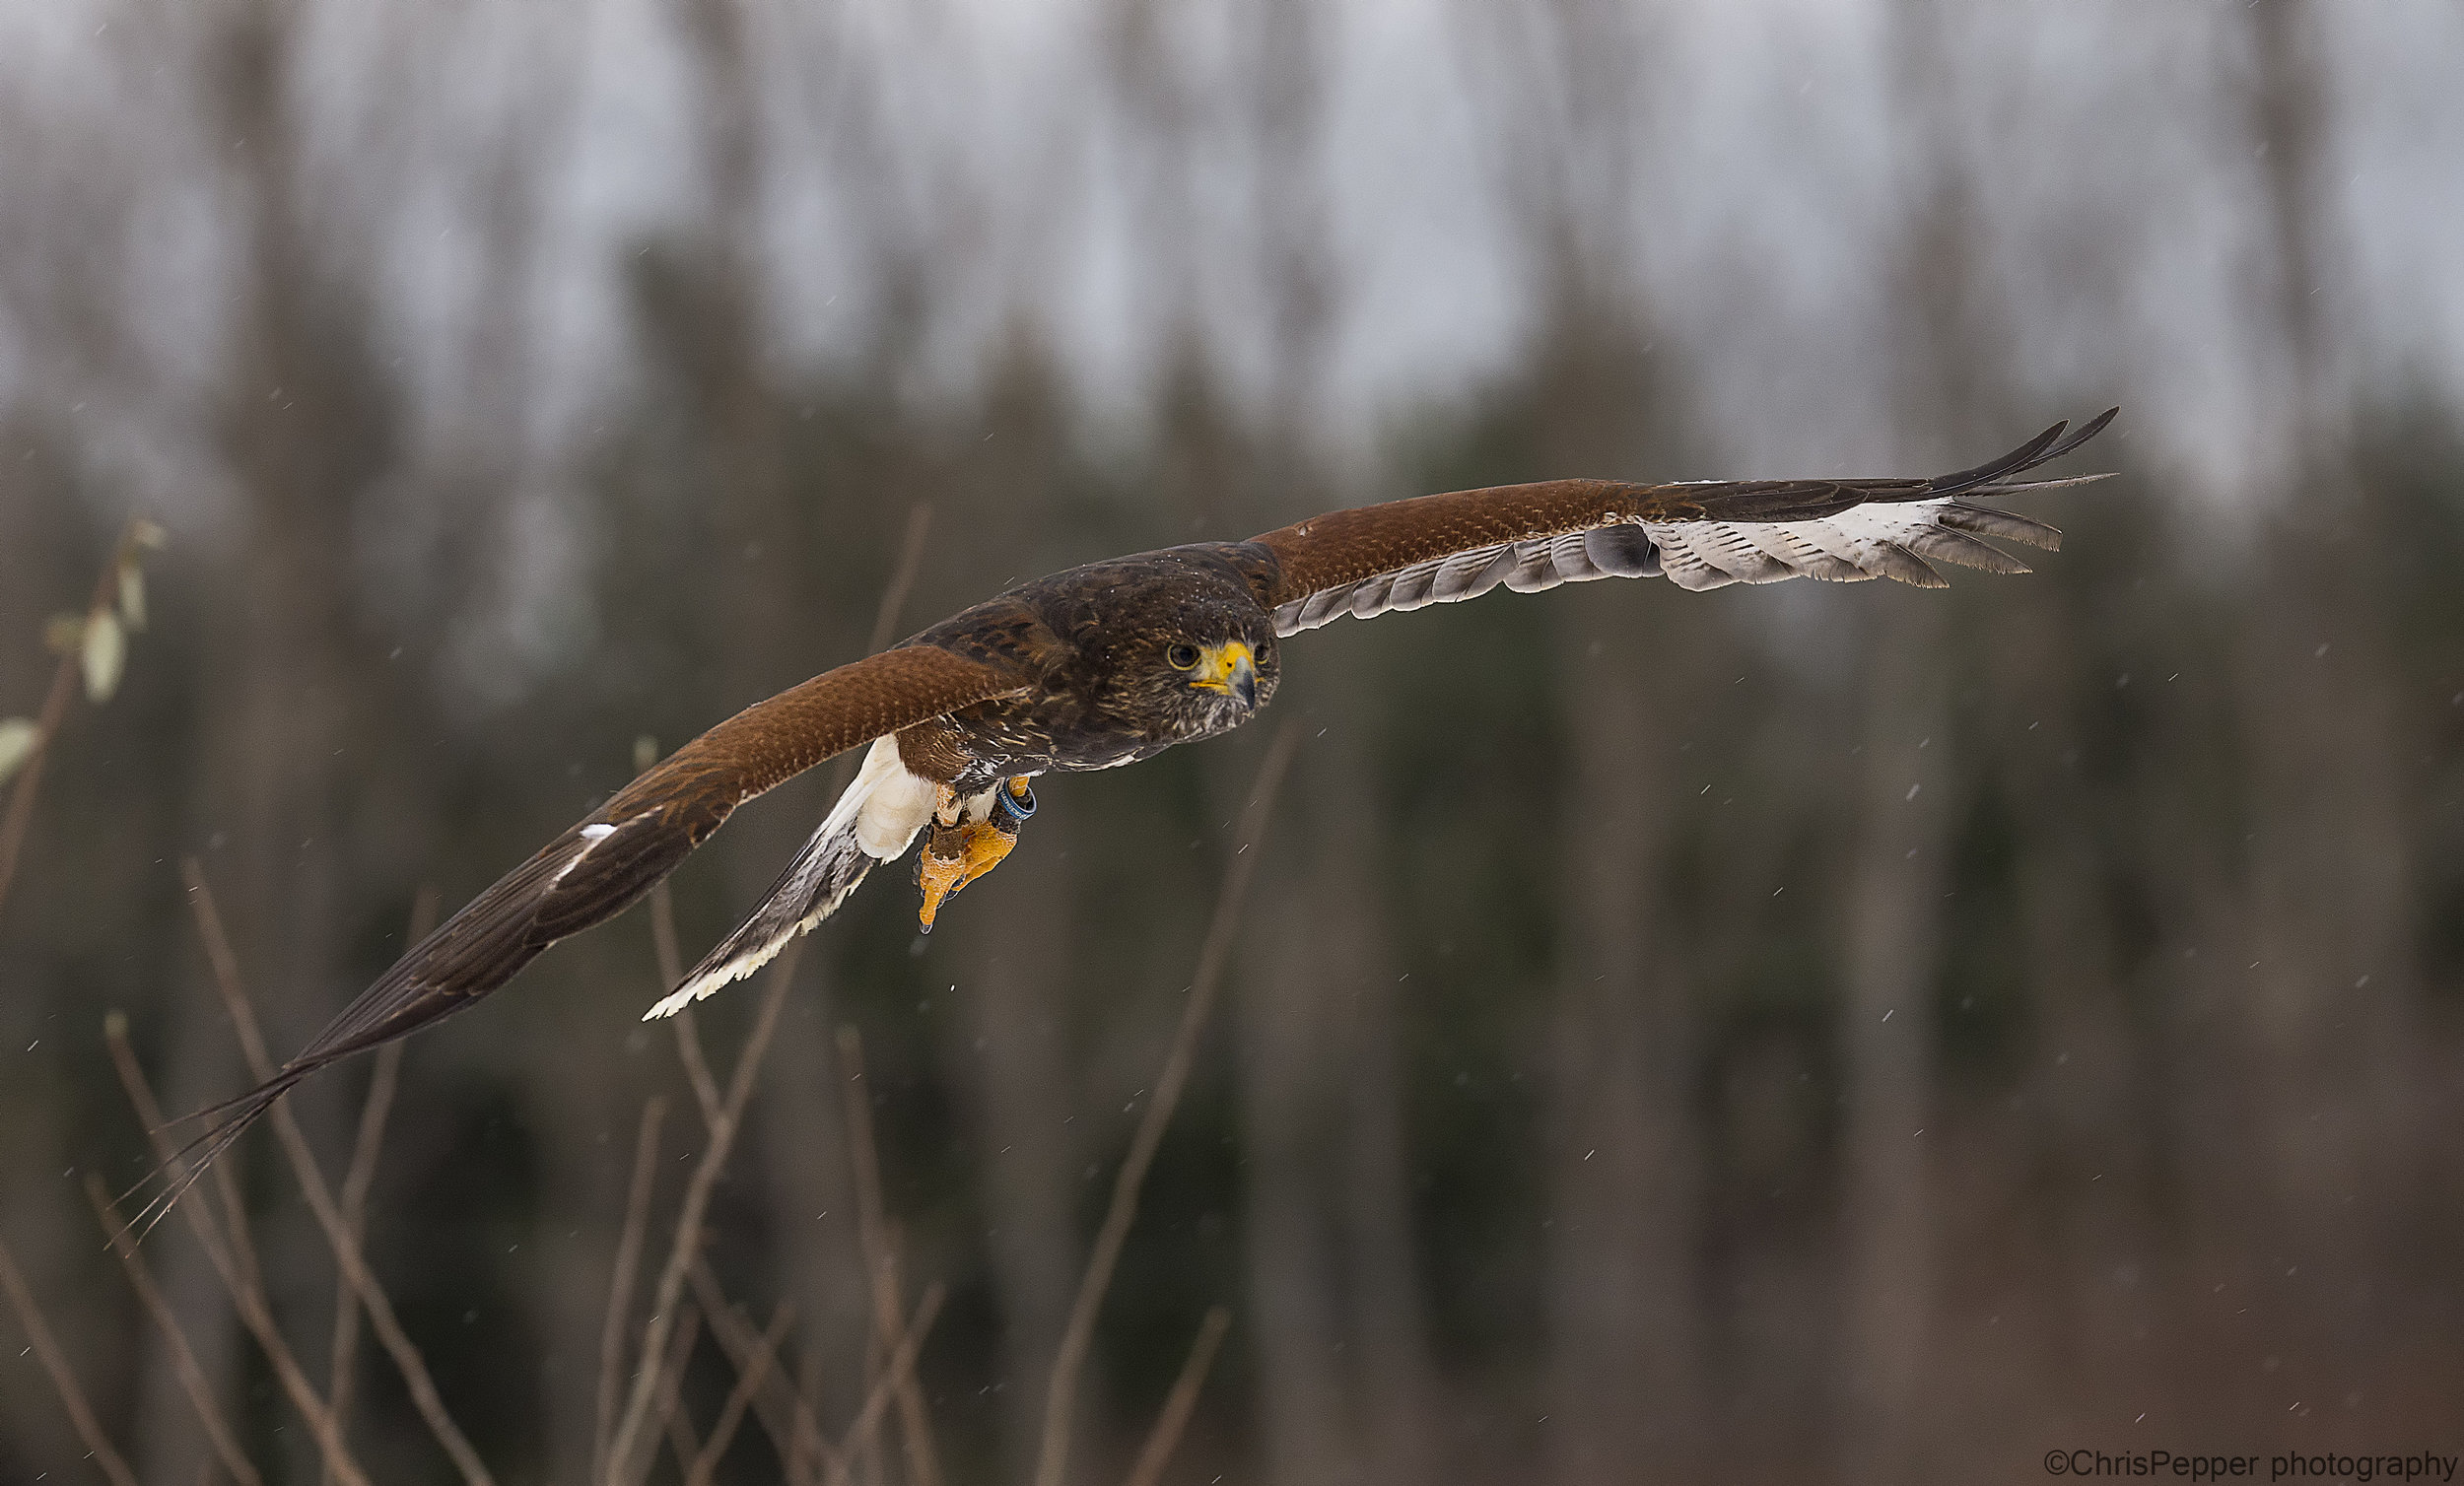
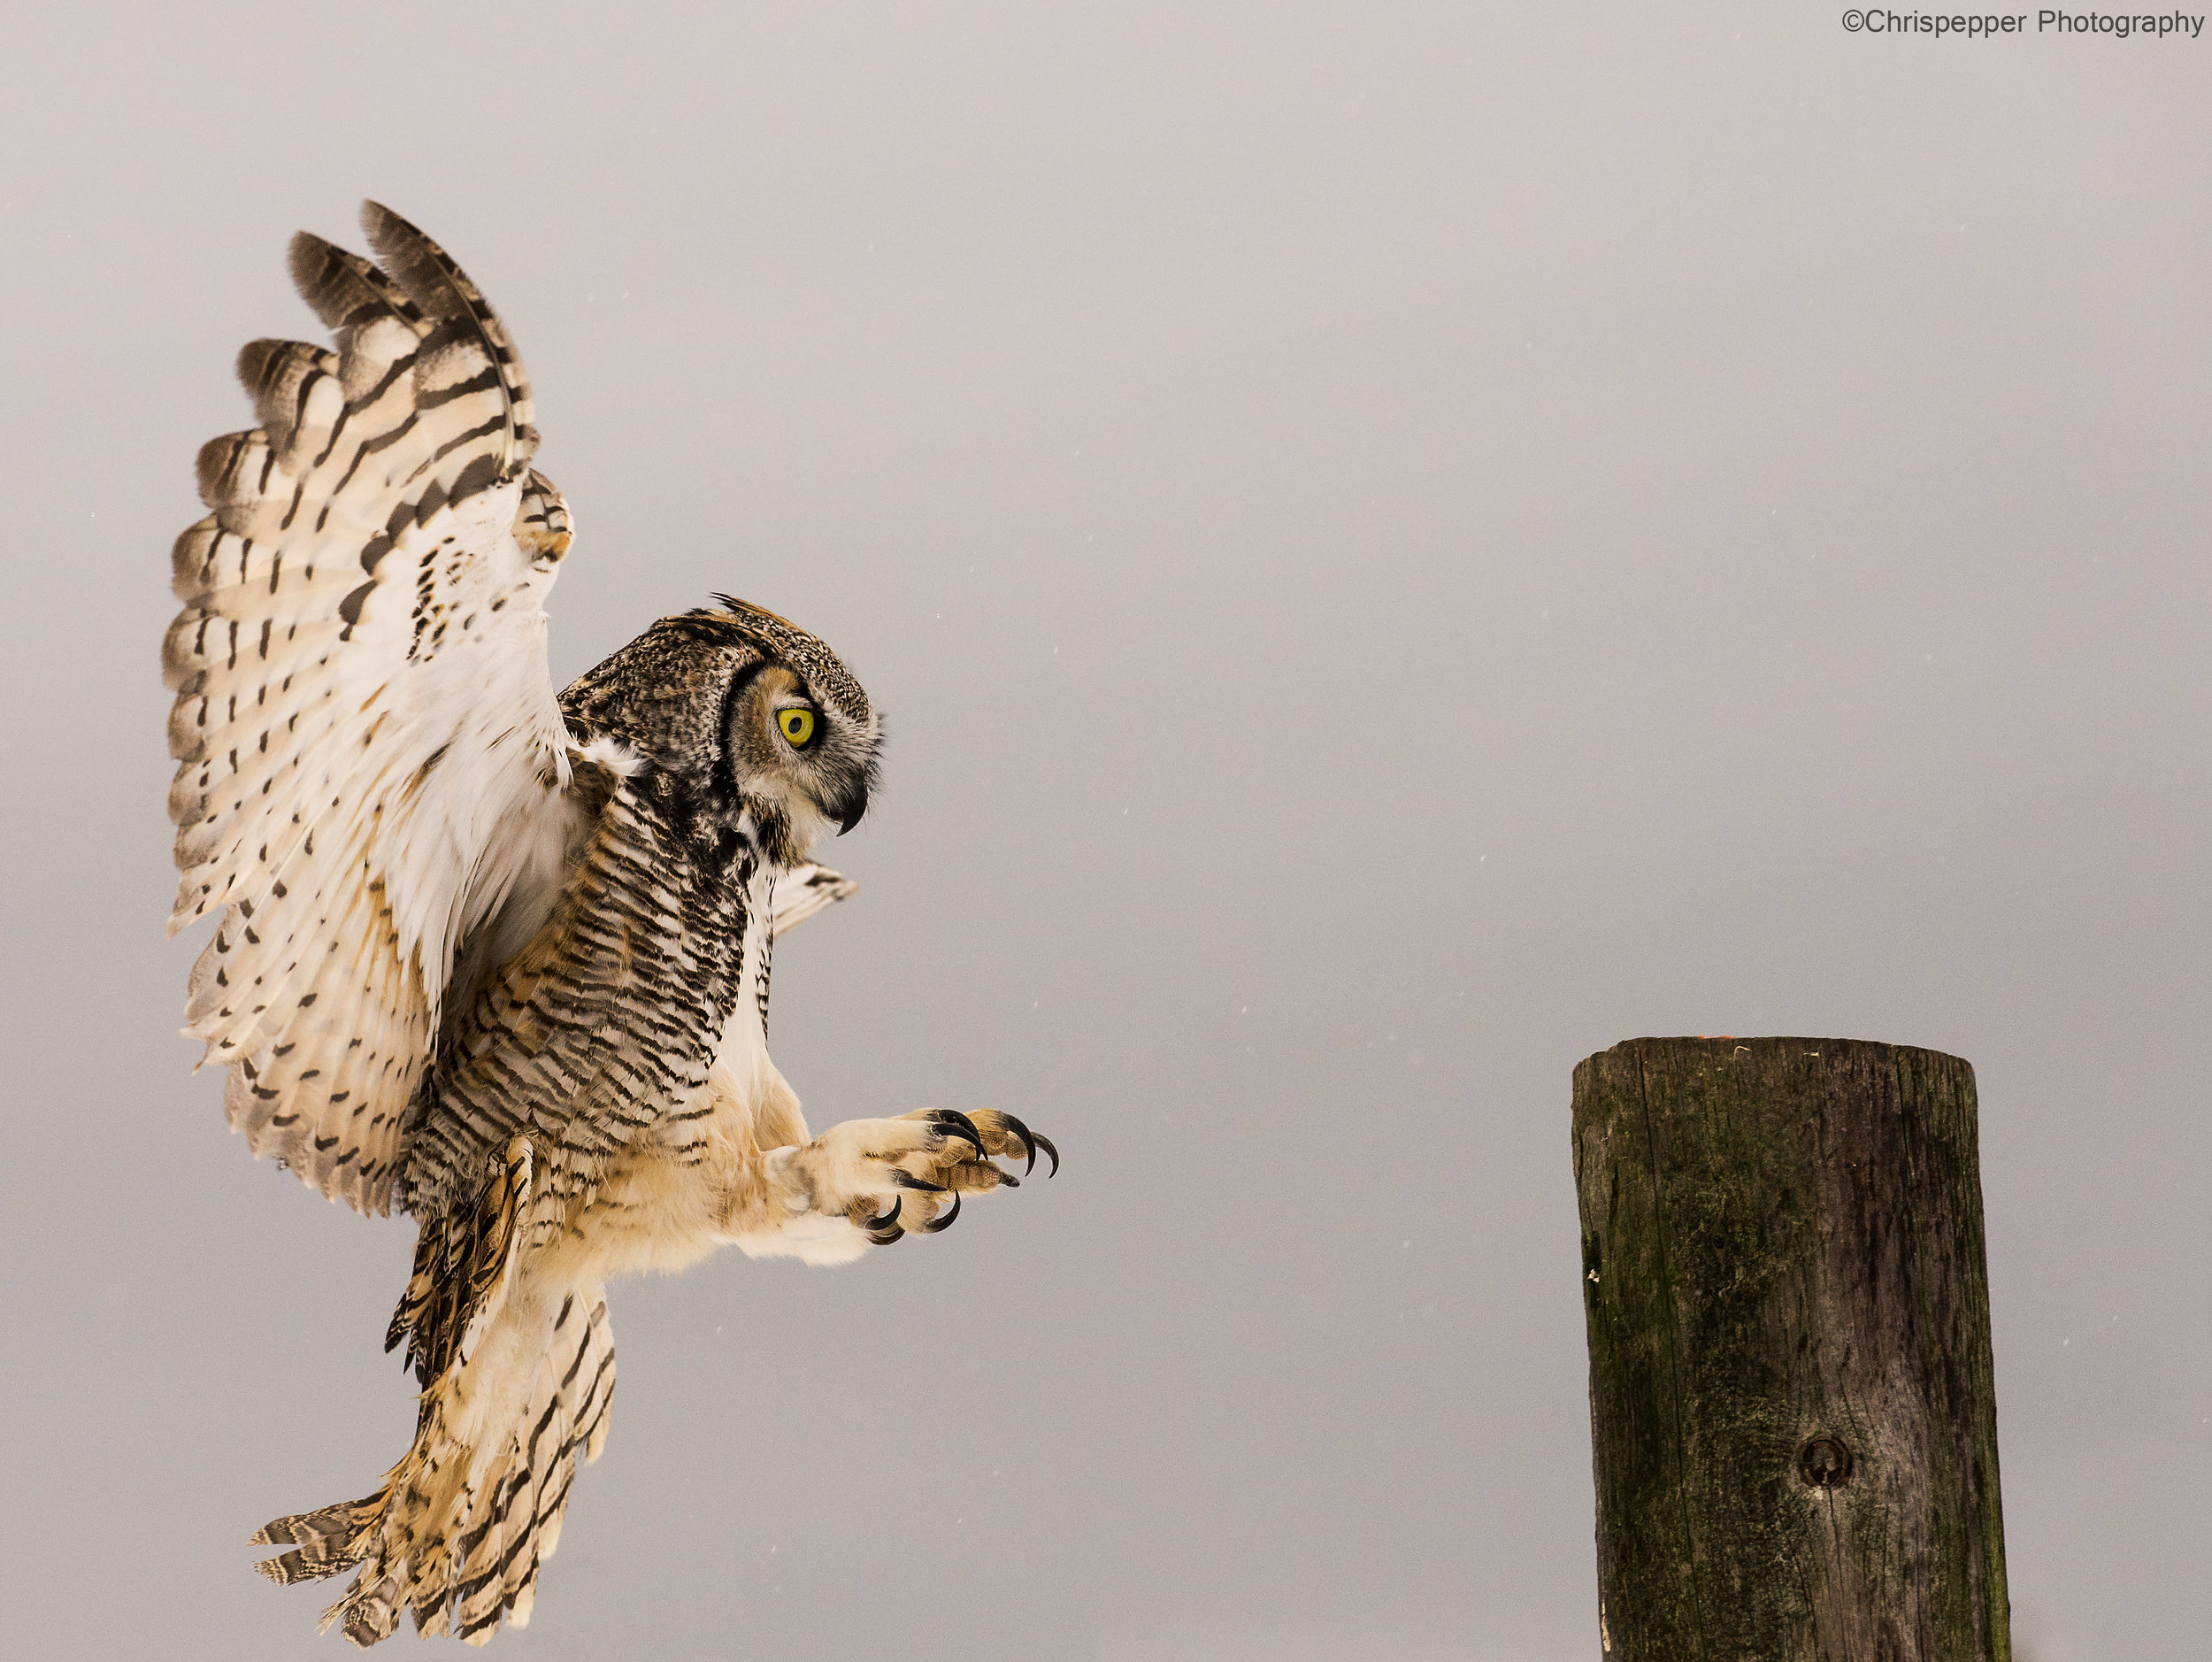
First thing is wind, position for the wind. Next is sun, try to keep the sun at your back. This will give you the best light on the subject and possibly catch light in the eye, it may also eliminate any shadows in harsh light. Next is height, look for a flight pattern that will show you the height a subject will fly at. Some will swoop down off a pole or a tree, others may fly straight off and some may fly higher. Just remember most wildlife photography is best when shot at an eye to eye level. Now if you can manage putting all that together lets think of one of the most impactful parts of your image, the background! Look for contrast between your subject and the background, this will help your images pop a little more. Dark subject on a light background, light subject on a dark background. Next will be depth of field, the closer you are to your subject with a longer lens it will compress your image and allow a more blurred out background or shallow depth of field. This is something you will have to play with to perfect between getting the whole subject sharp and the background blurry. Another tip is to use spot meter, meter the bird then move off the bird to the background to see the difference in light. If you have one stop or more difference it will make your image more impactful. Let me show you a few image of the take off photos to look for that may give you ideas to look for when you are there.
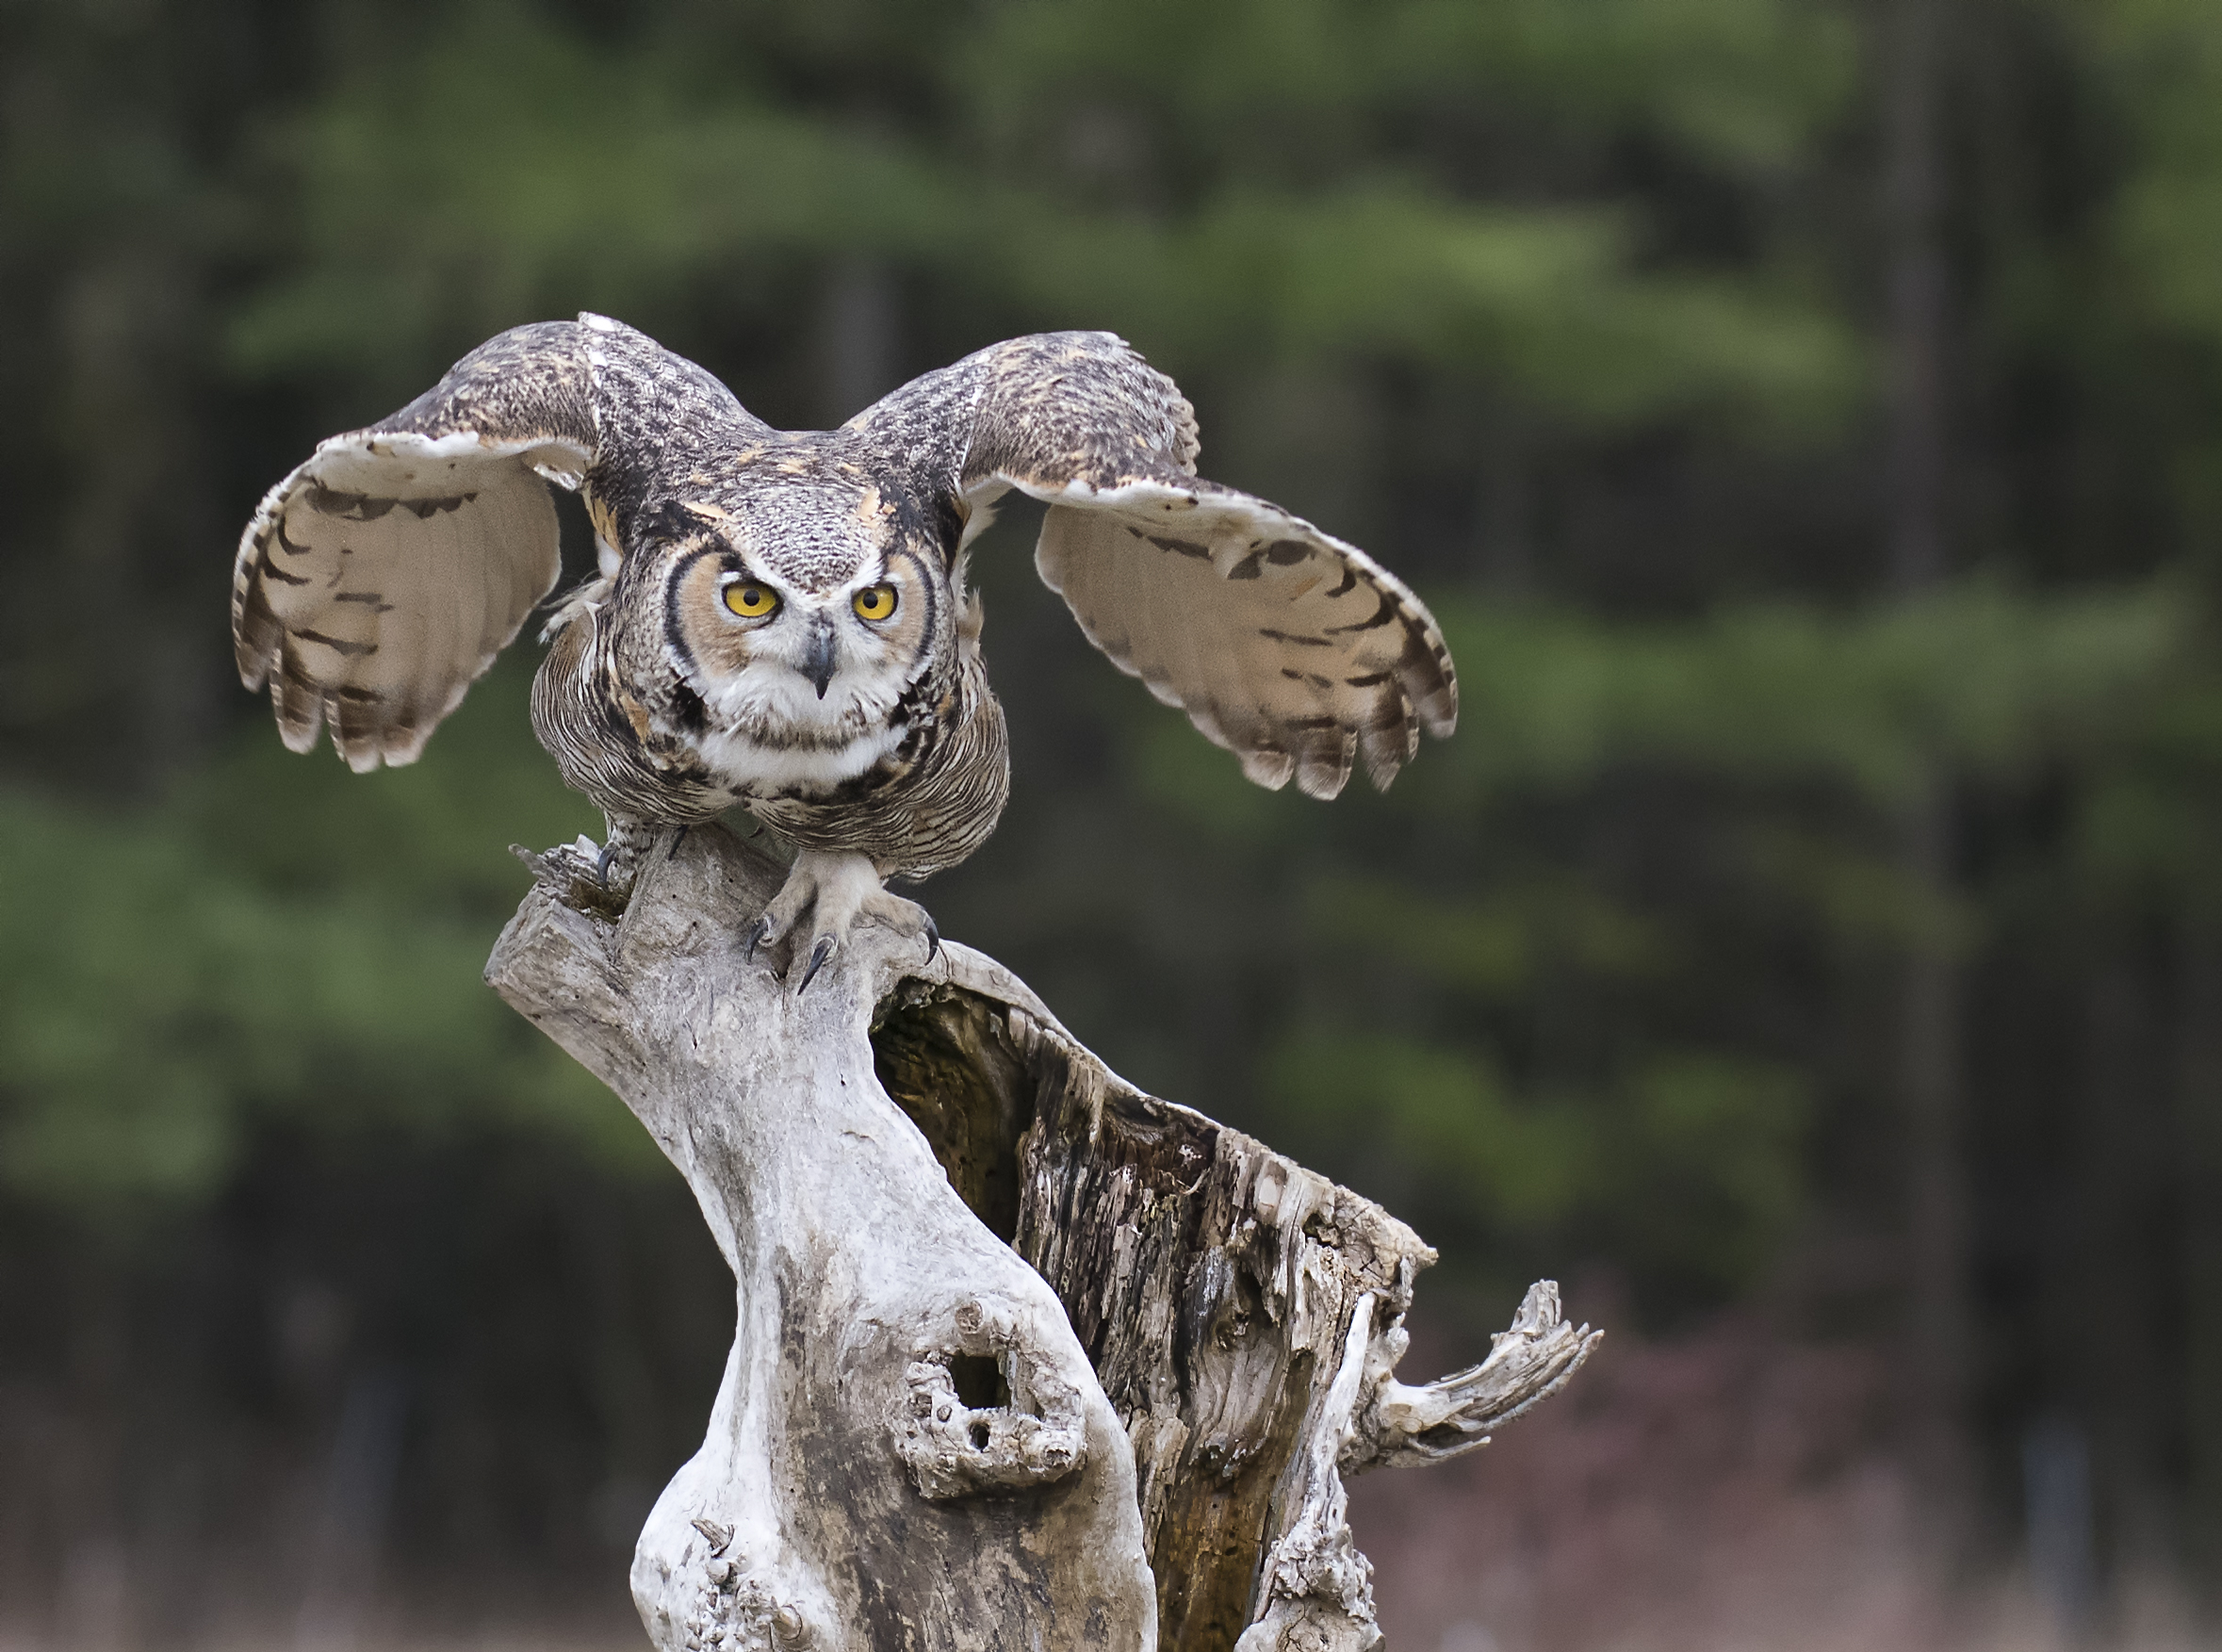

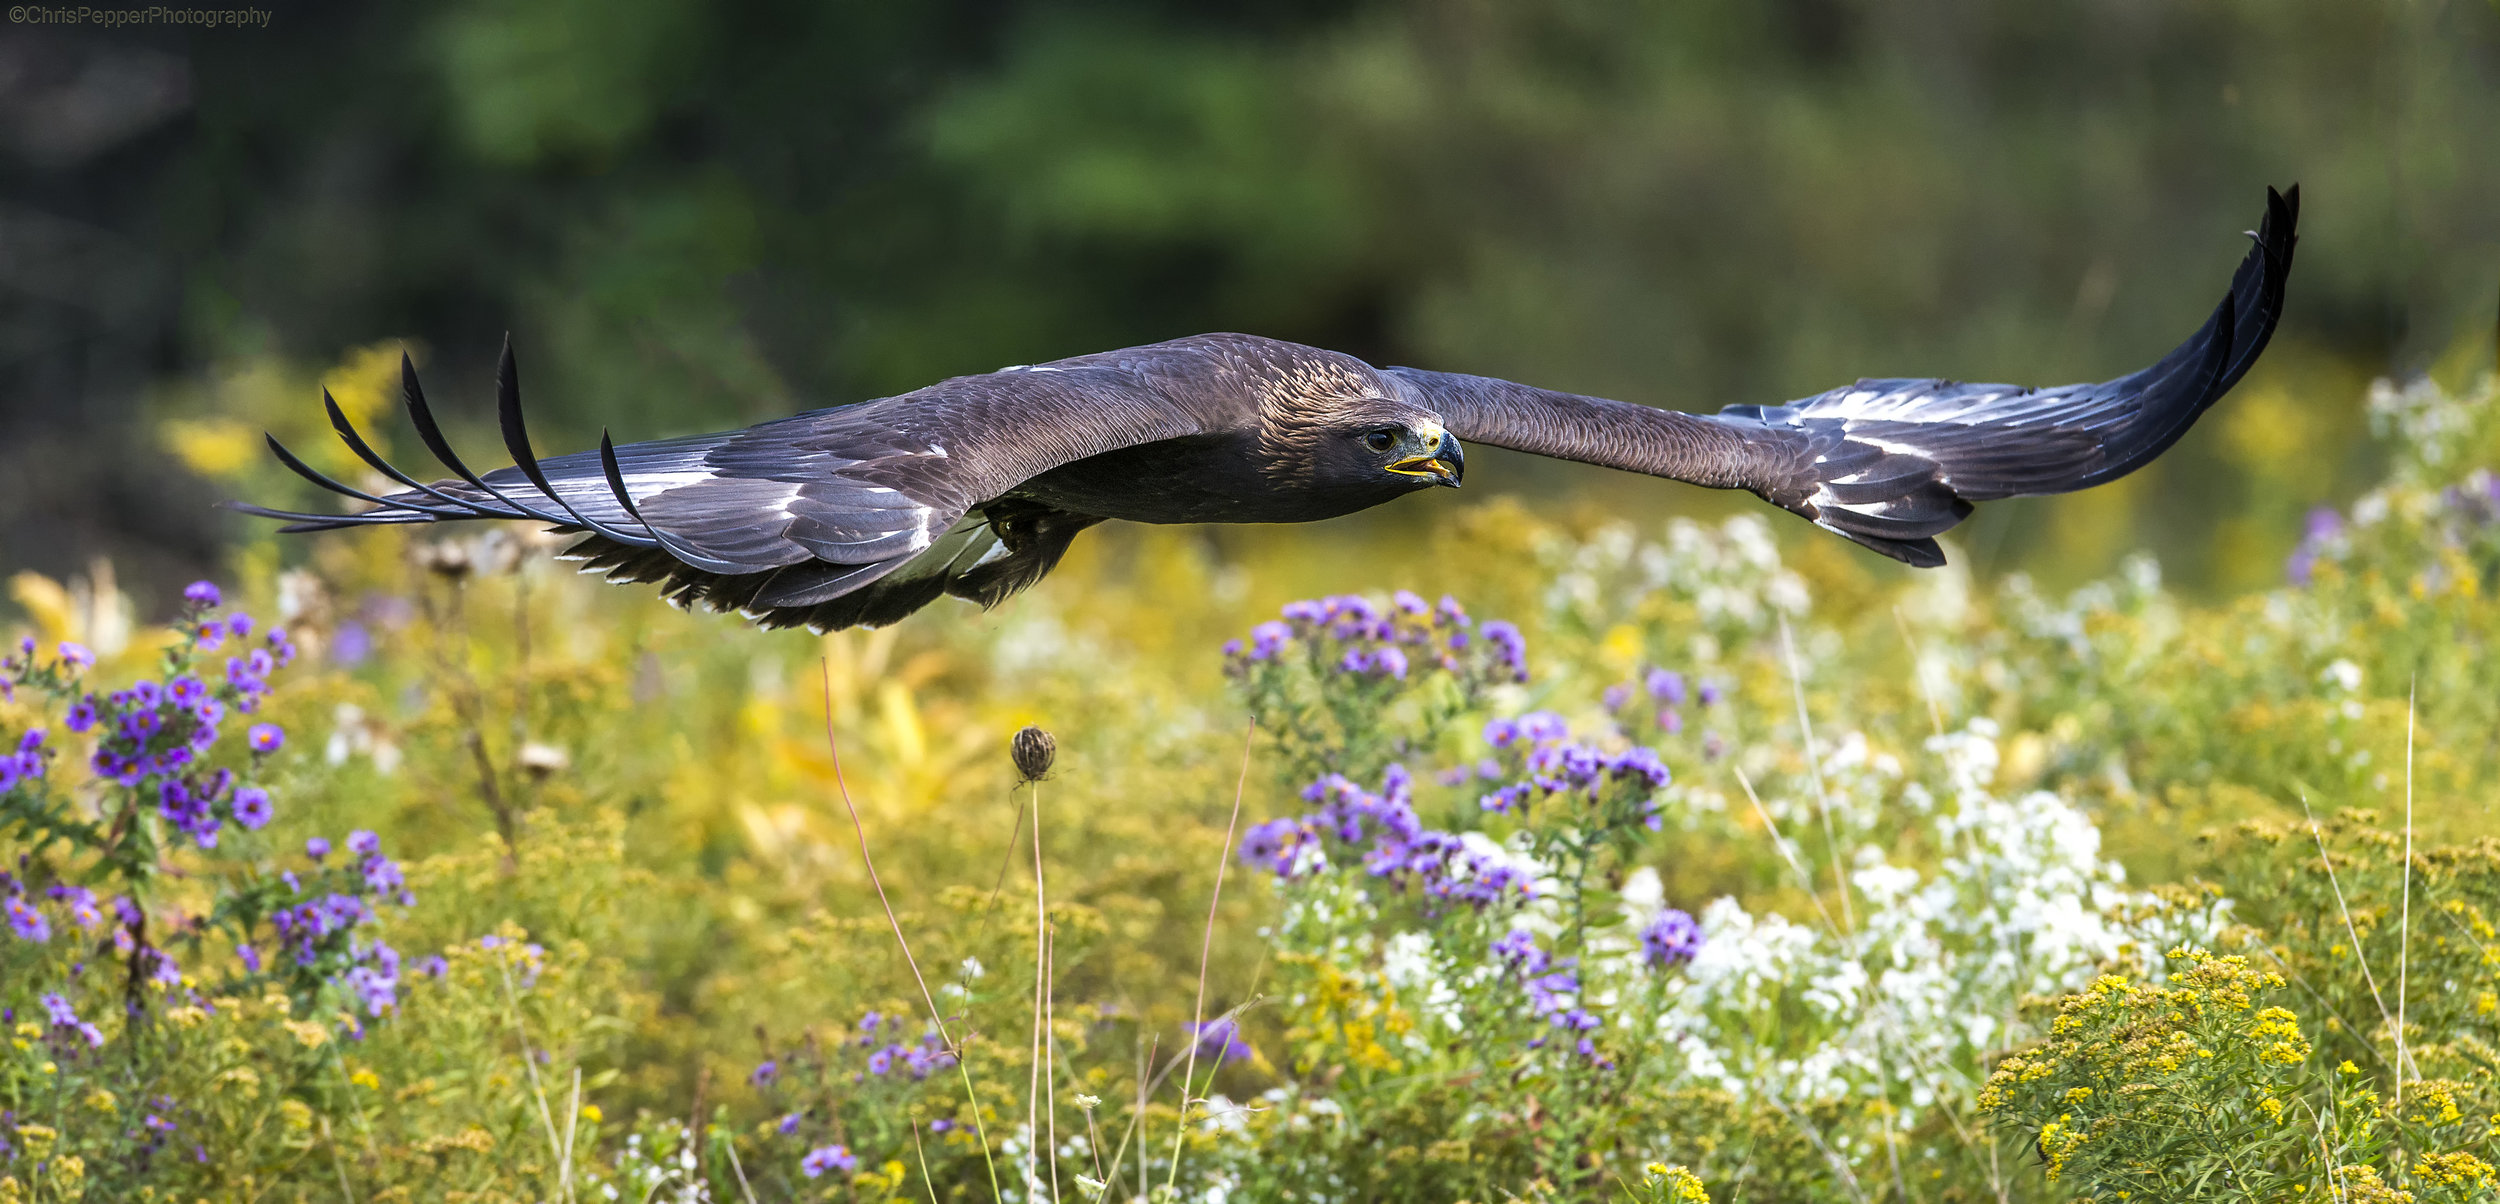
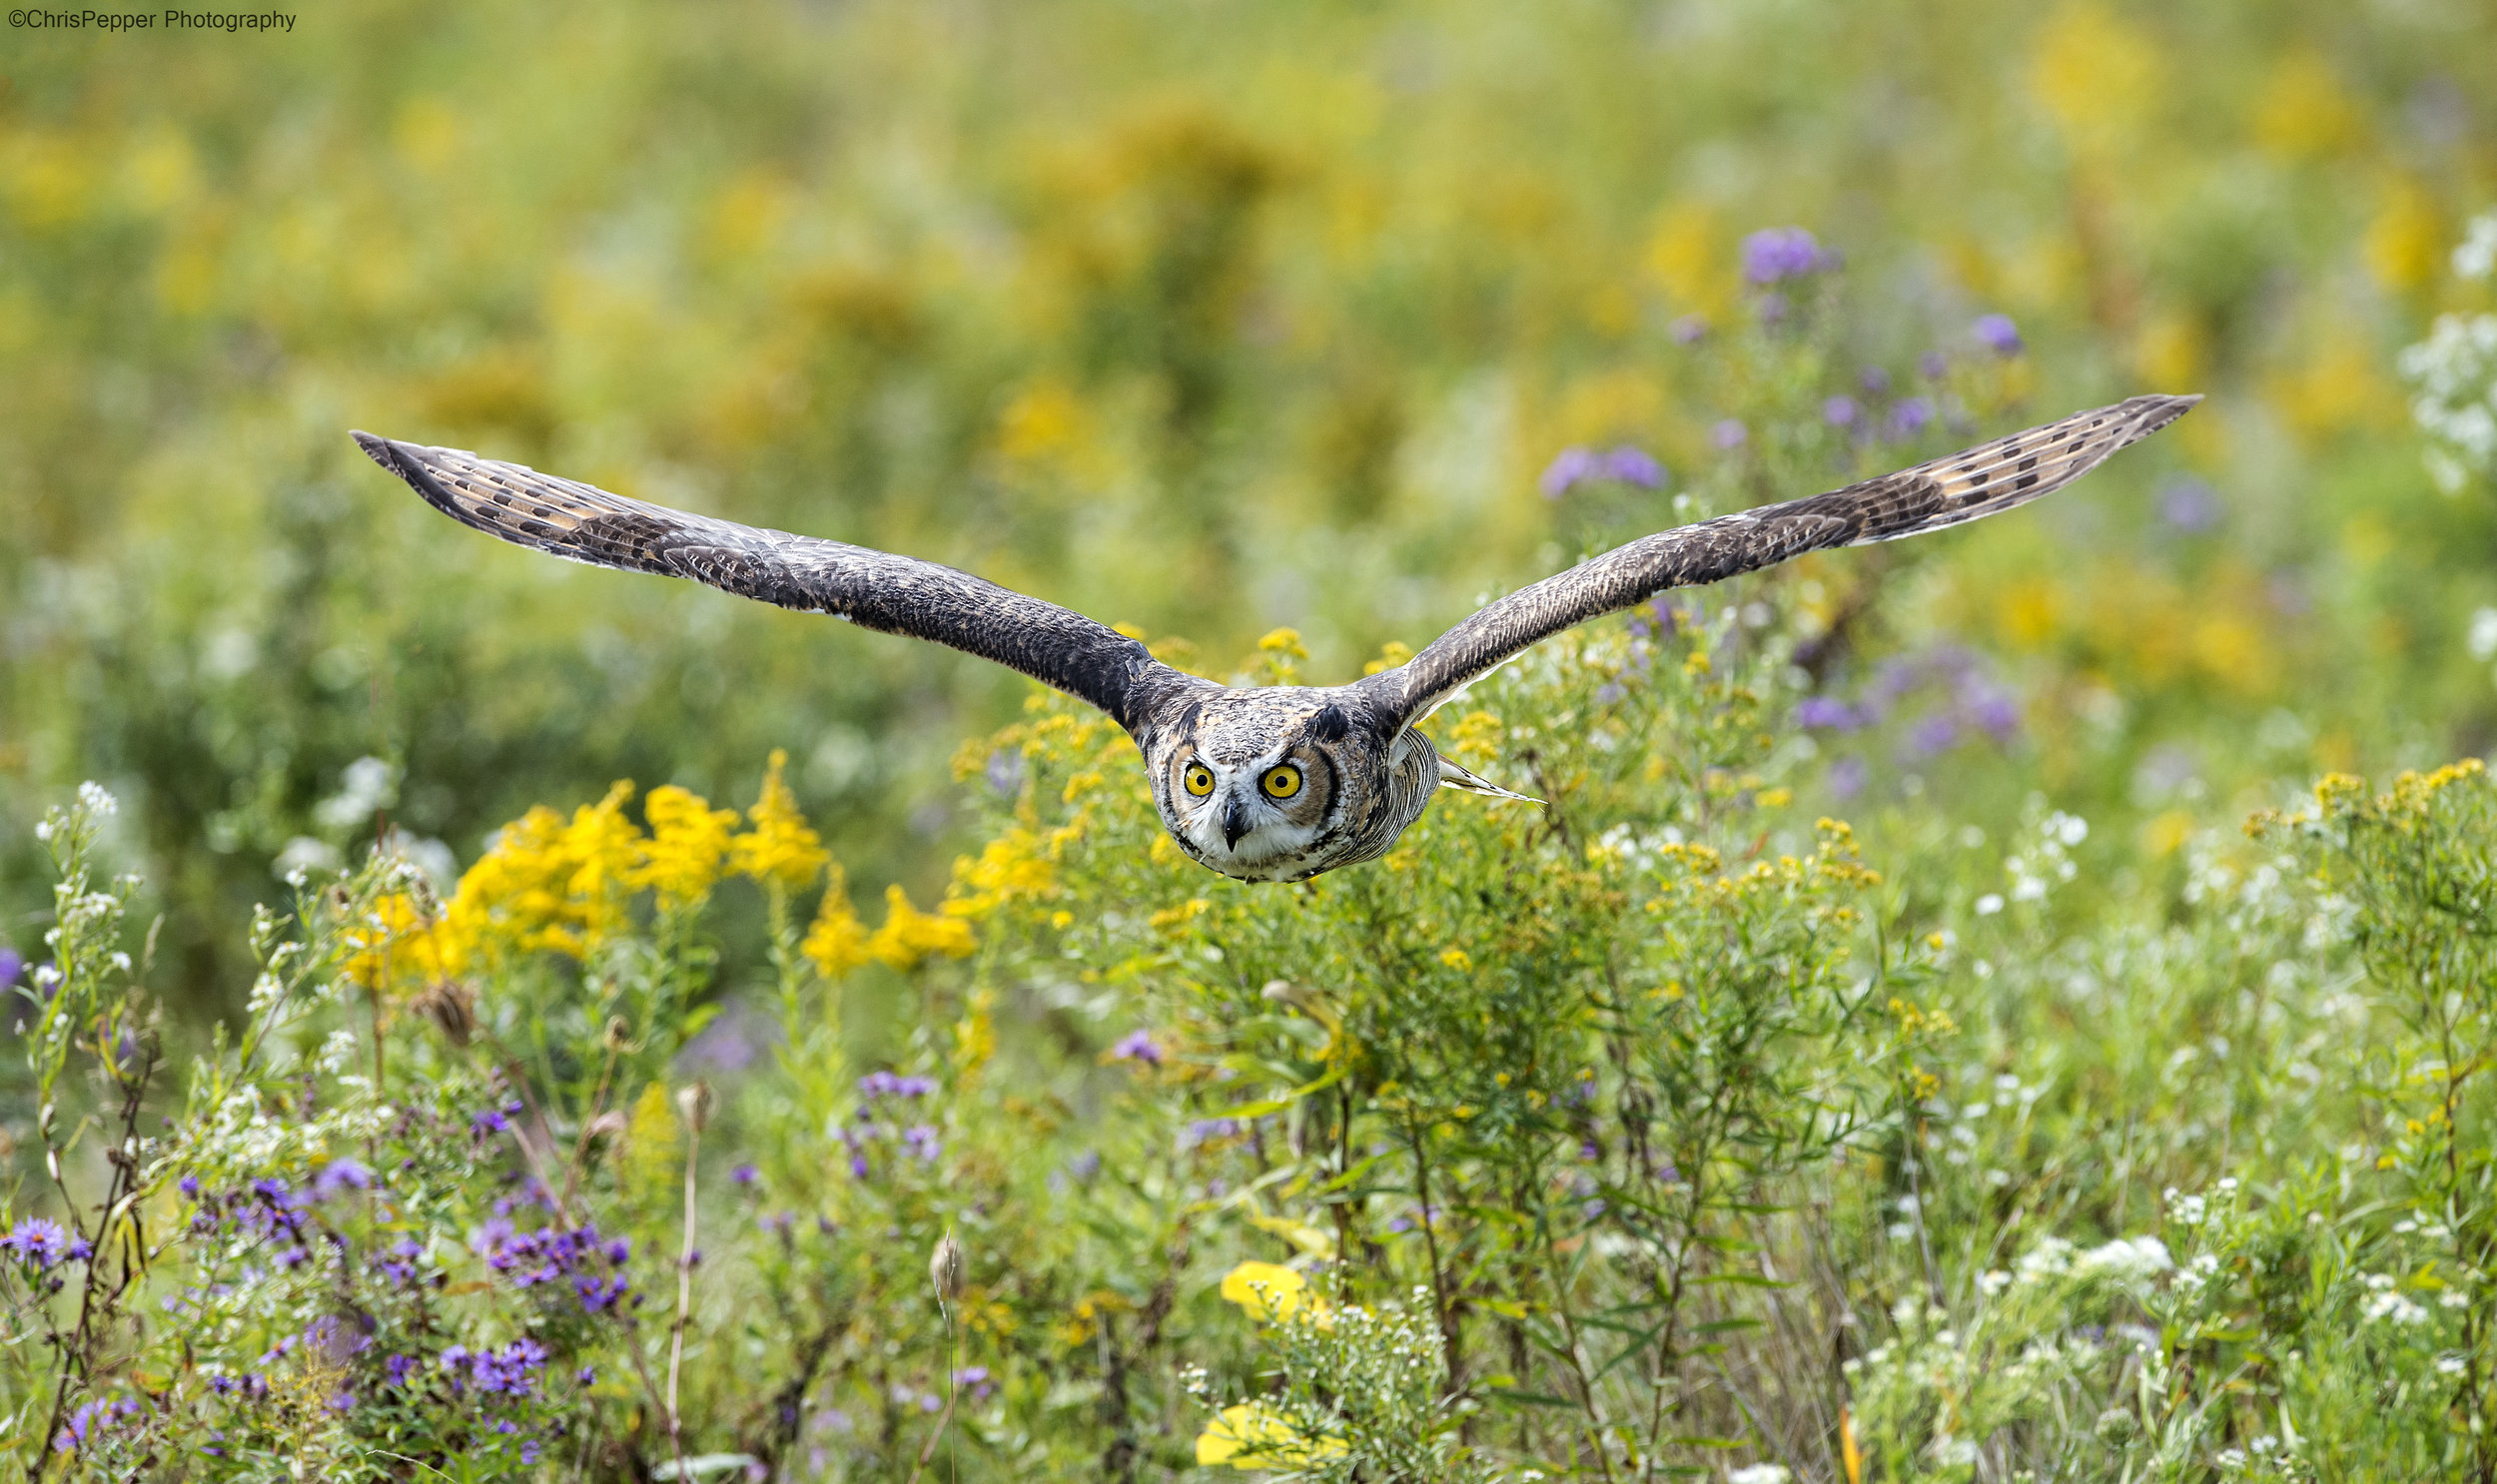
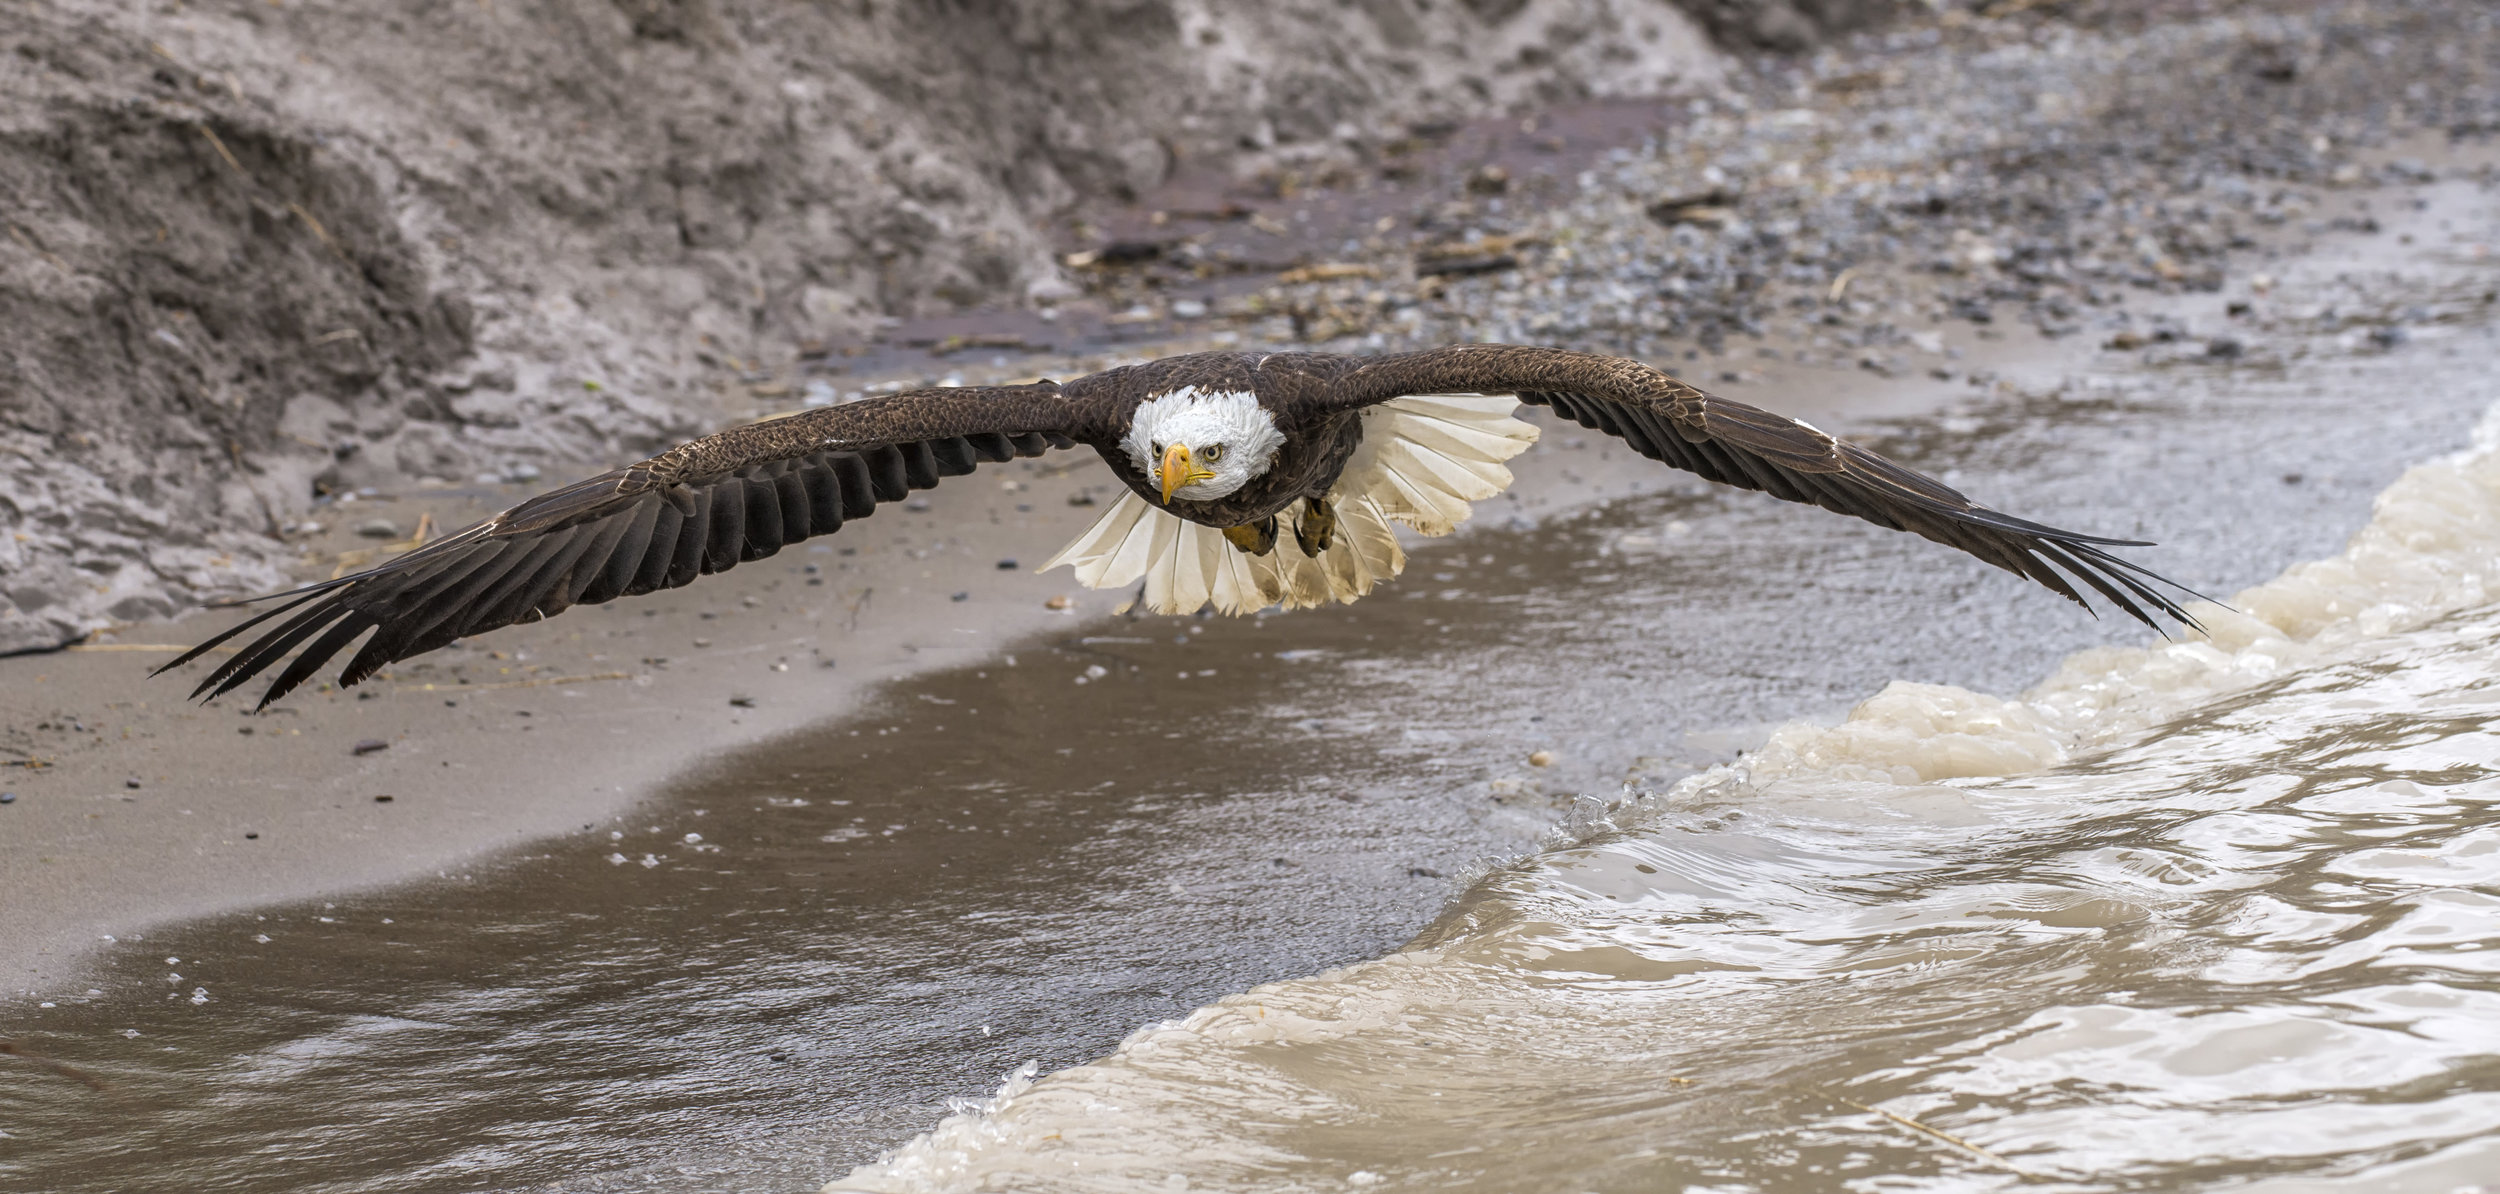
Next we need to look at the flight shots in-between the jump off and landing. this can be a tricky part of the day to work on and here are some tips to help you out. Focus settings are key when you are shooting birds in flight. For Nikon I would set up a single point focus system and and toggle through your modes in the case scenarios to see what AF setting follows the bird the best. You may need to adjust the between slow or erratic to keep the focus on the bird. For Canon the best setting is whats called the ring of fire around the centre point of focus and work through the 1 to 5 cases of AF to get the best tracking. Again shoot eye to eye if you can, work with the sun, and try to keep people, poles and stick backgrounds out of your picture, sometimes it may also help to shoot down on a subject to keep the background even on the whole image. One tip to help your keeper ratio is to shoot at the side of the bird, one of the hardest shot is to get a bird flying straight at you. Large birds may need more depth of field and slow shutter speed do to gliding and not moving with rapid wings like a small bird. For eagles and slow owls I generally shoot between 1/1500 to 1/2000 of a second in flight with f5.6 to f8 for the proper depth of field. For smaller birds and the great horned owl I use to use between 1/2000 to 1/3200 of a second with f4 to 6.3. You can back up and shoot with a more shallow depth of field if you need the light to help bring the shutter speed up on a grey day. So lets go through the motion, you find the background area and optimal light spot for your shot, some birds will fly to fast for you to acquire focus and shoot in that specific spot. So what you need to do is follow the bird from the perch and start focusing on the subject to track it without shooting it. A good tip is to use back button focus for birds in flight as it will allow constant focus with your thumb following the bird and the shutter button is just for shutter actuations. If you don't use back button focus you have to keep pumping the focus button on the subject with a half press of the shutter button and then fire once its in the zone. So just keep working on this spot until you get the image you desire. Here are some flight images I have pulled off over the years.

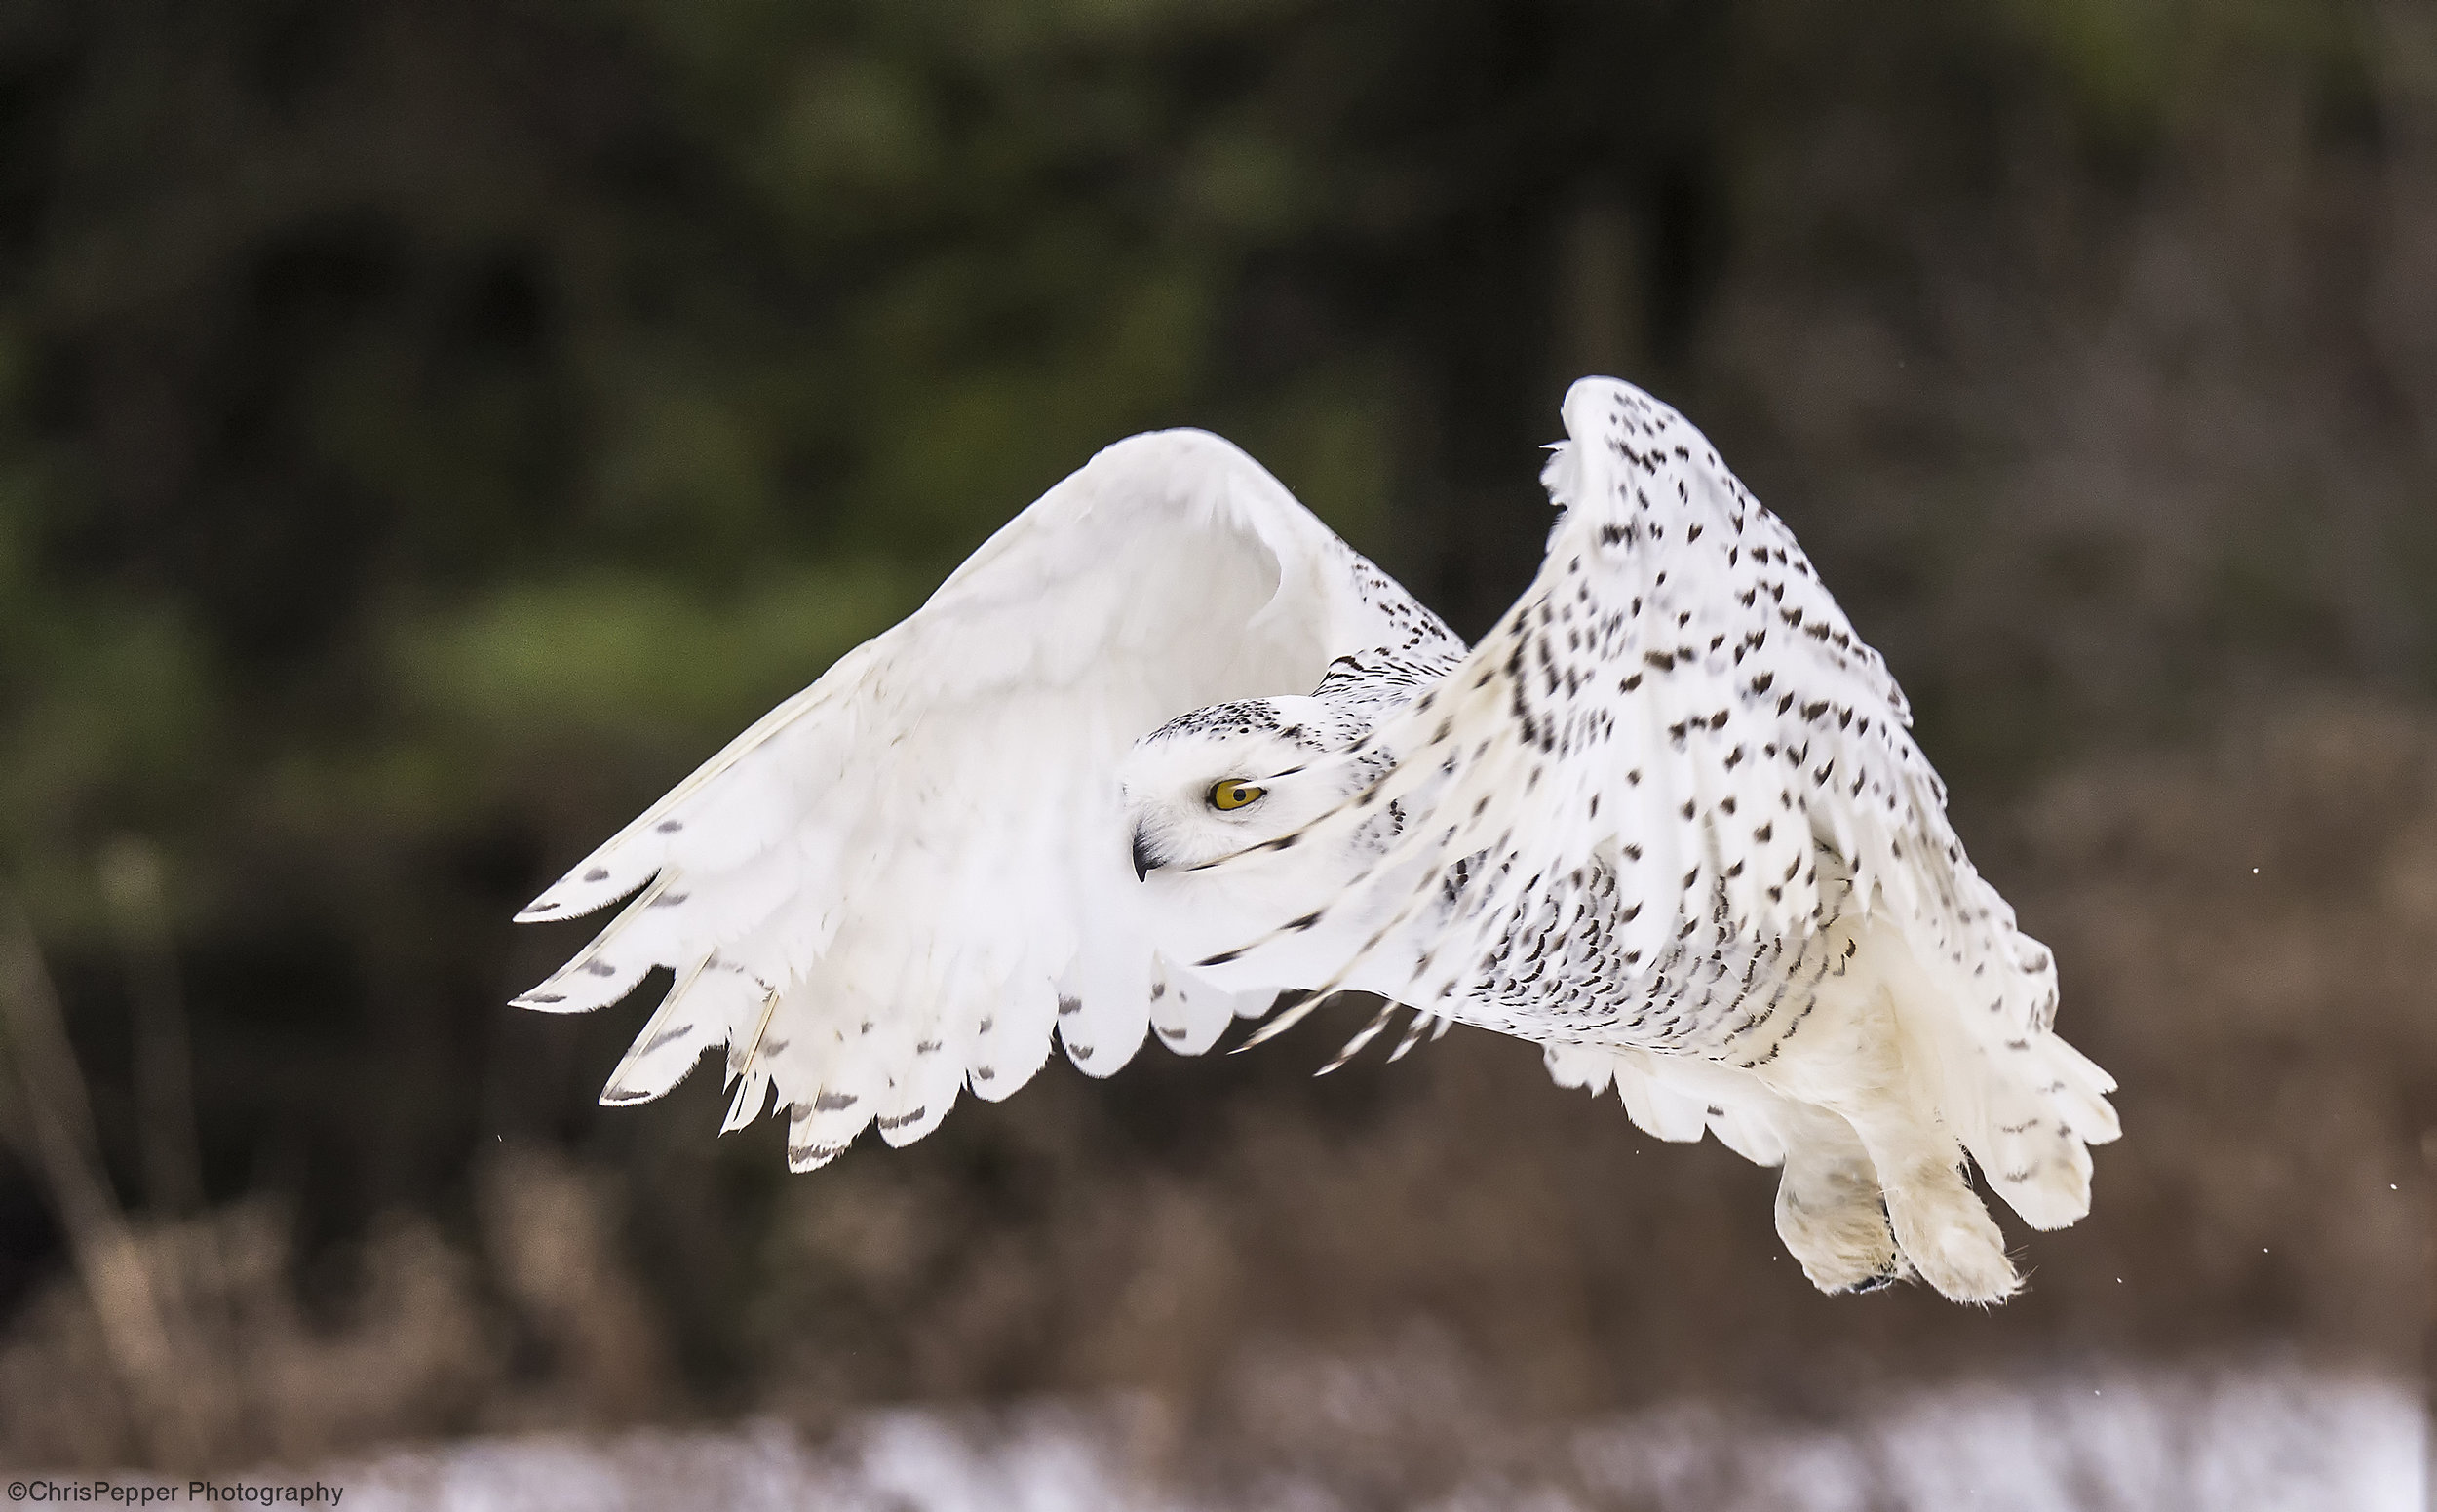
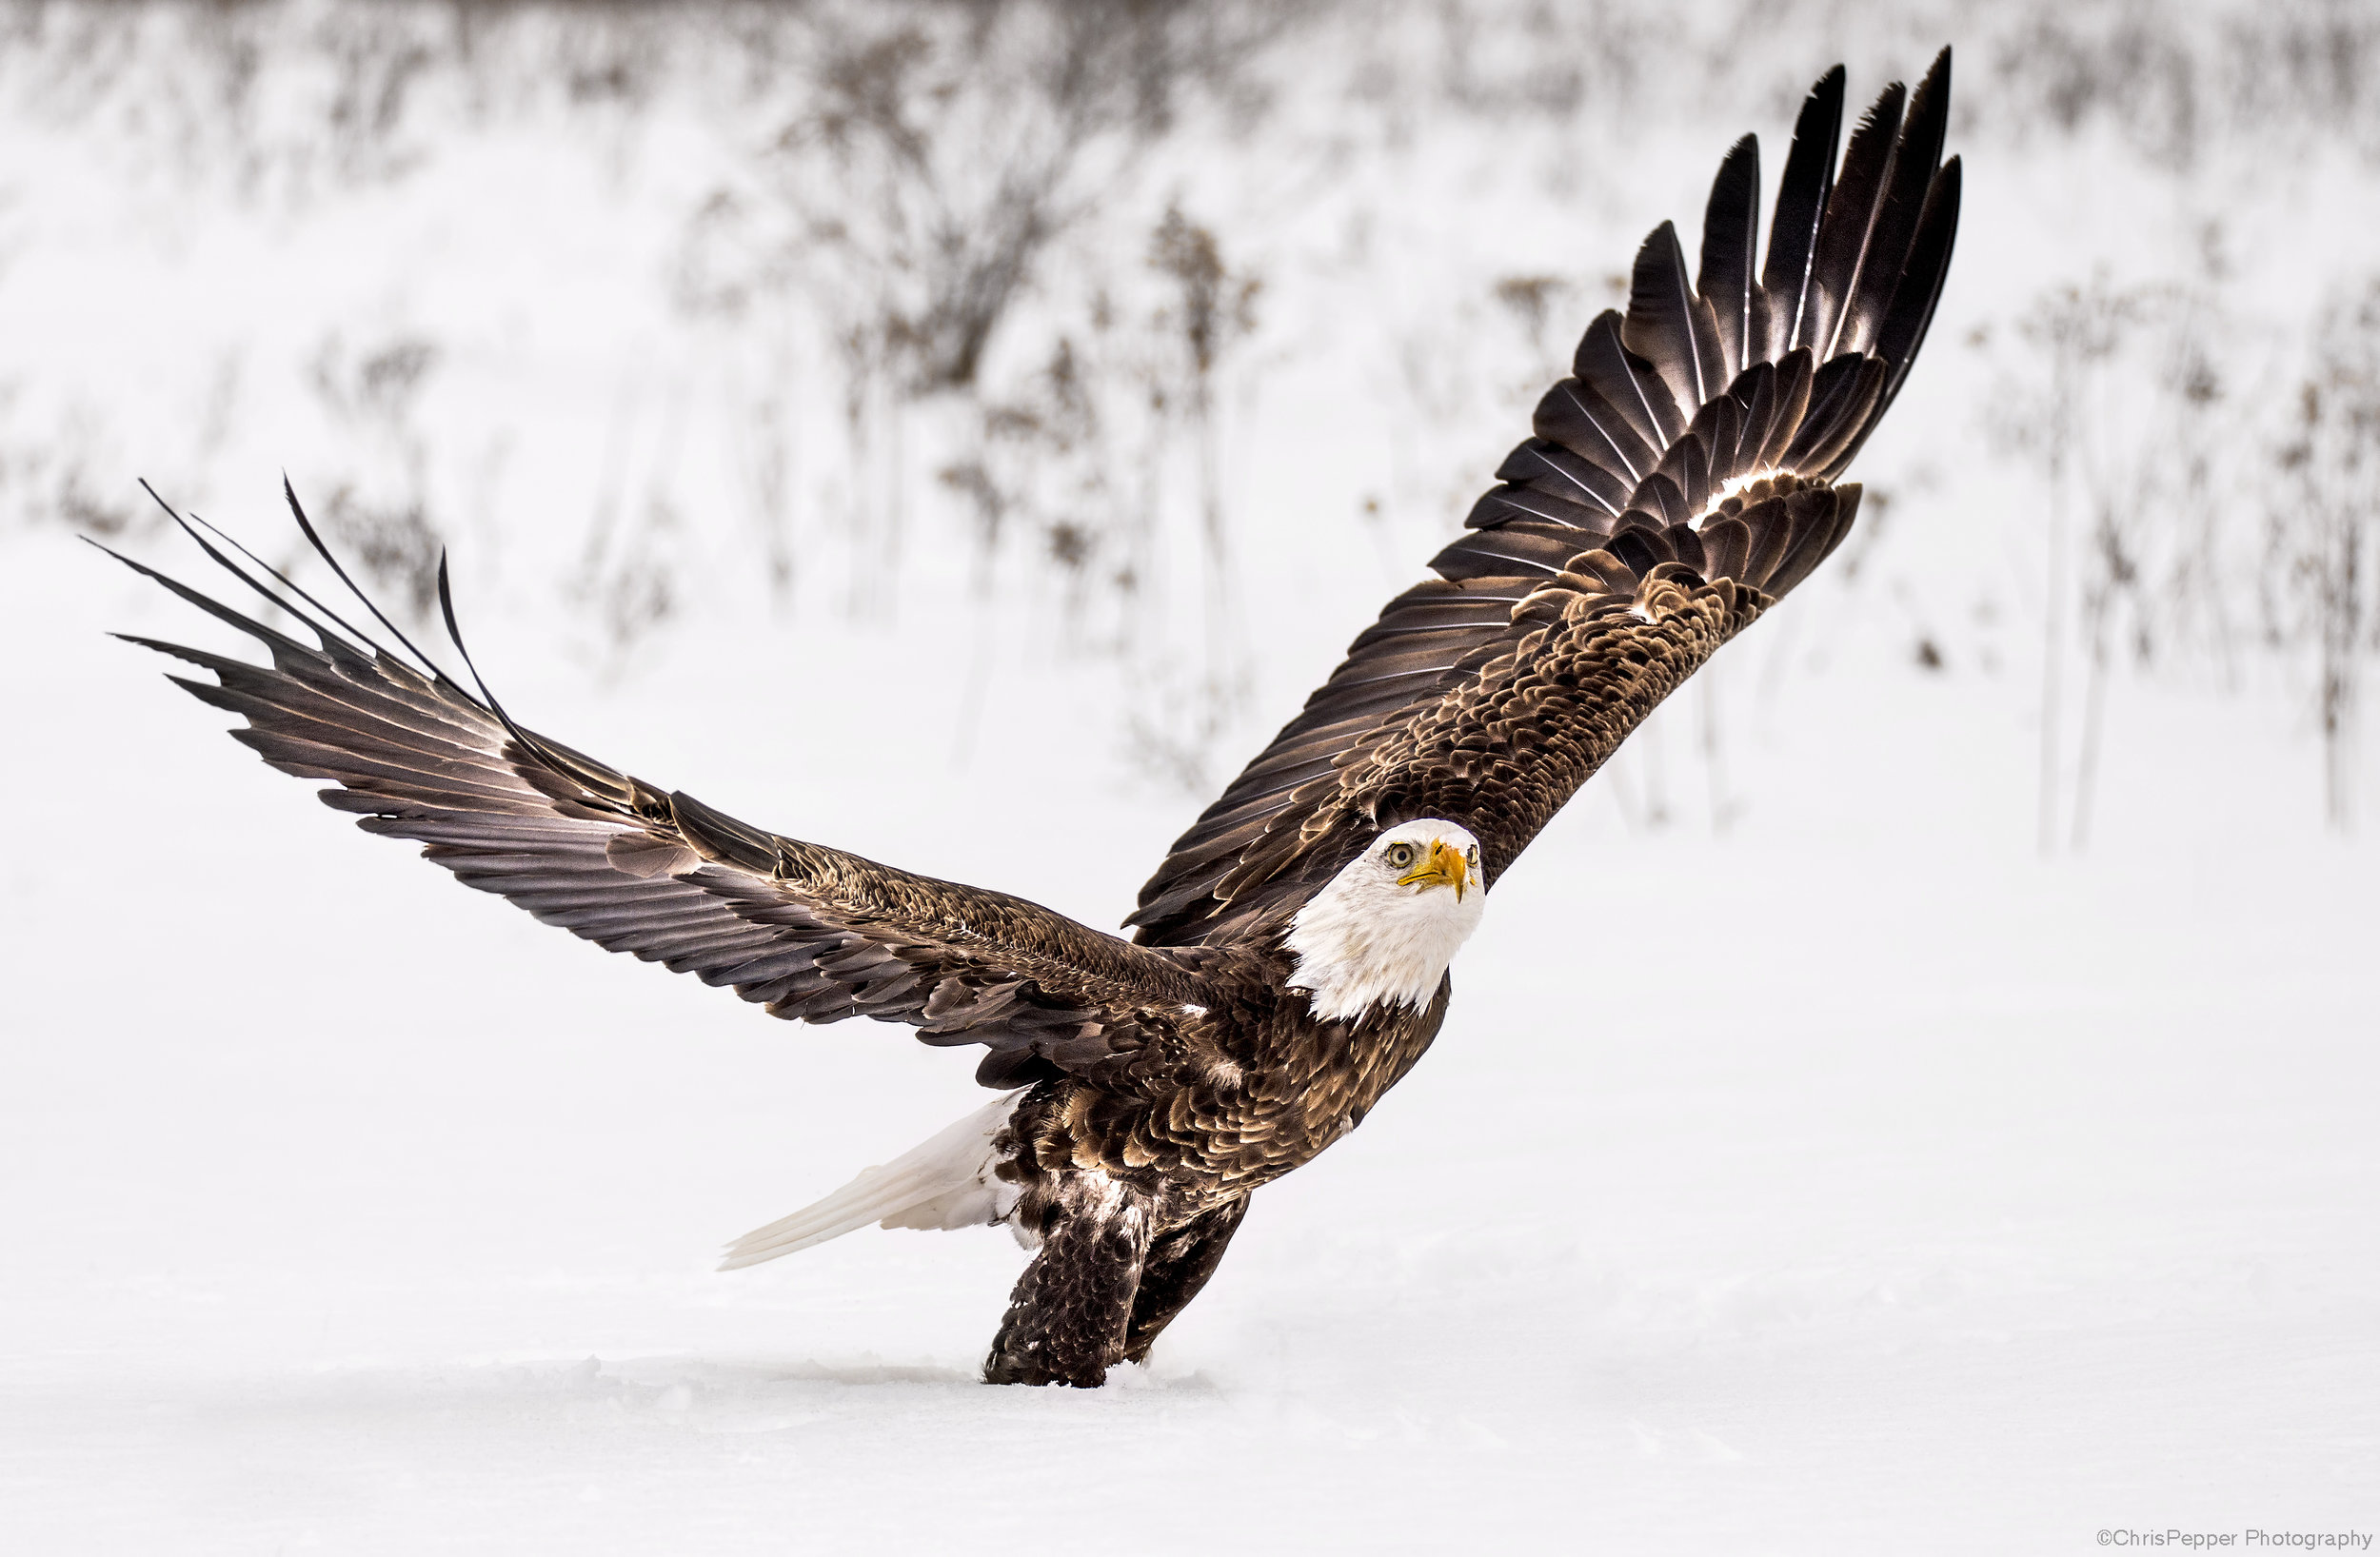
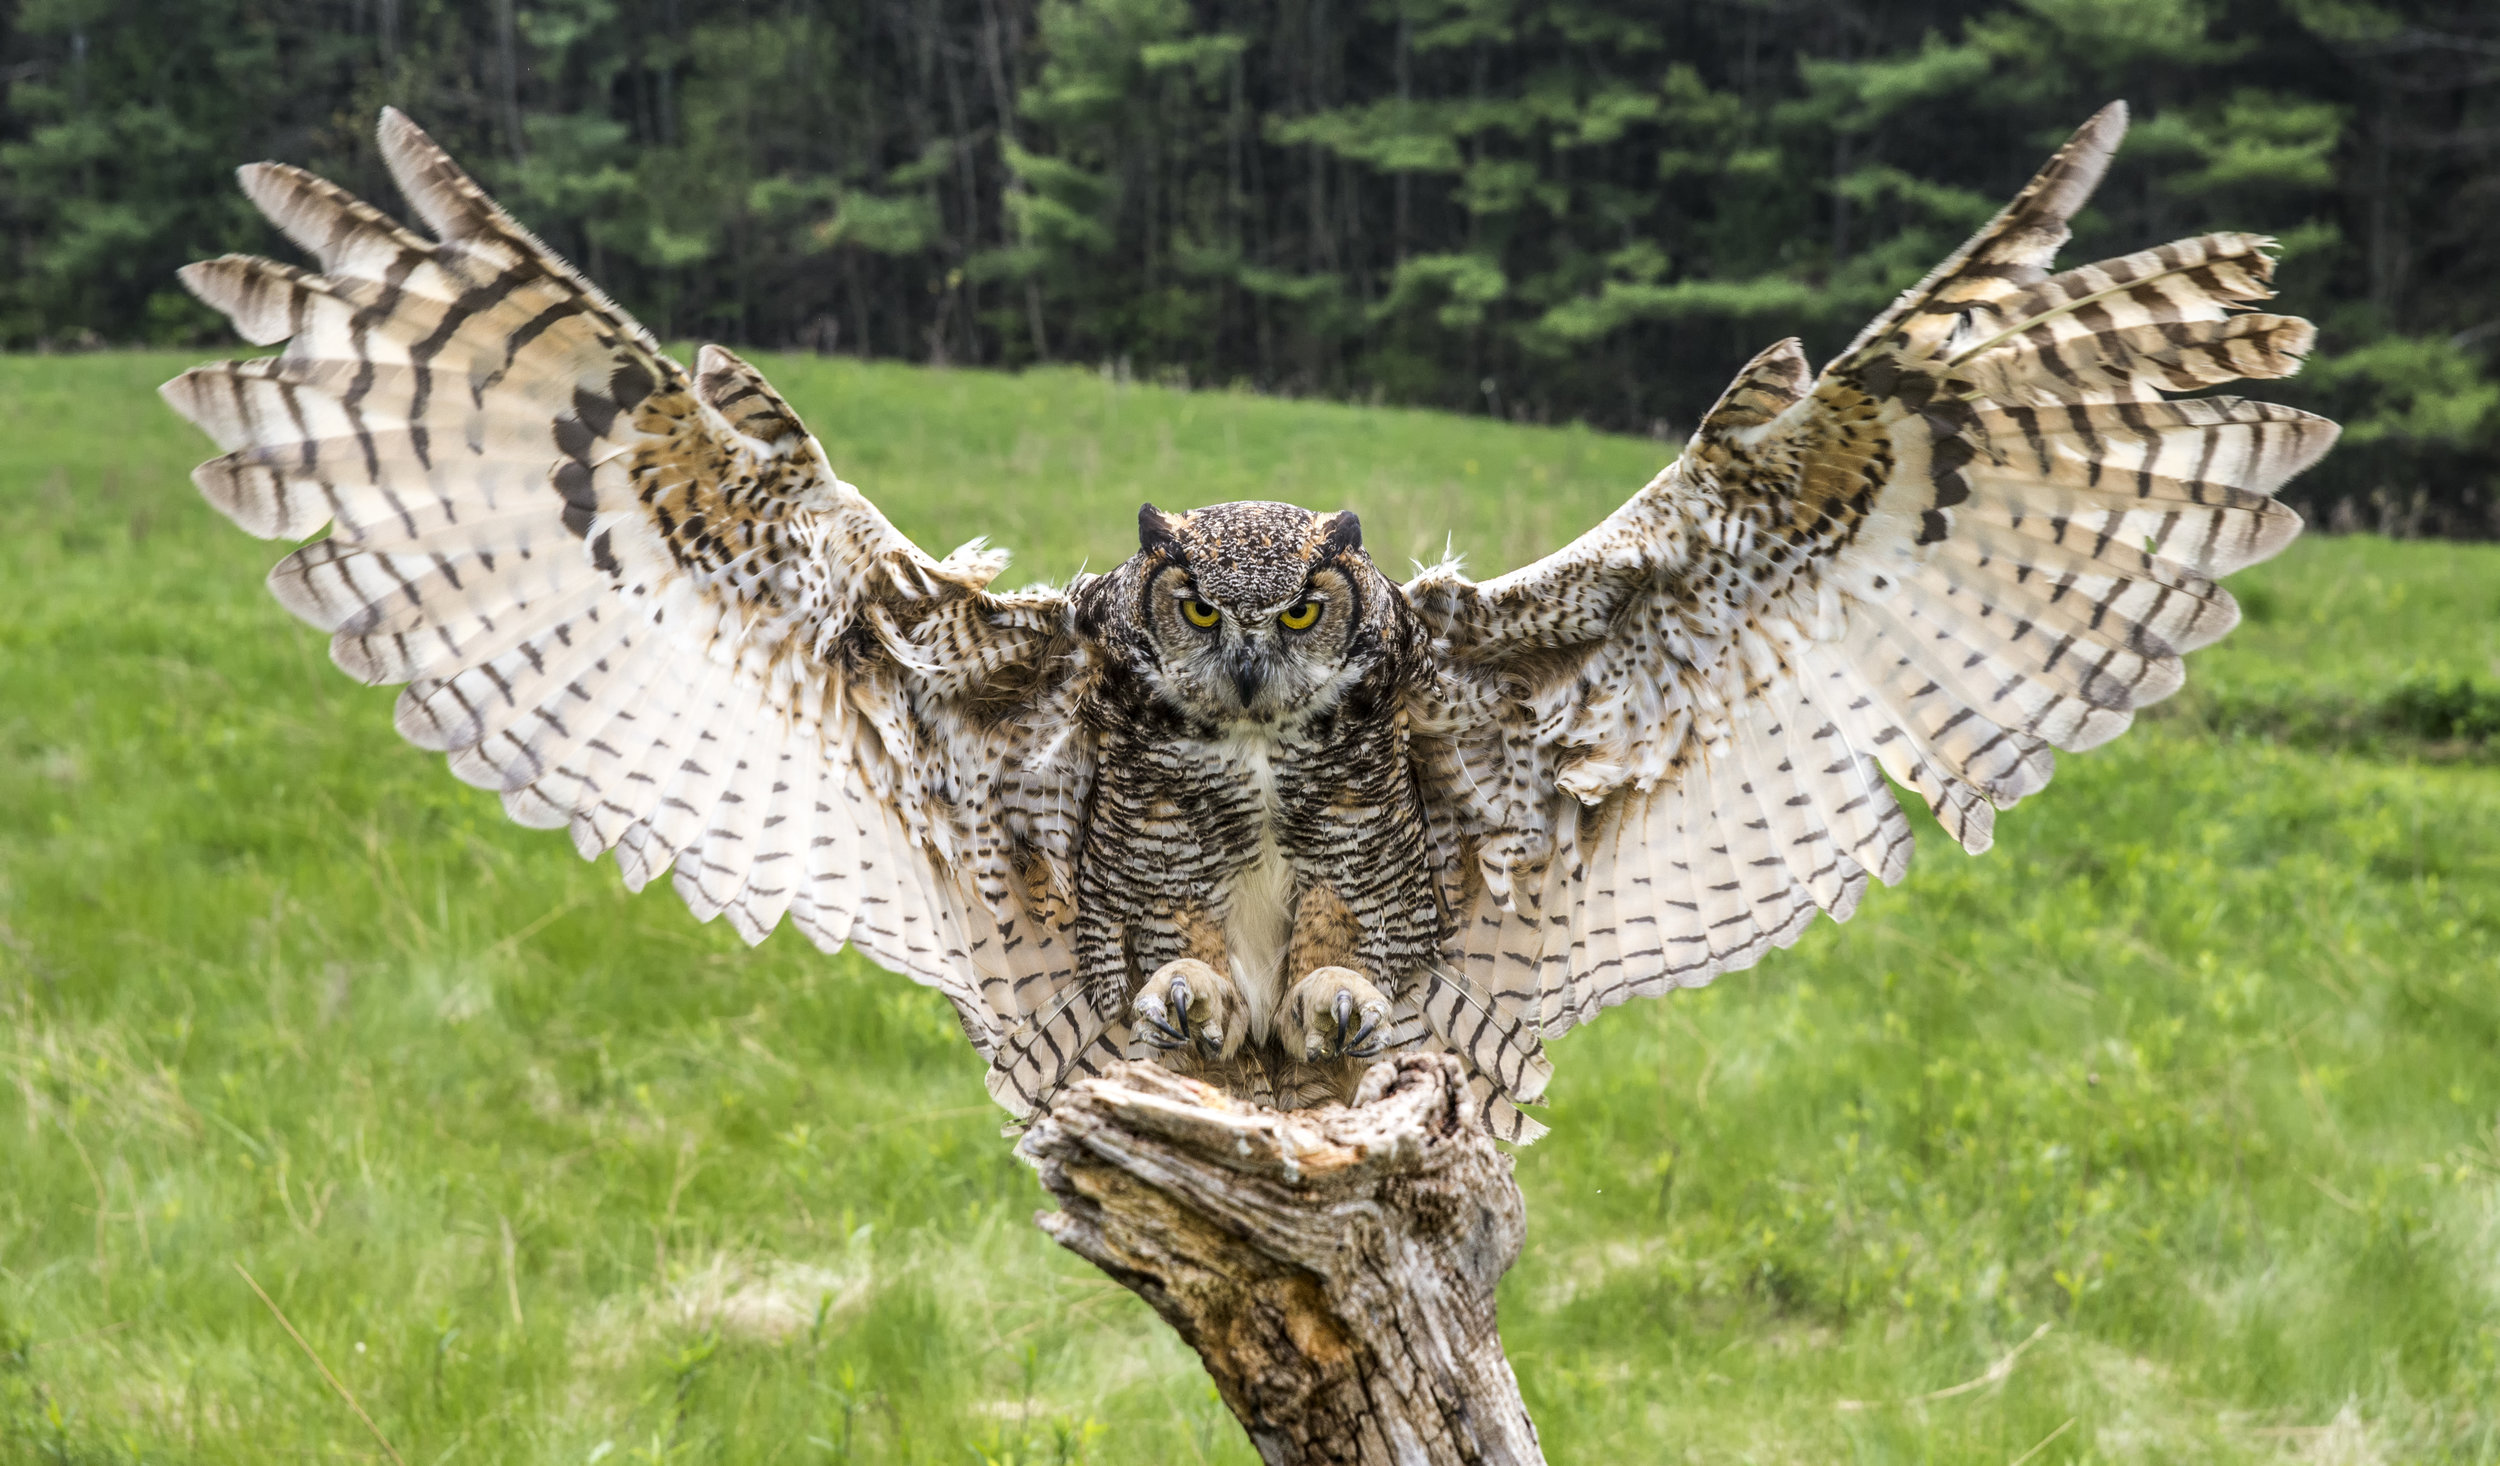
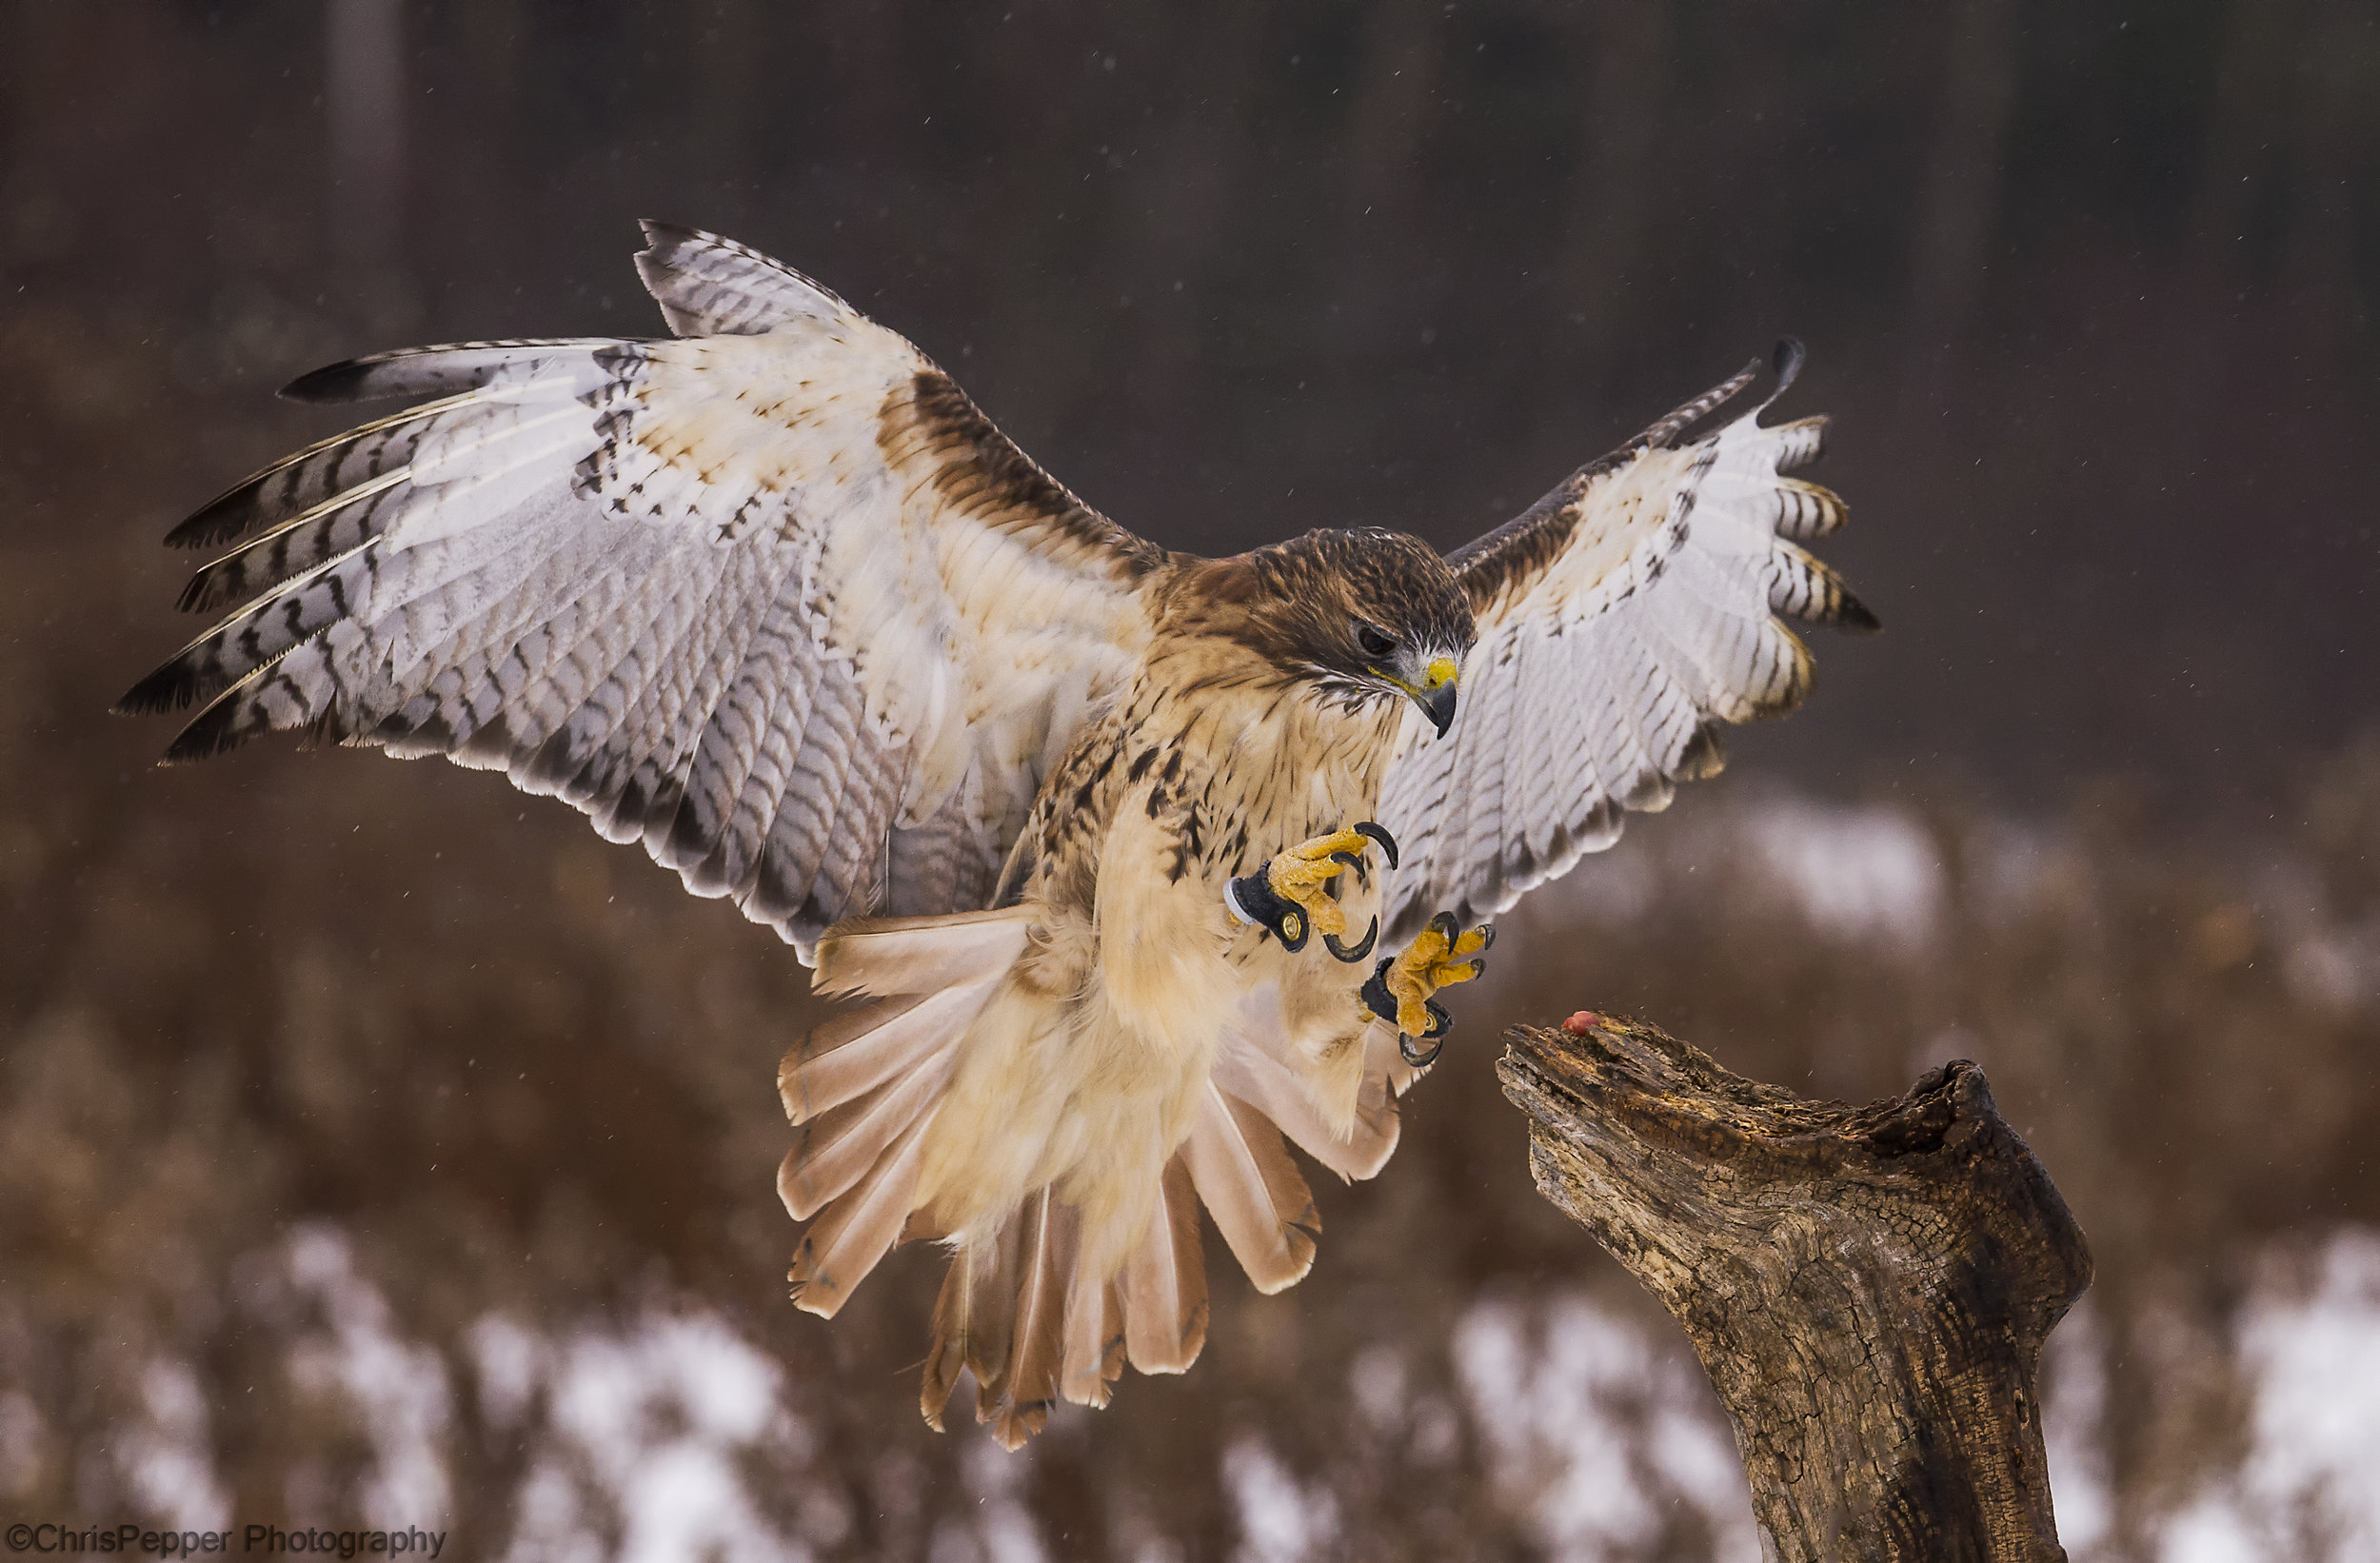
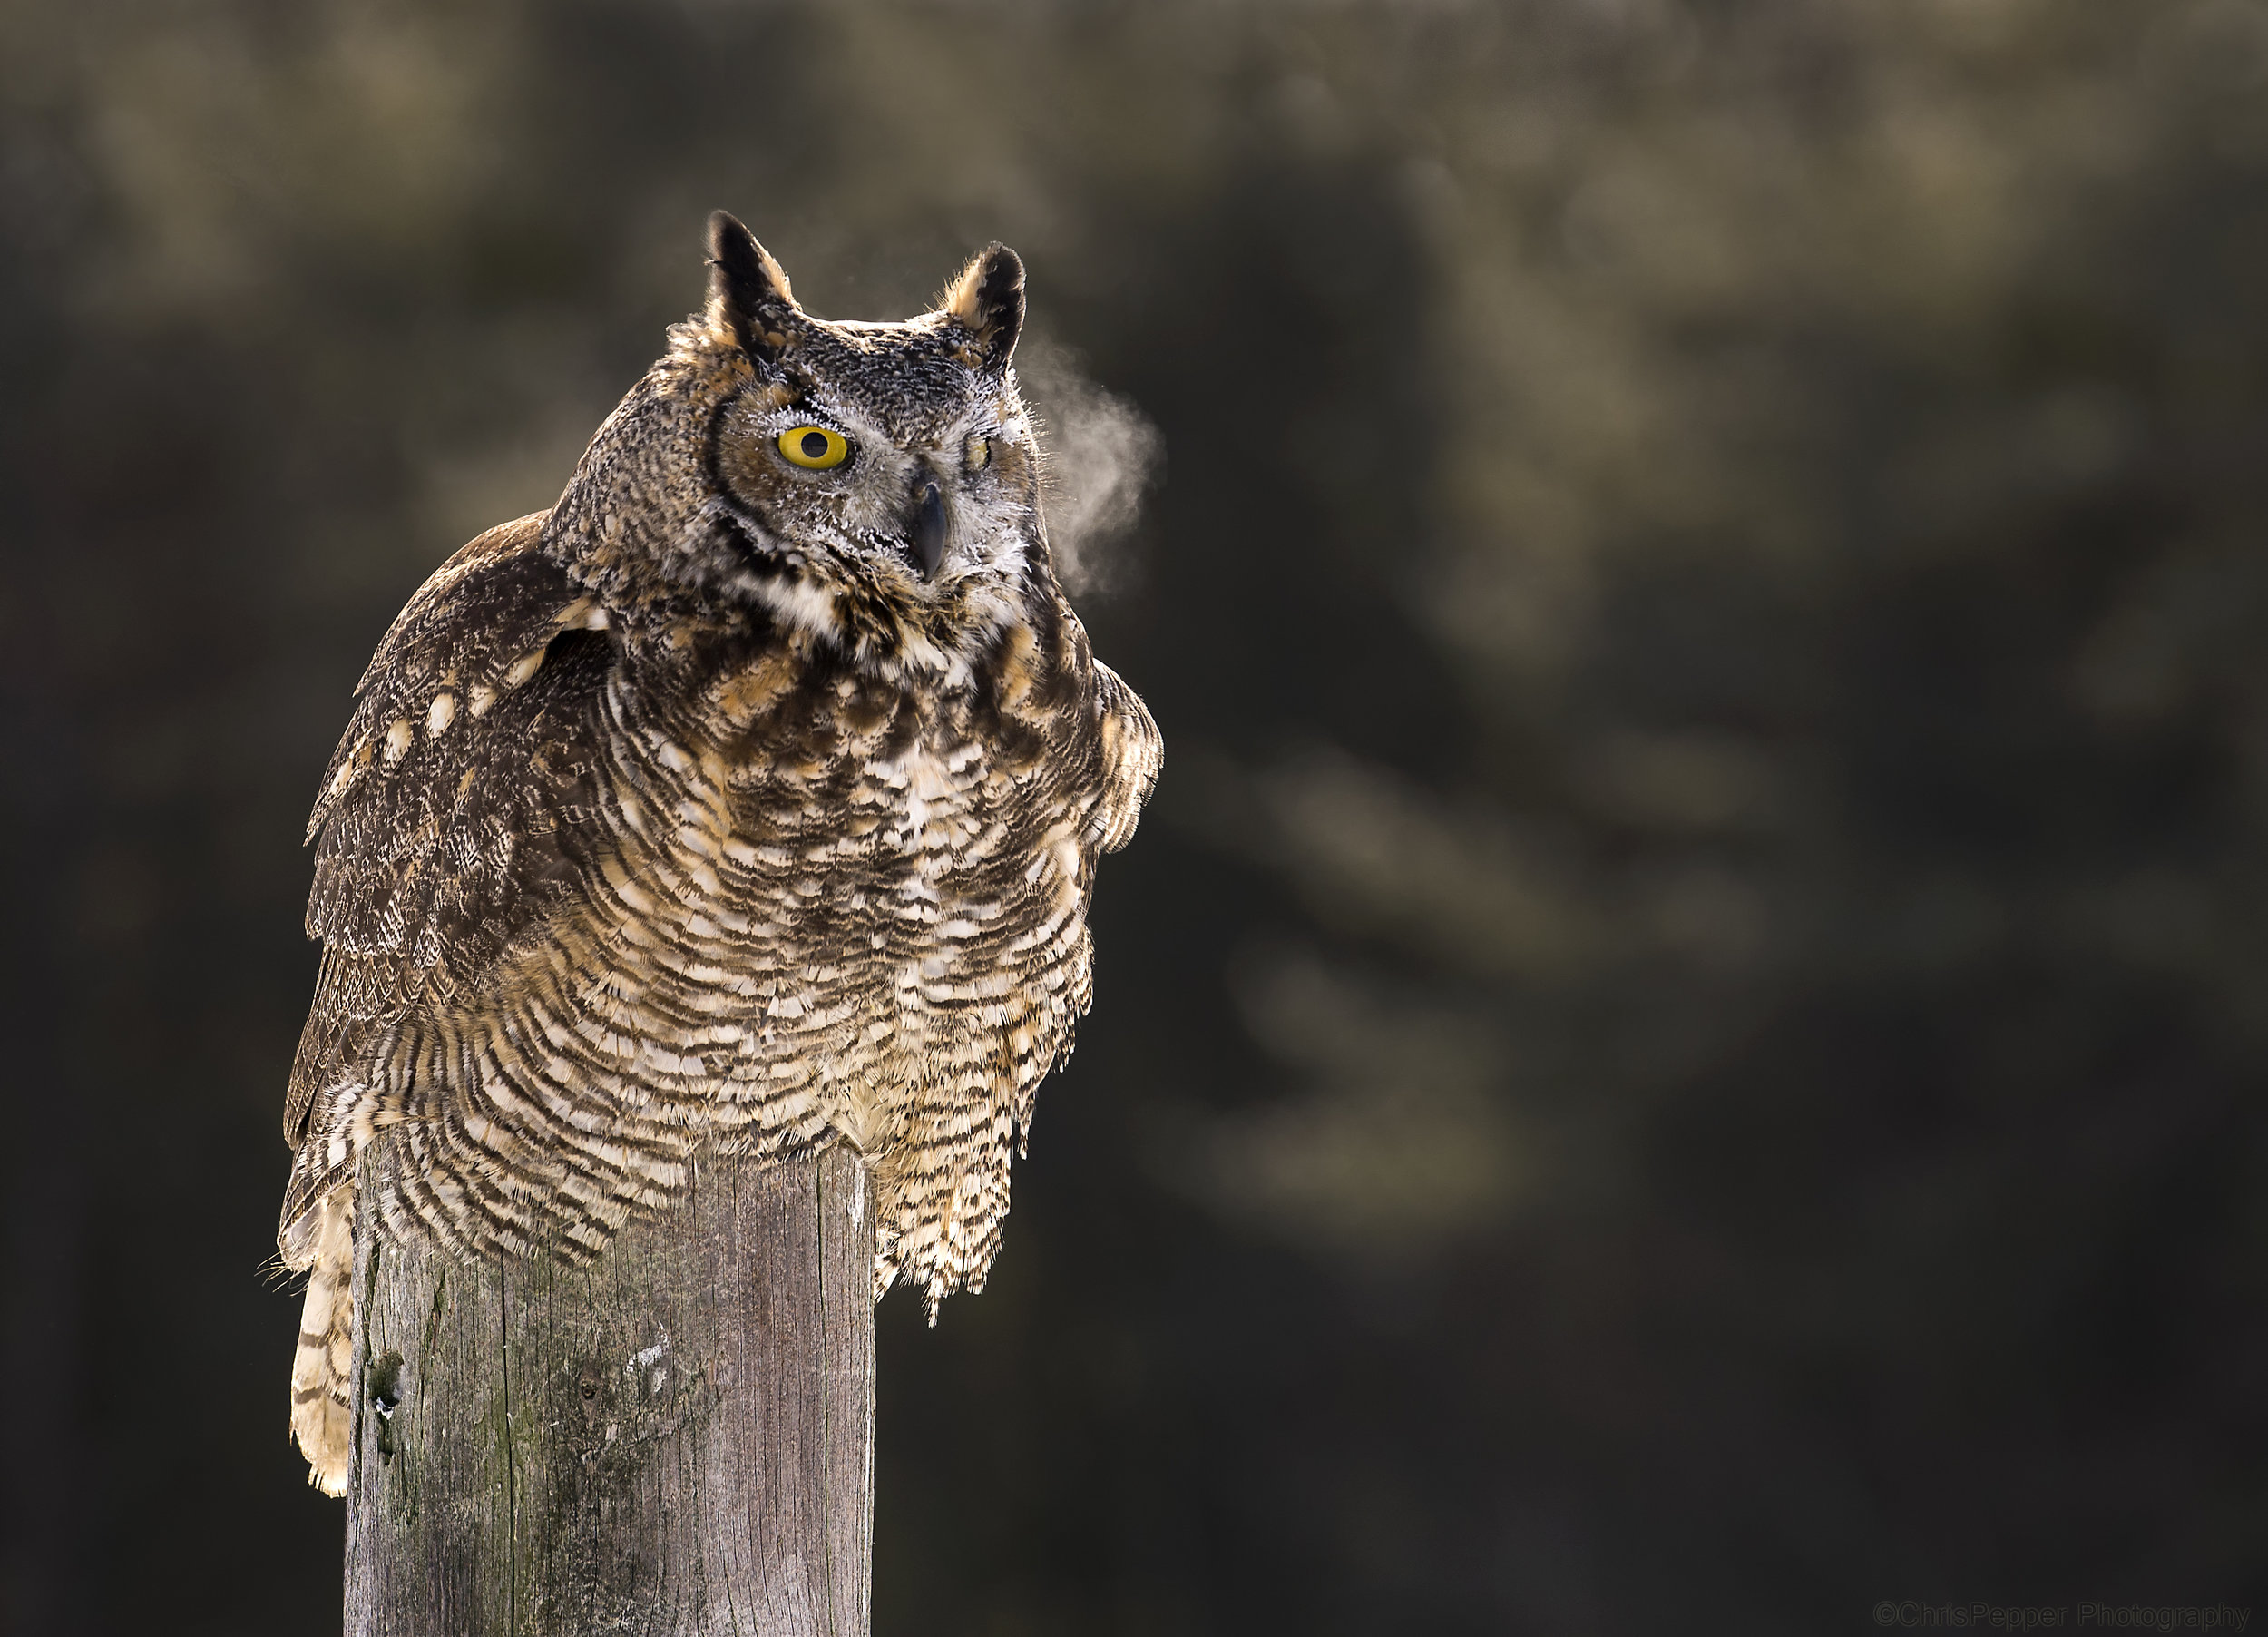
Last will be your landing shots, keep in mind the common elements again. Wind, sun and back ground. For this shot you can try a few different focus methods for achieving the shot desired. One follow the bird acquiring focus half way to the target area or just keep your focus on the perch and wait for the subject to land and fire away. Both methods will work but I find for best results following the subject gives me more keeper images. Look for moments of talons stretched out or big wings stretched out. Ask the falconer how close you can get to the bird or perch, one of my favourite images was with a 24-70 standing a foot away from the post and Dianne one of the older female great horned owls landed right in front of me wings stretched out. Here are a few landing images.

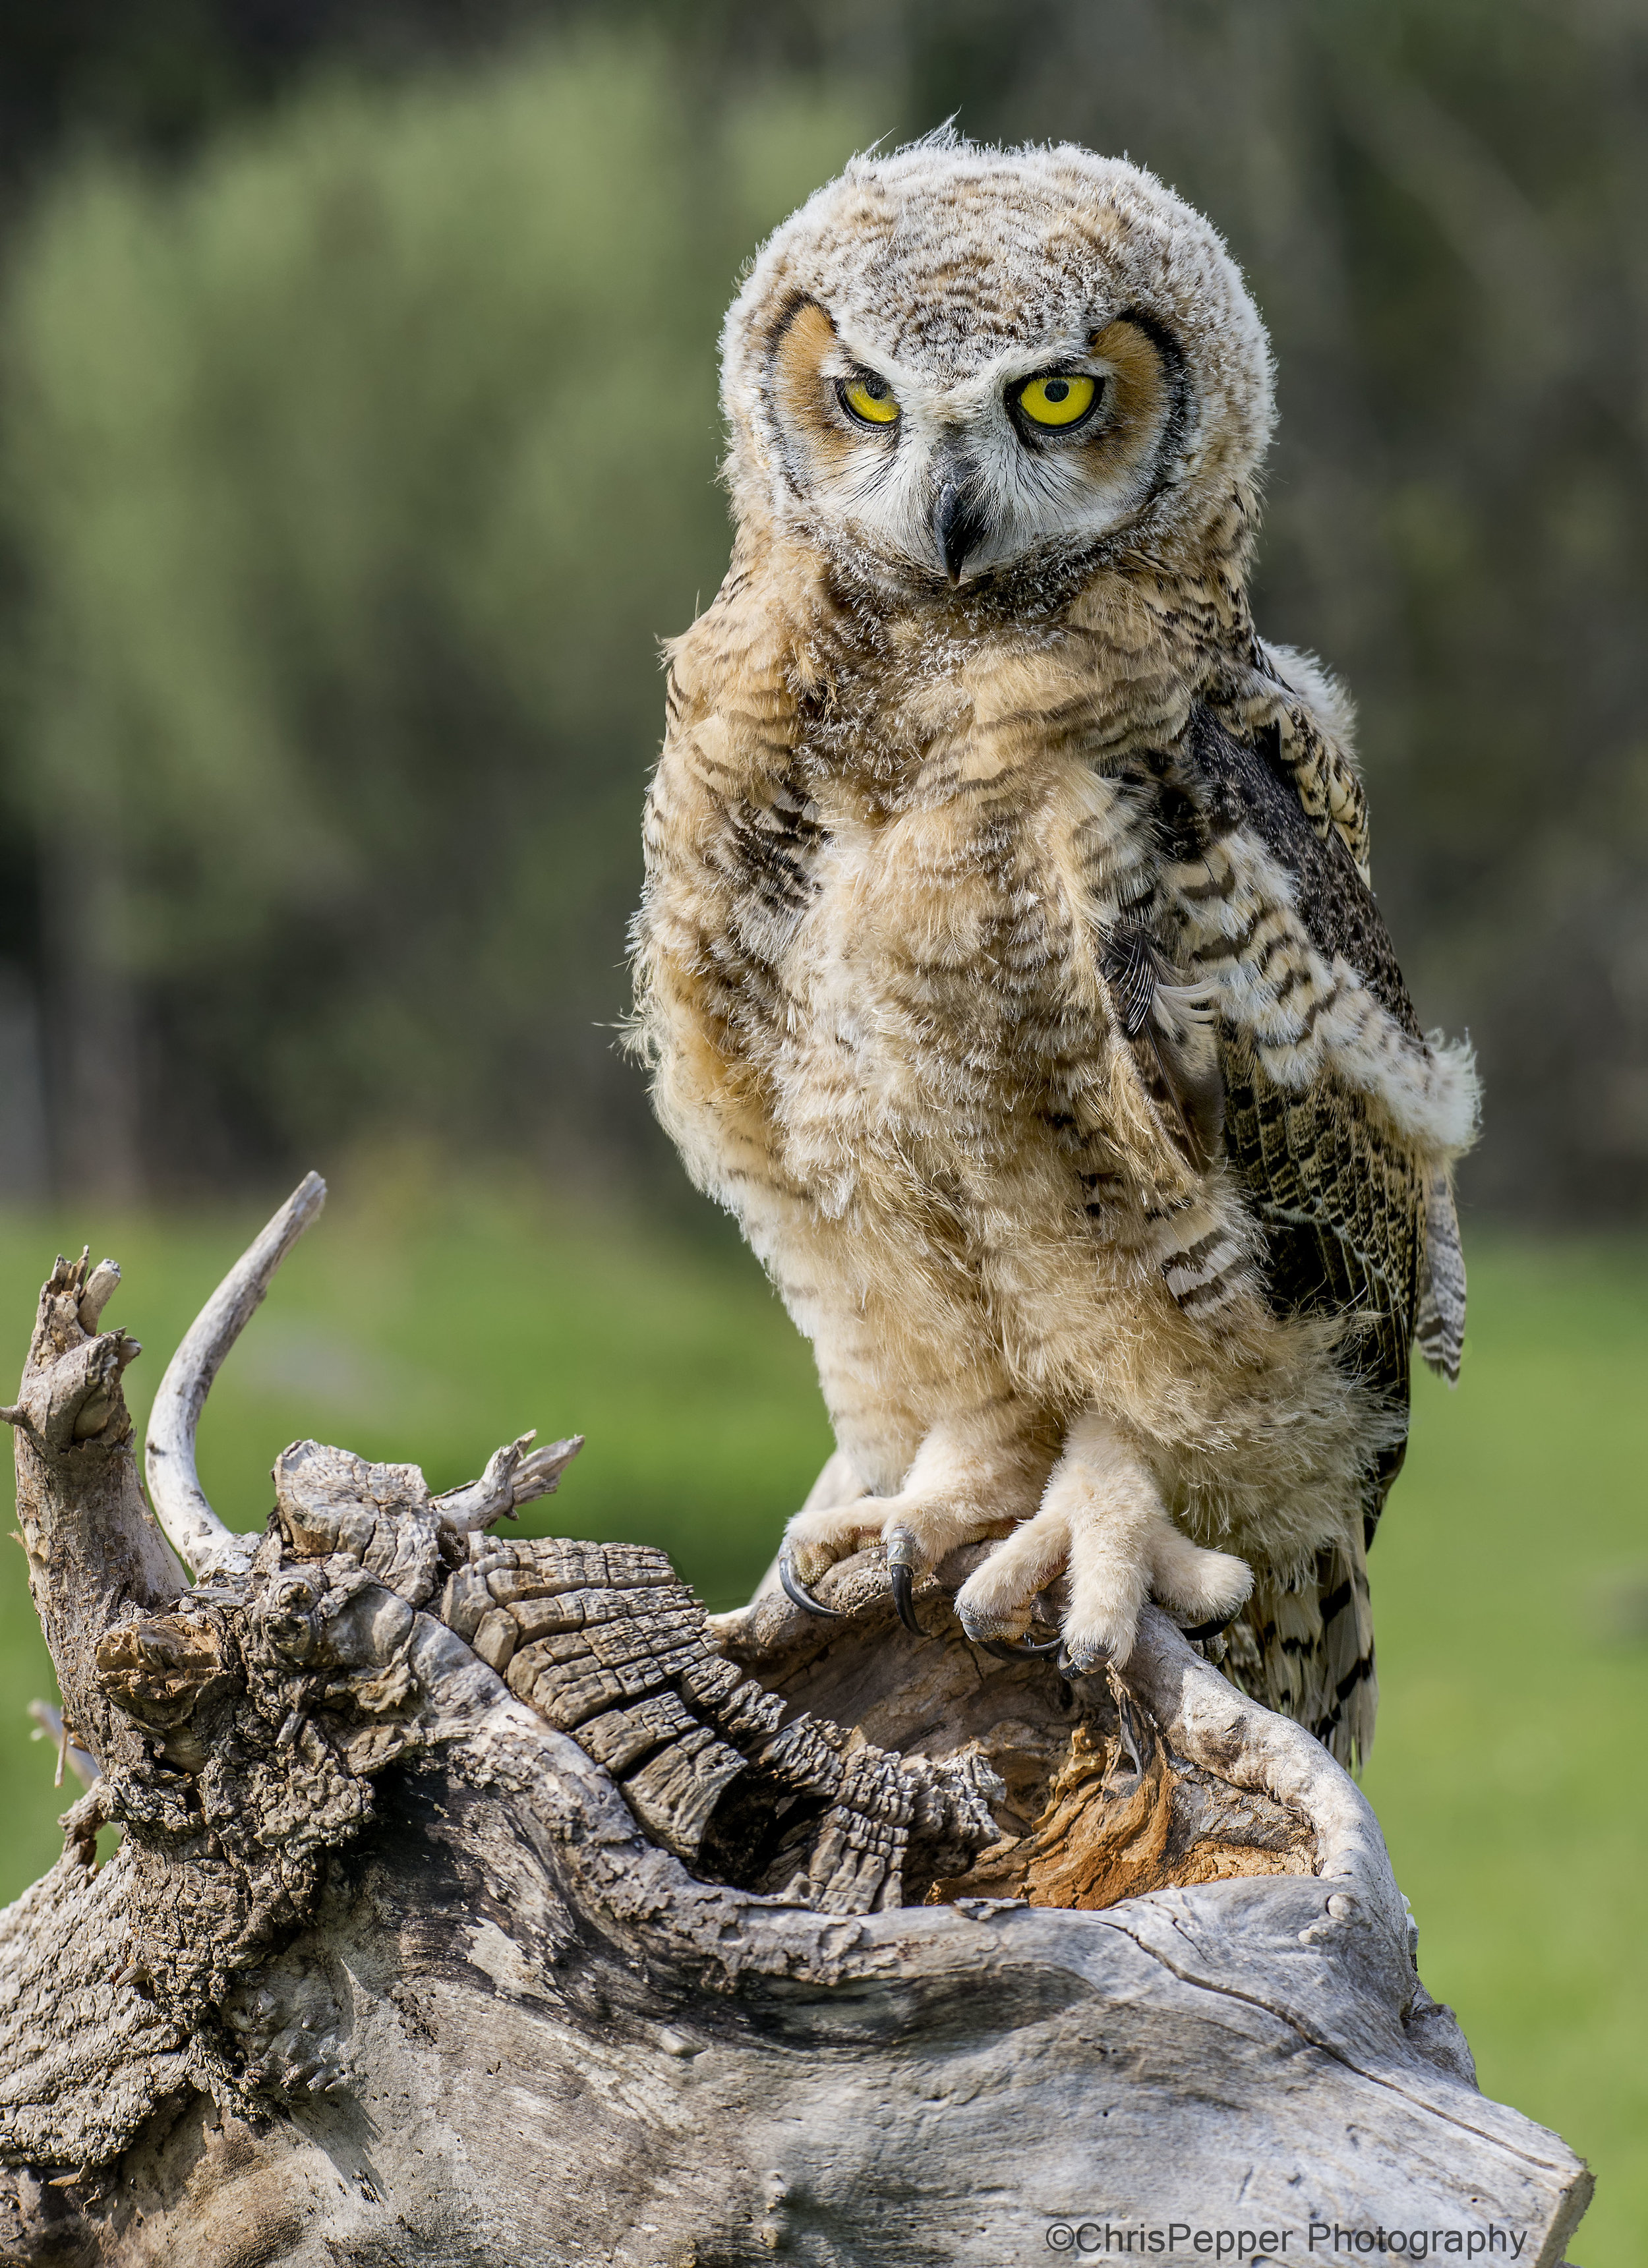
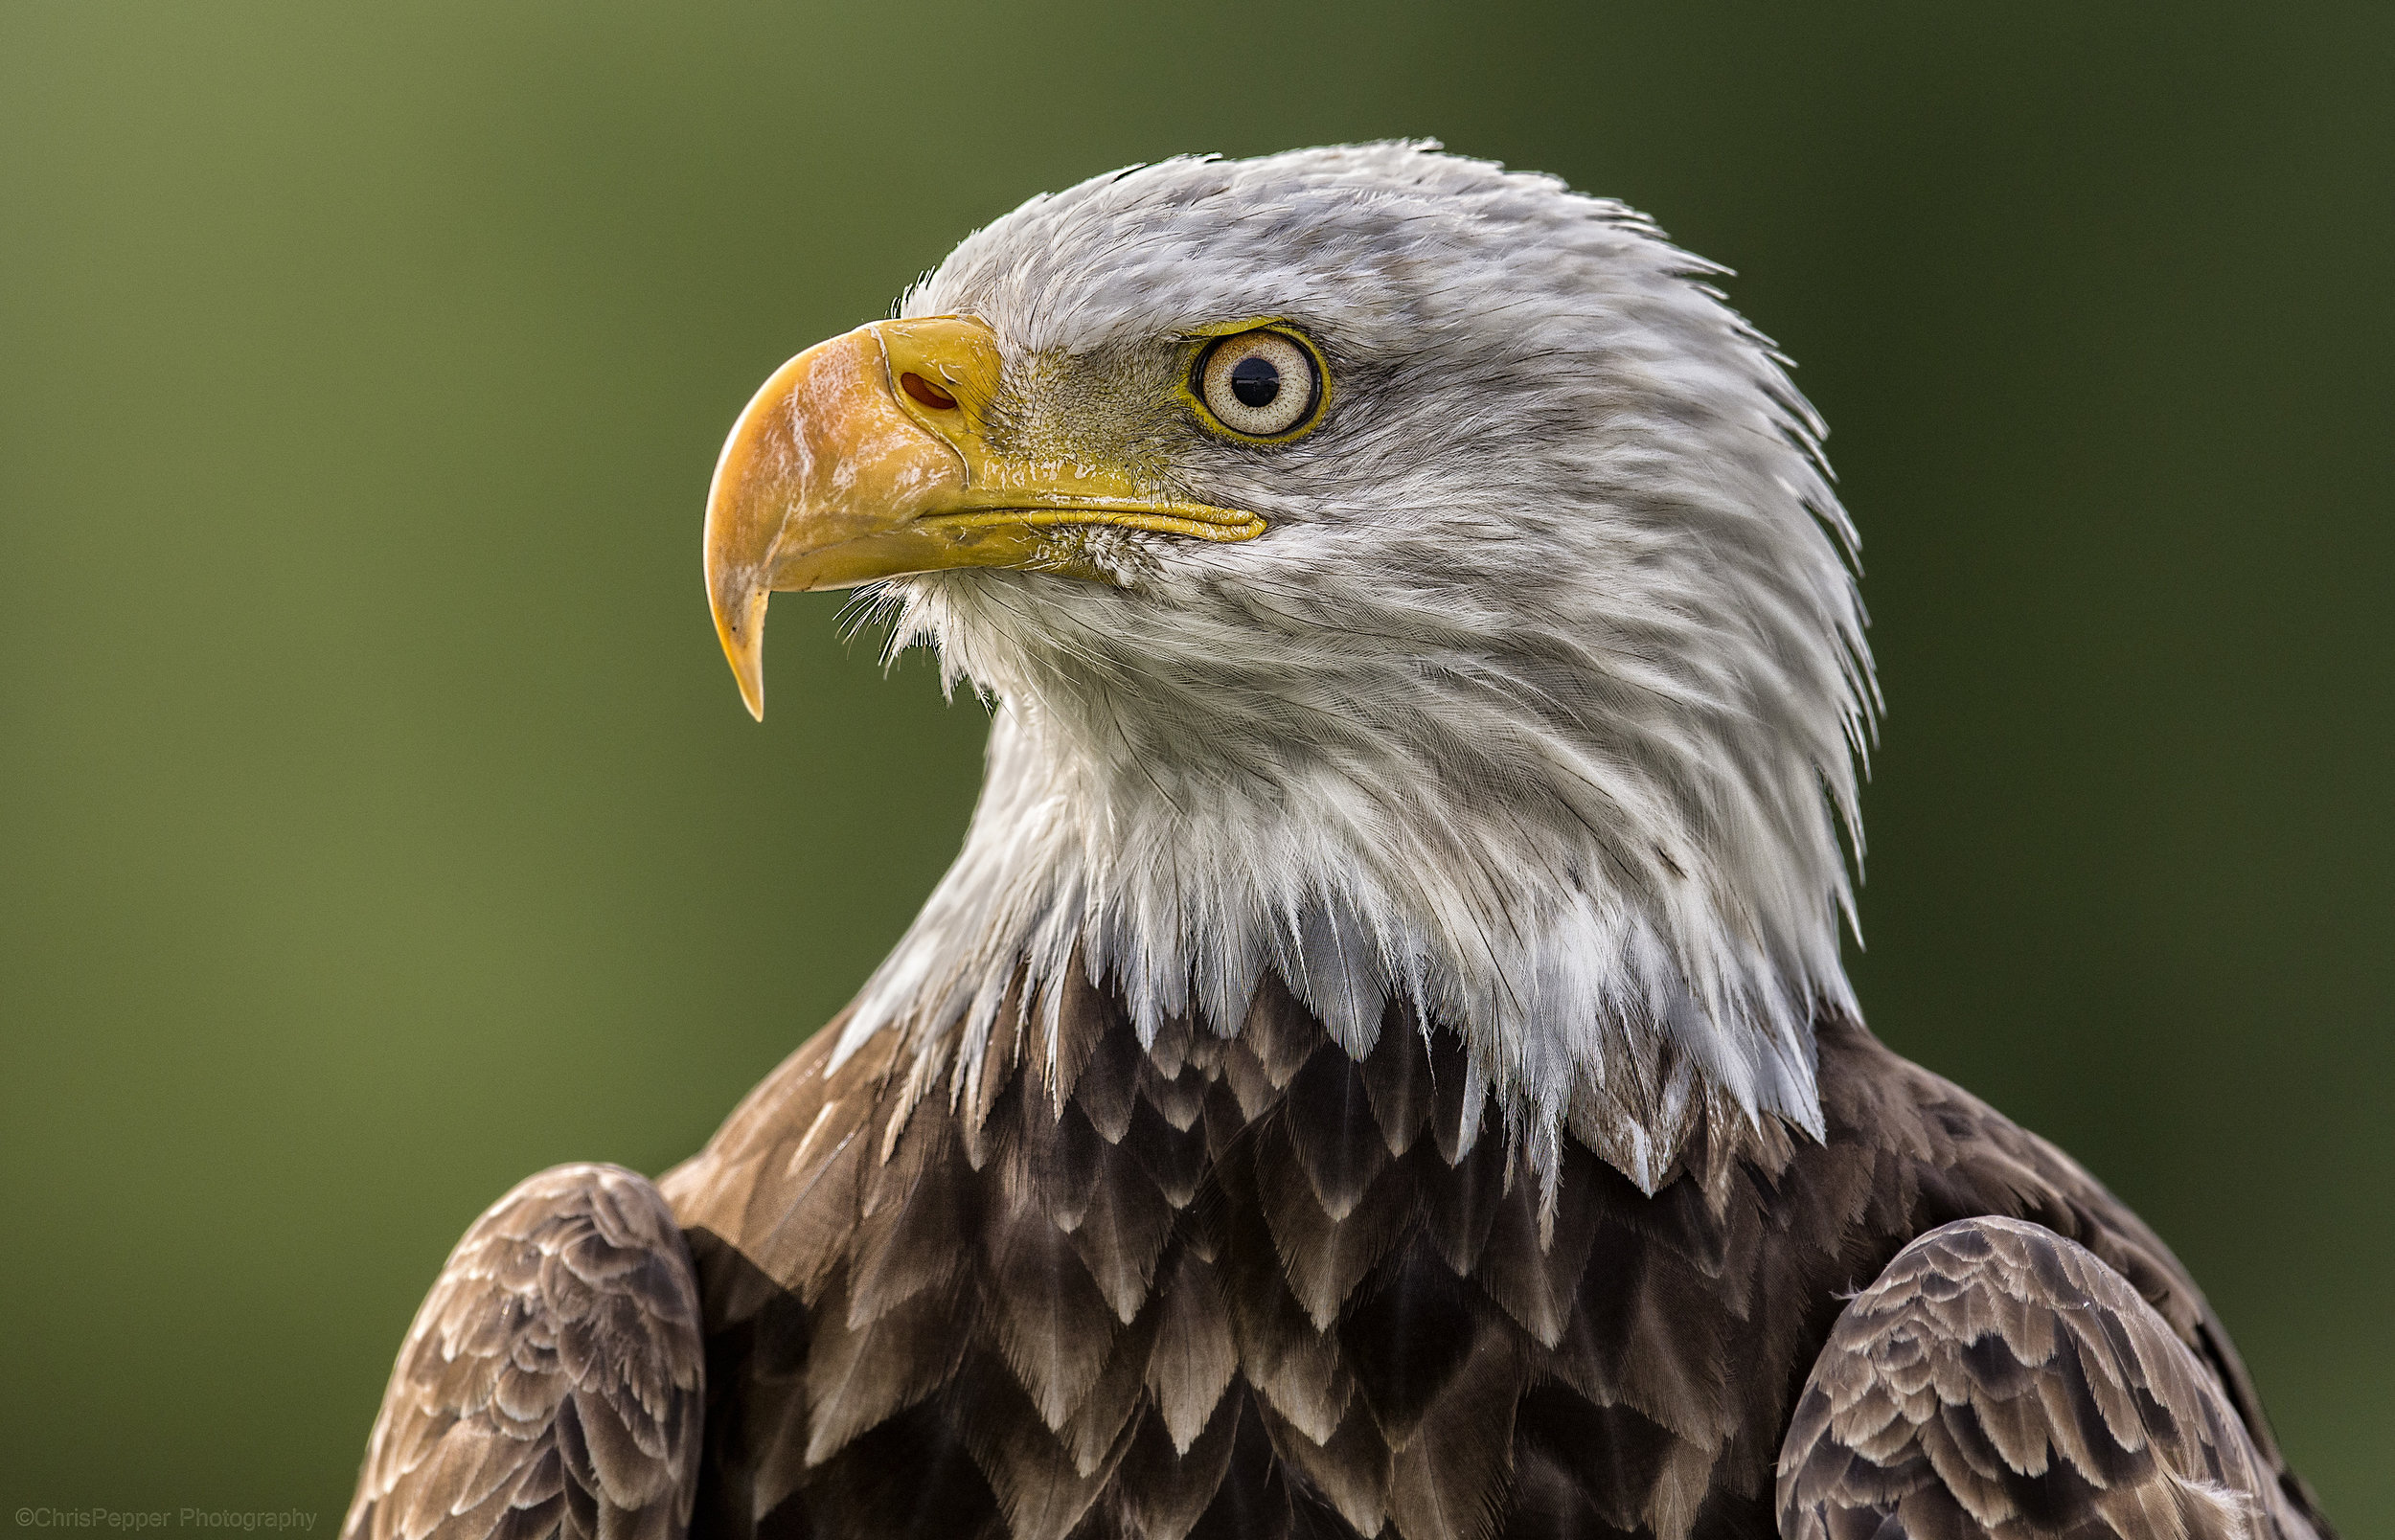
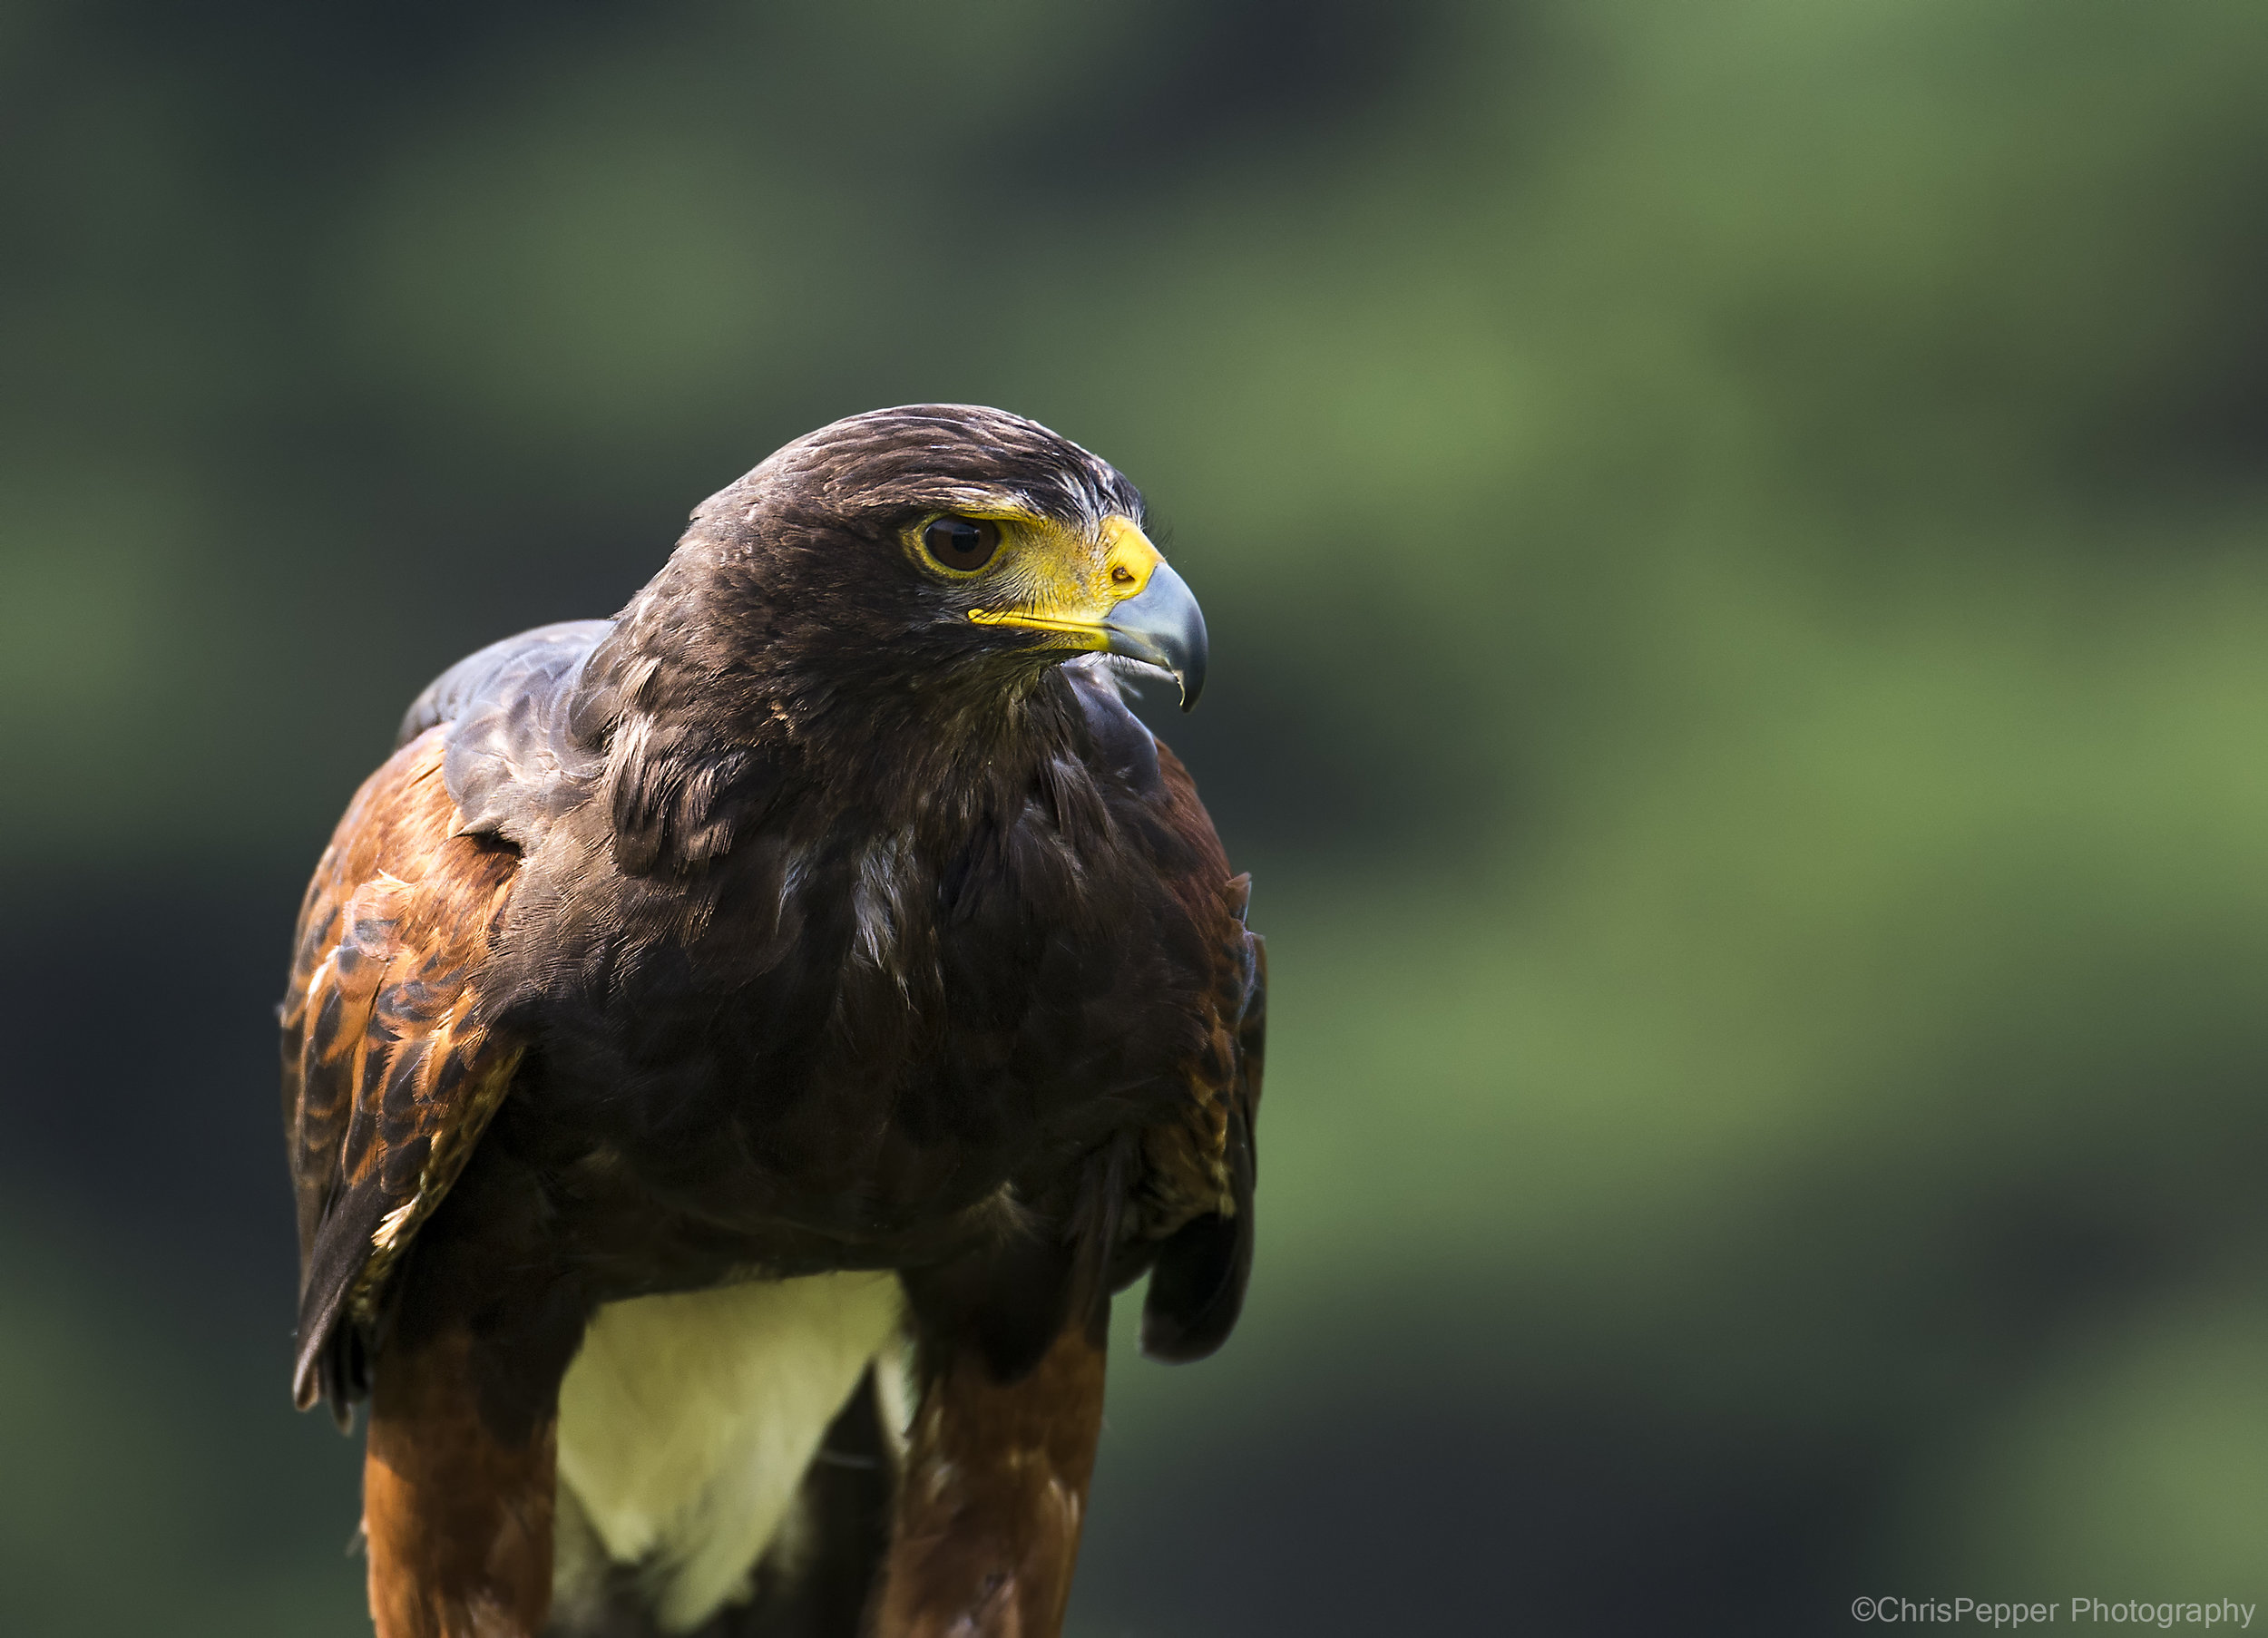
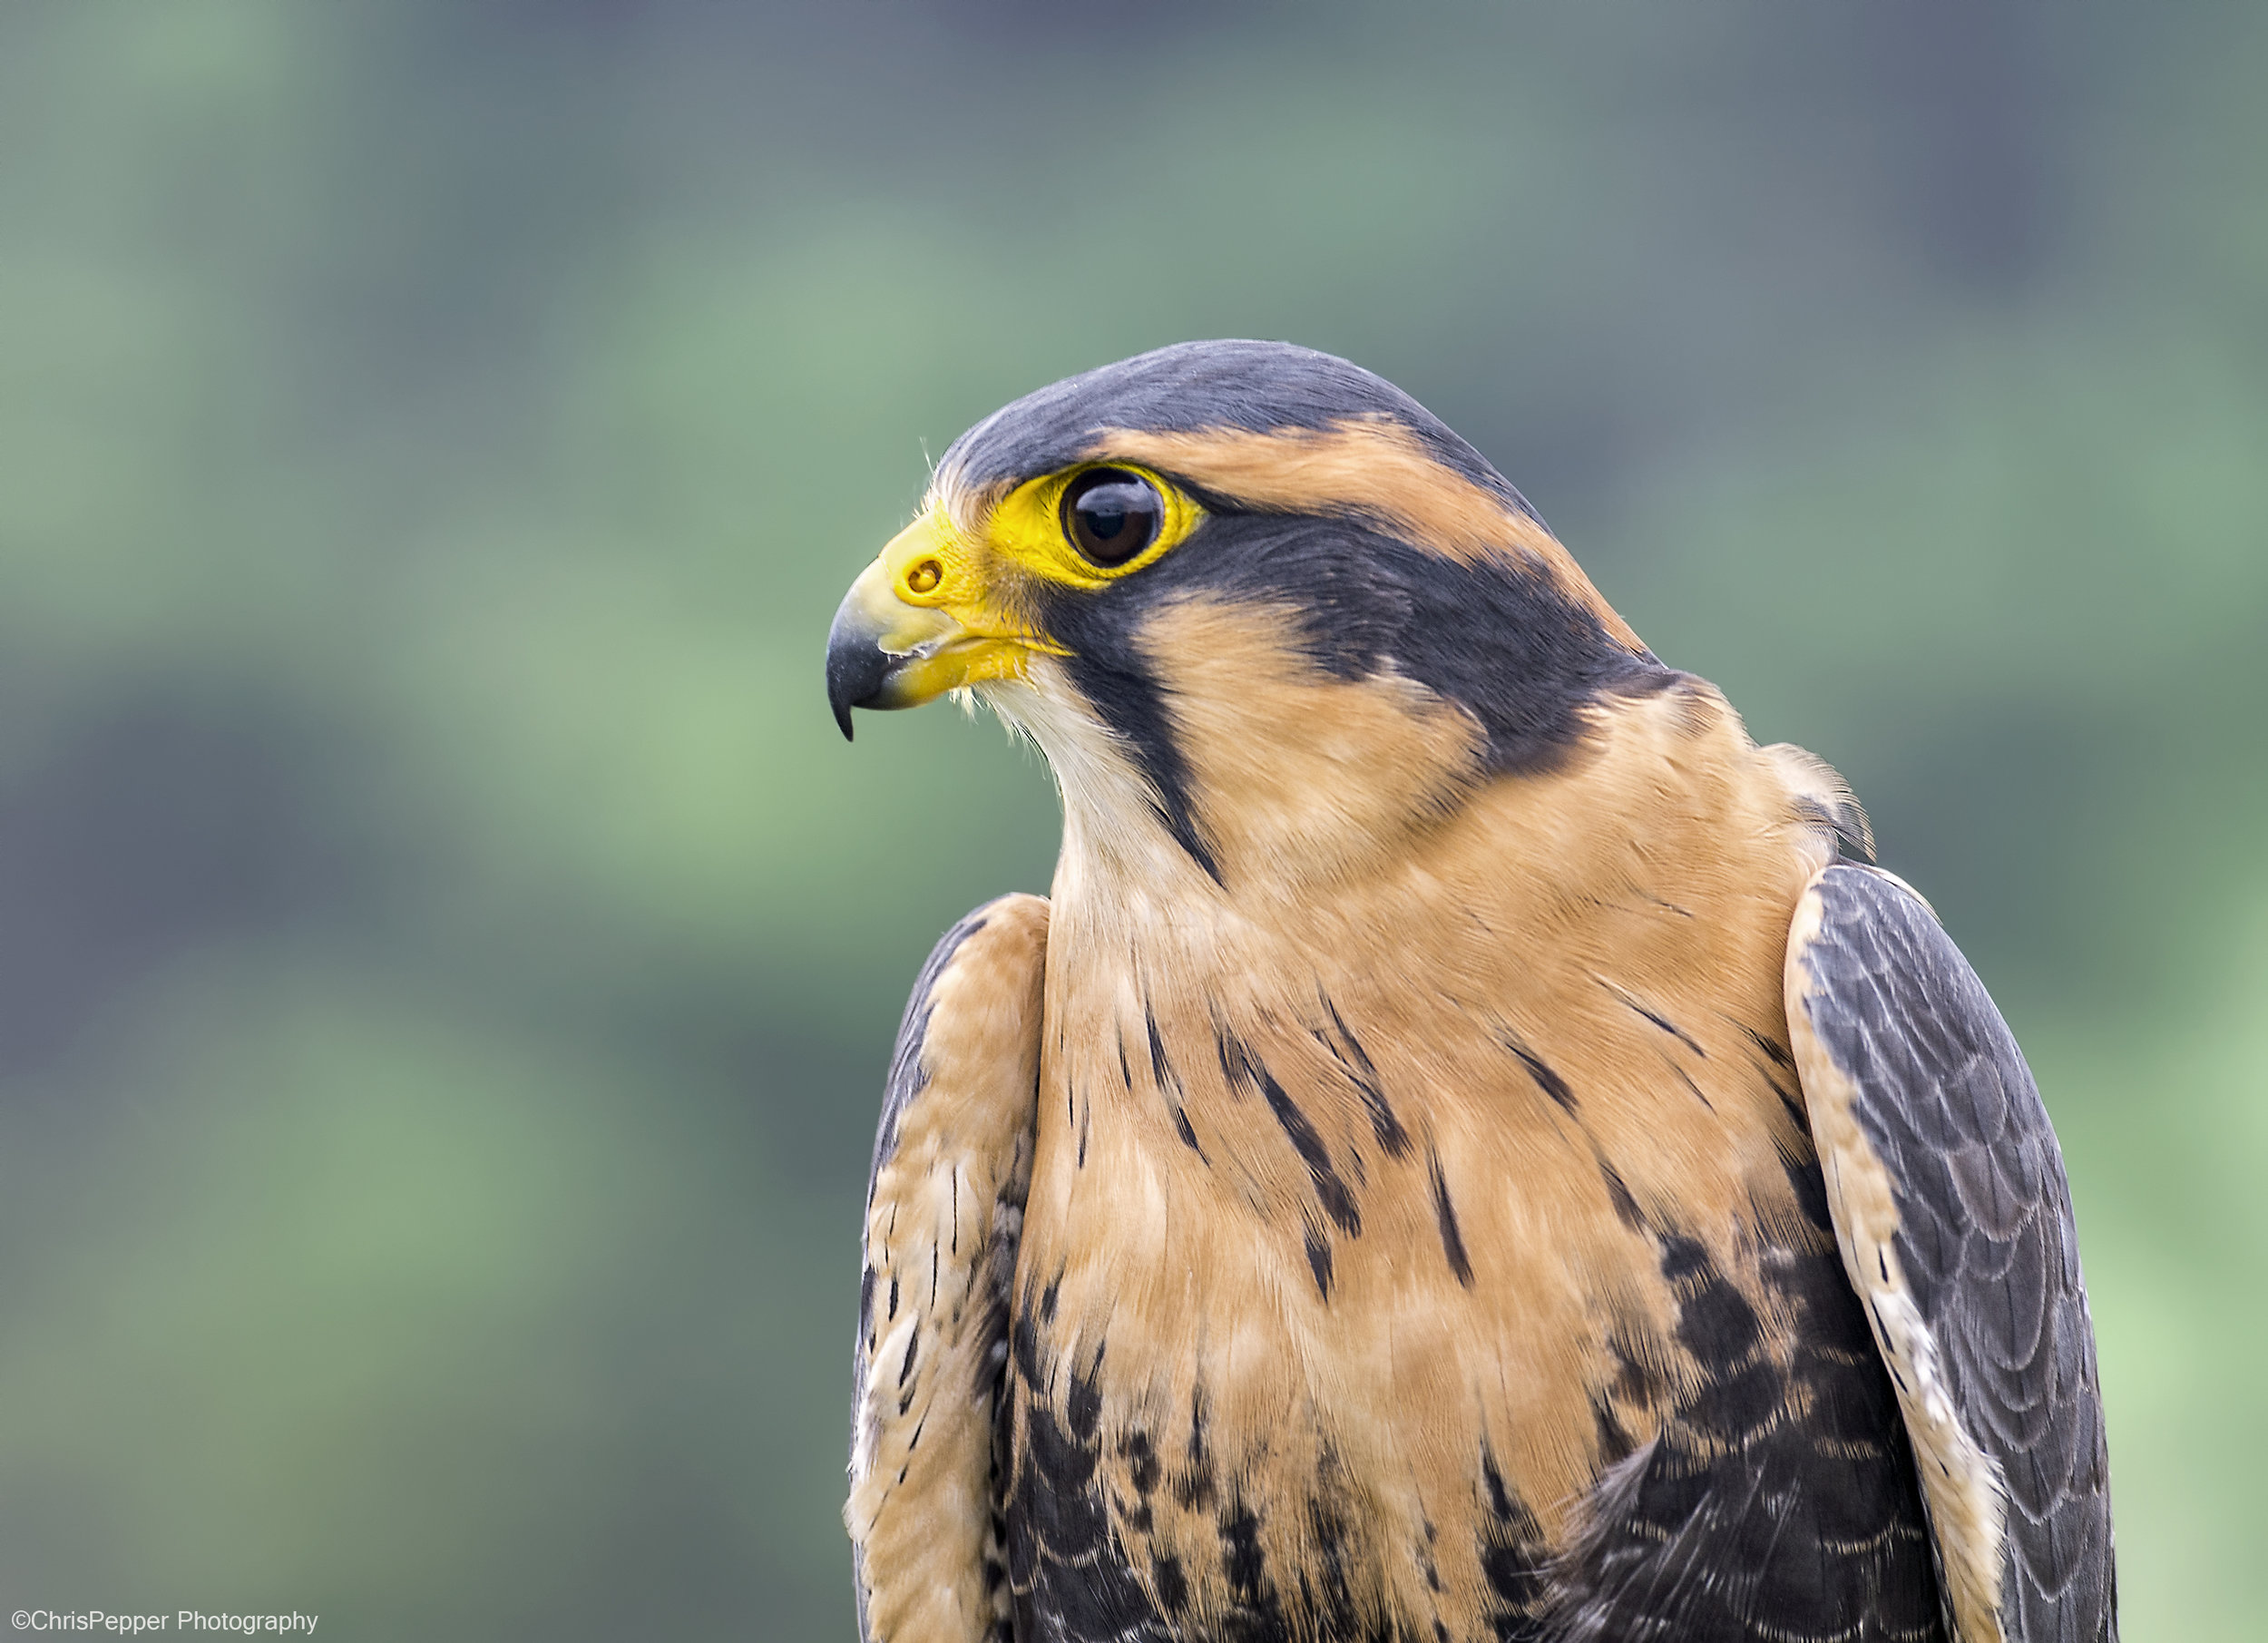
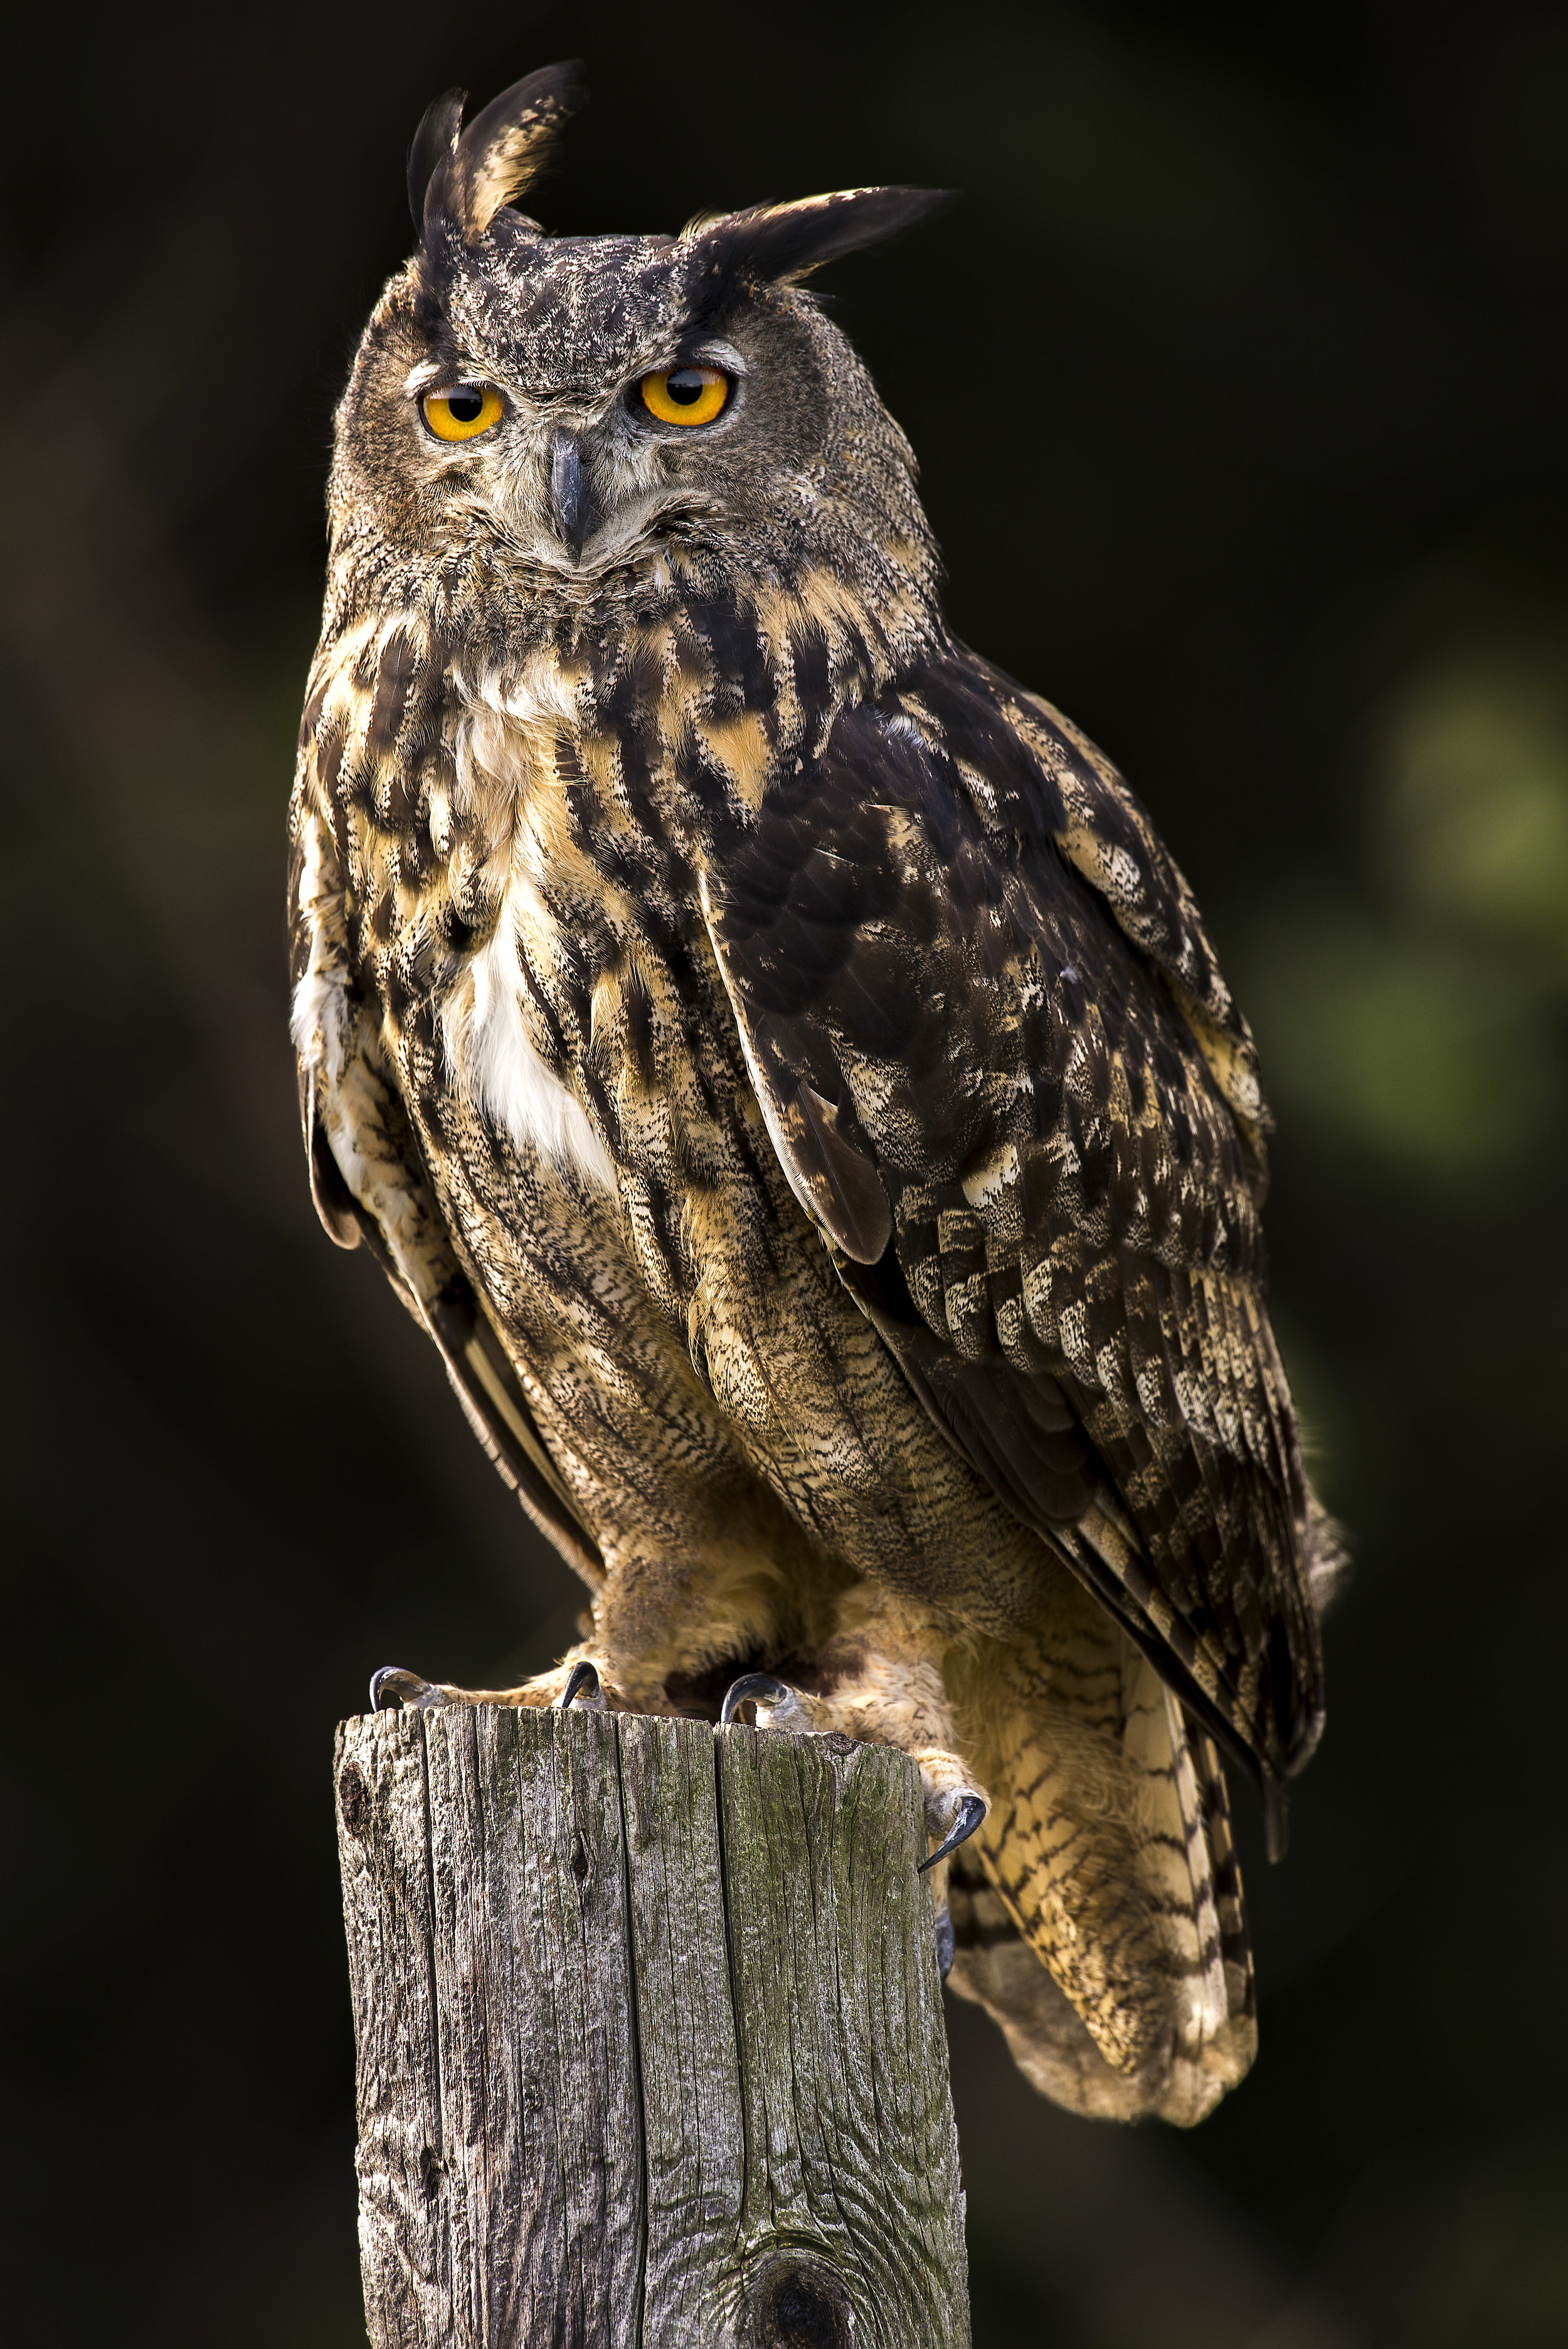
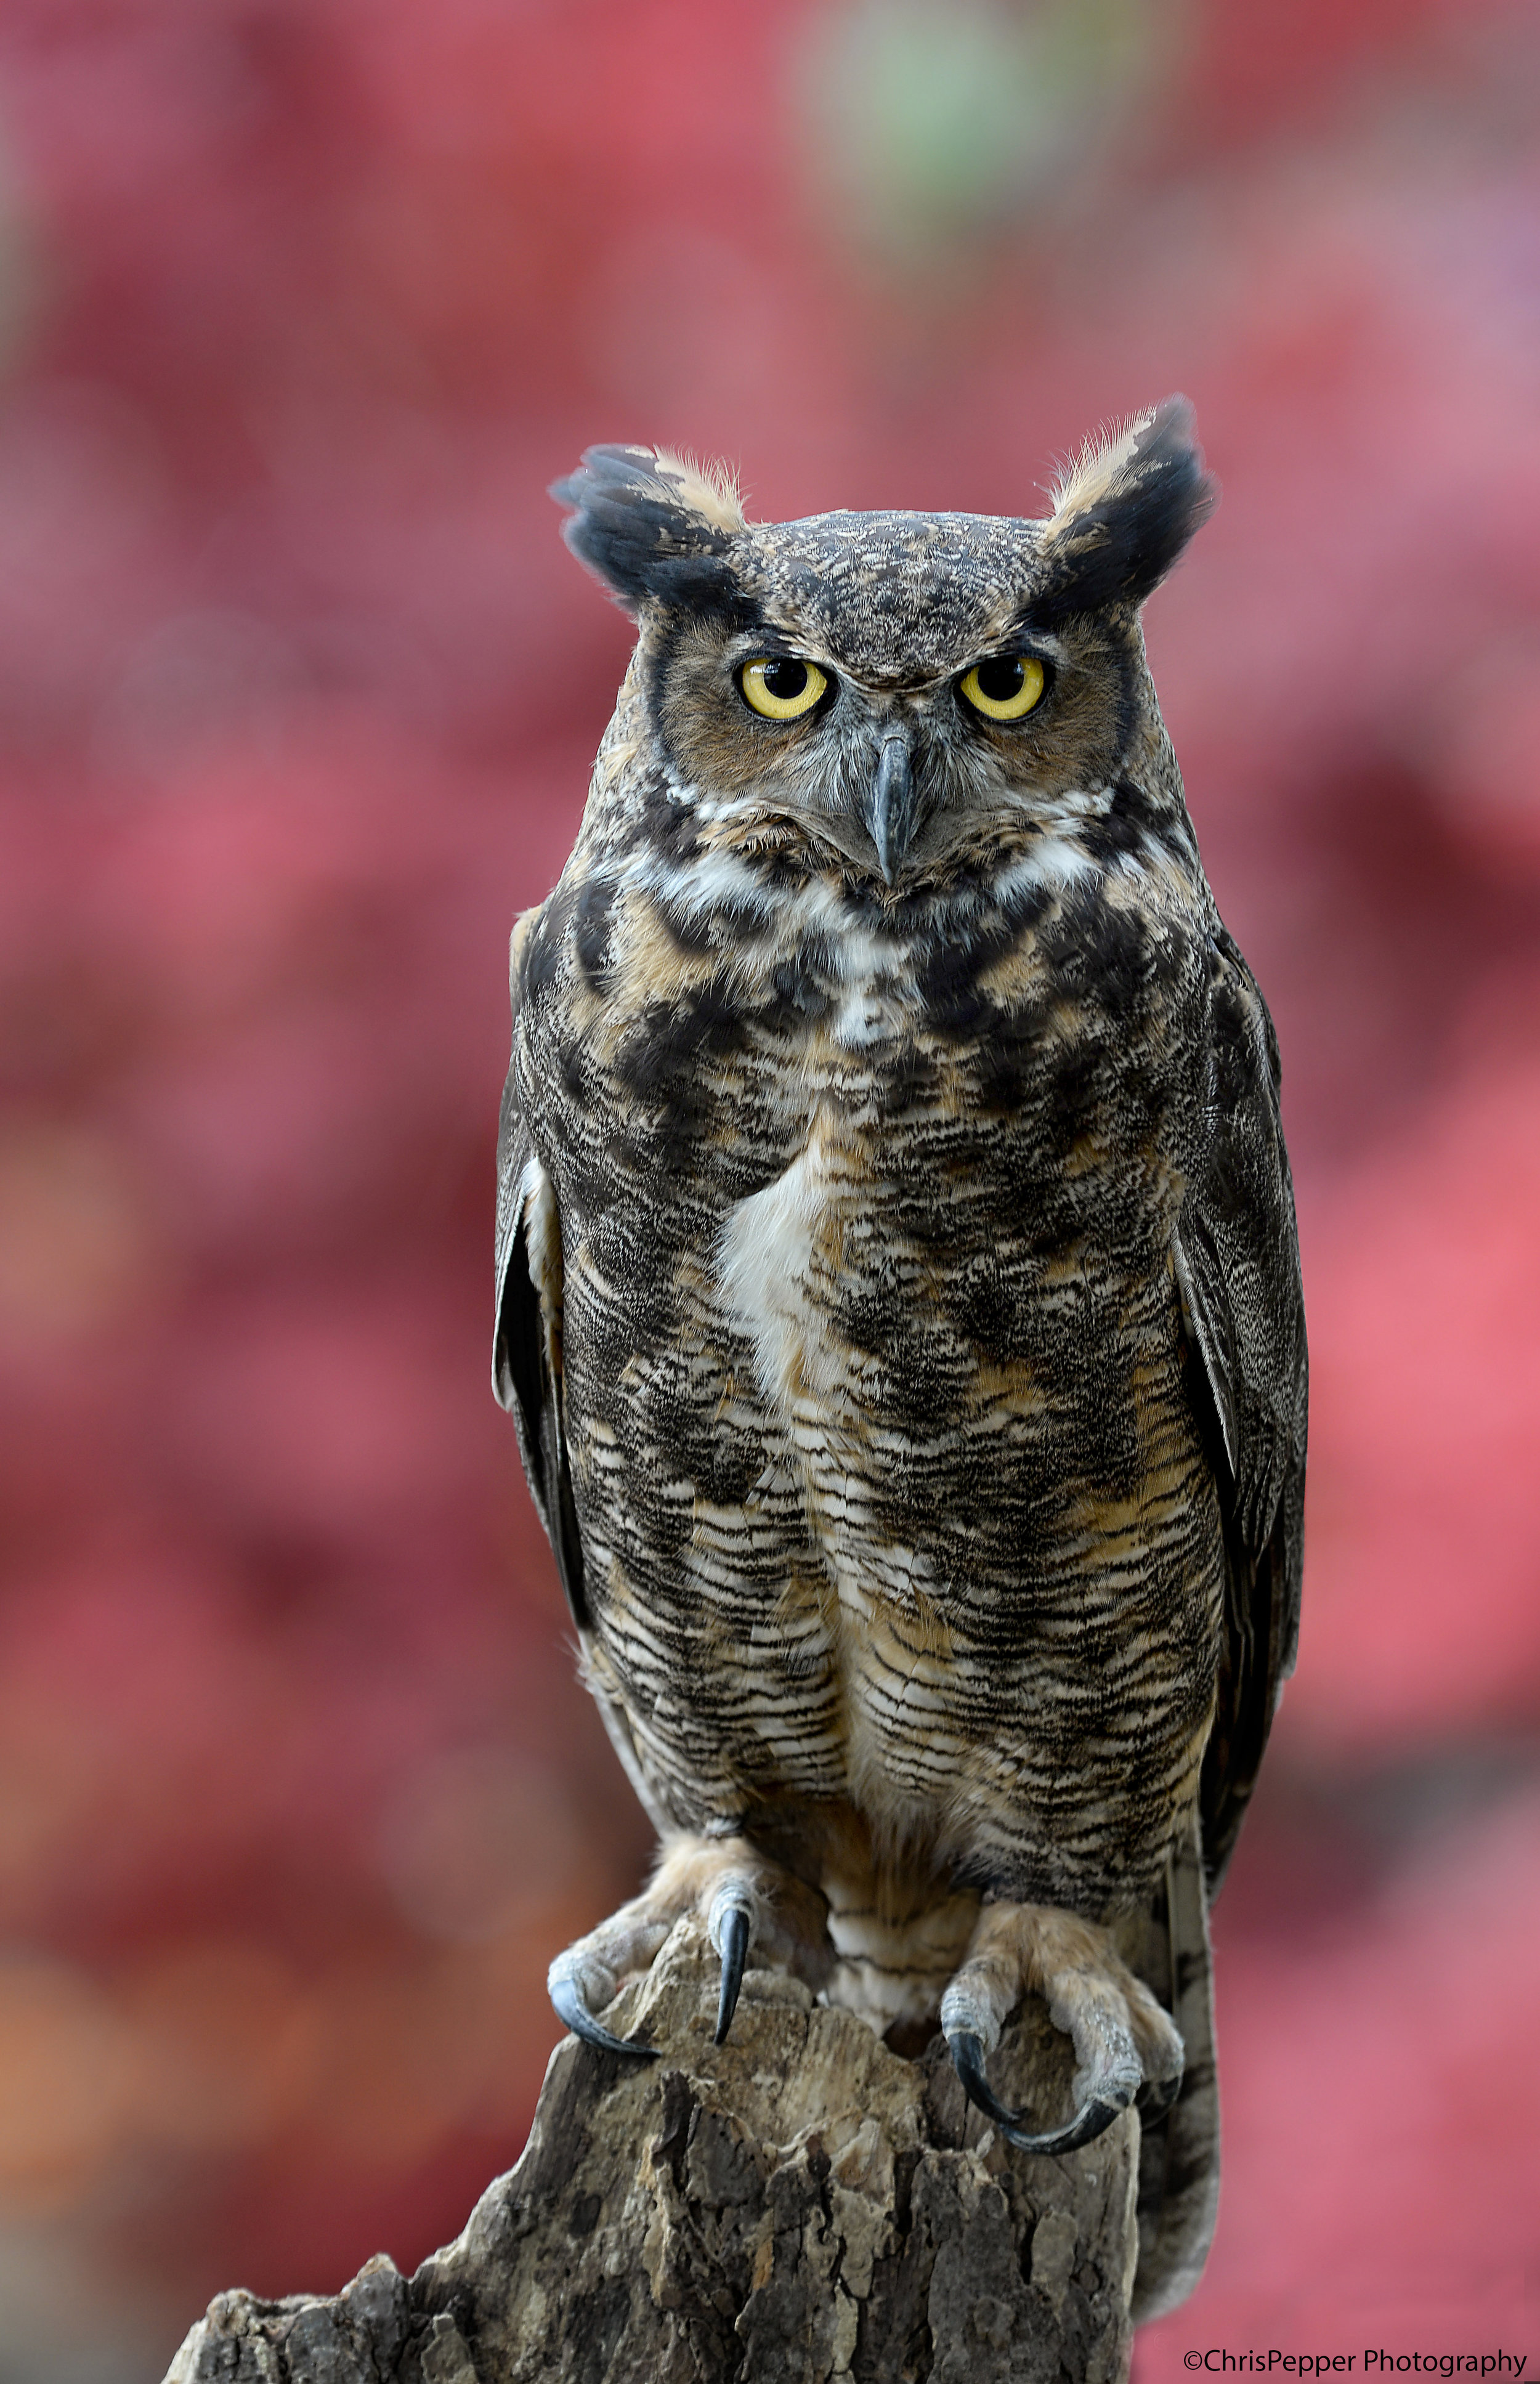
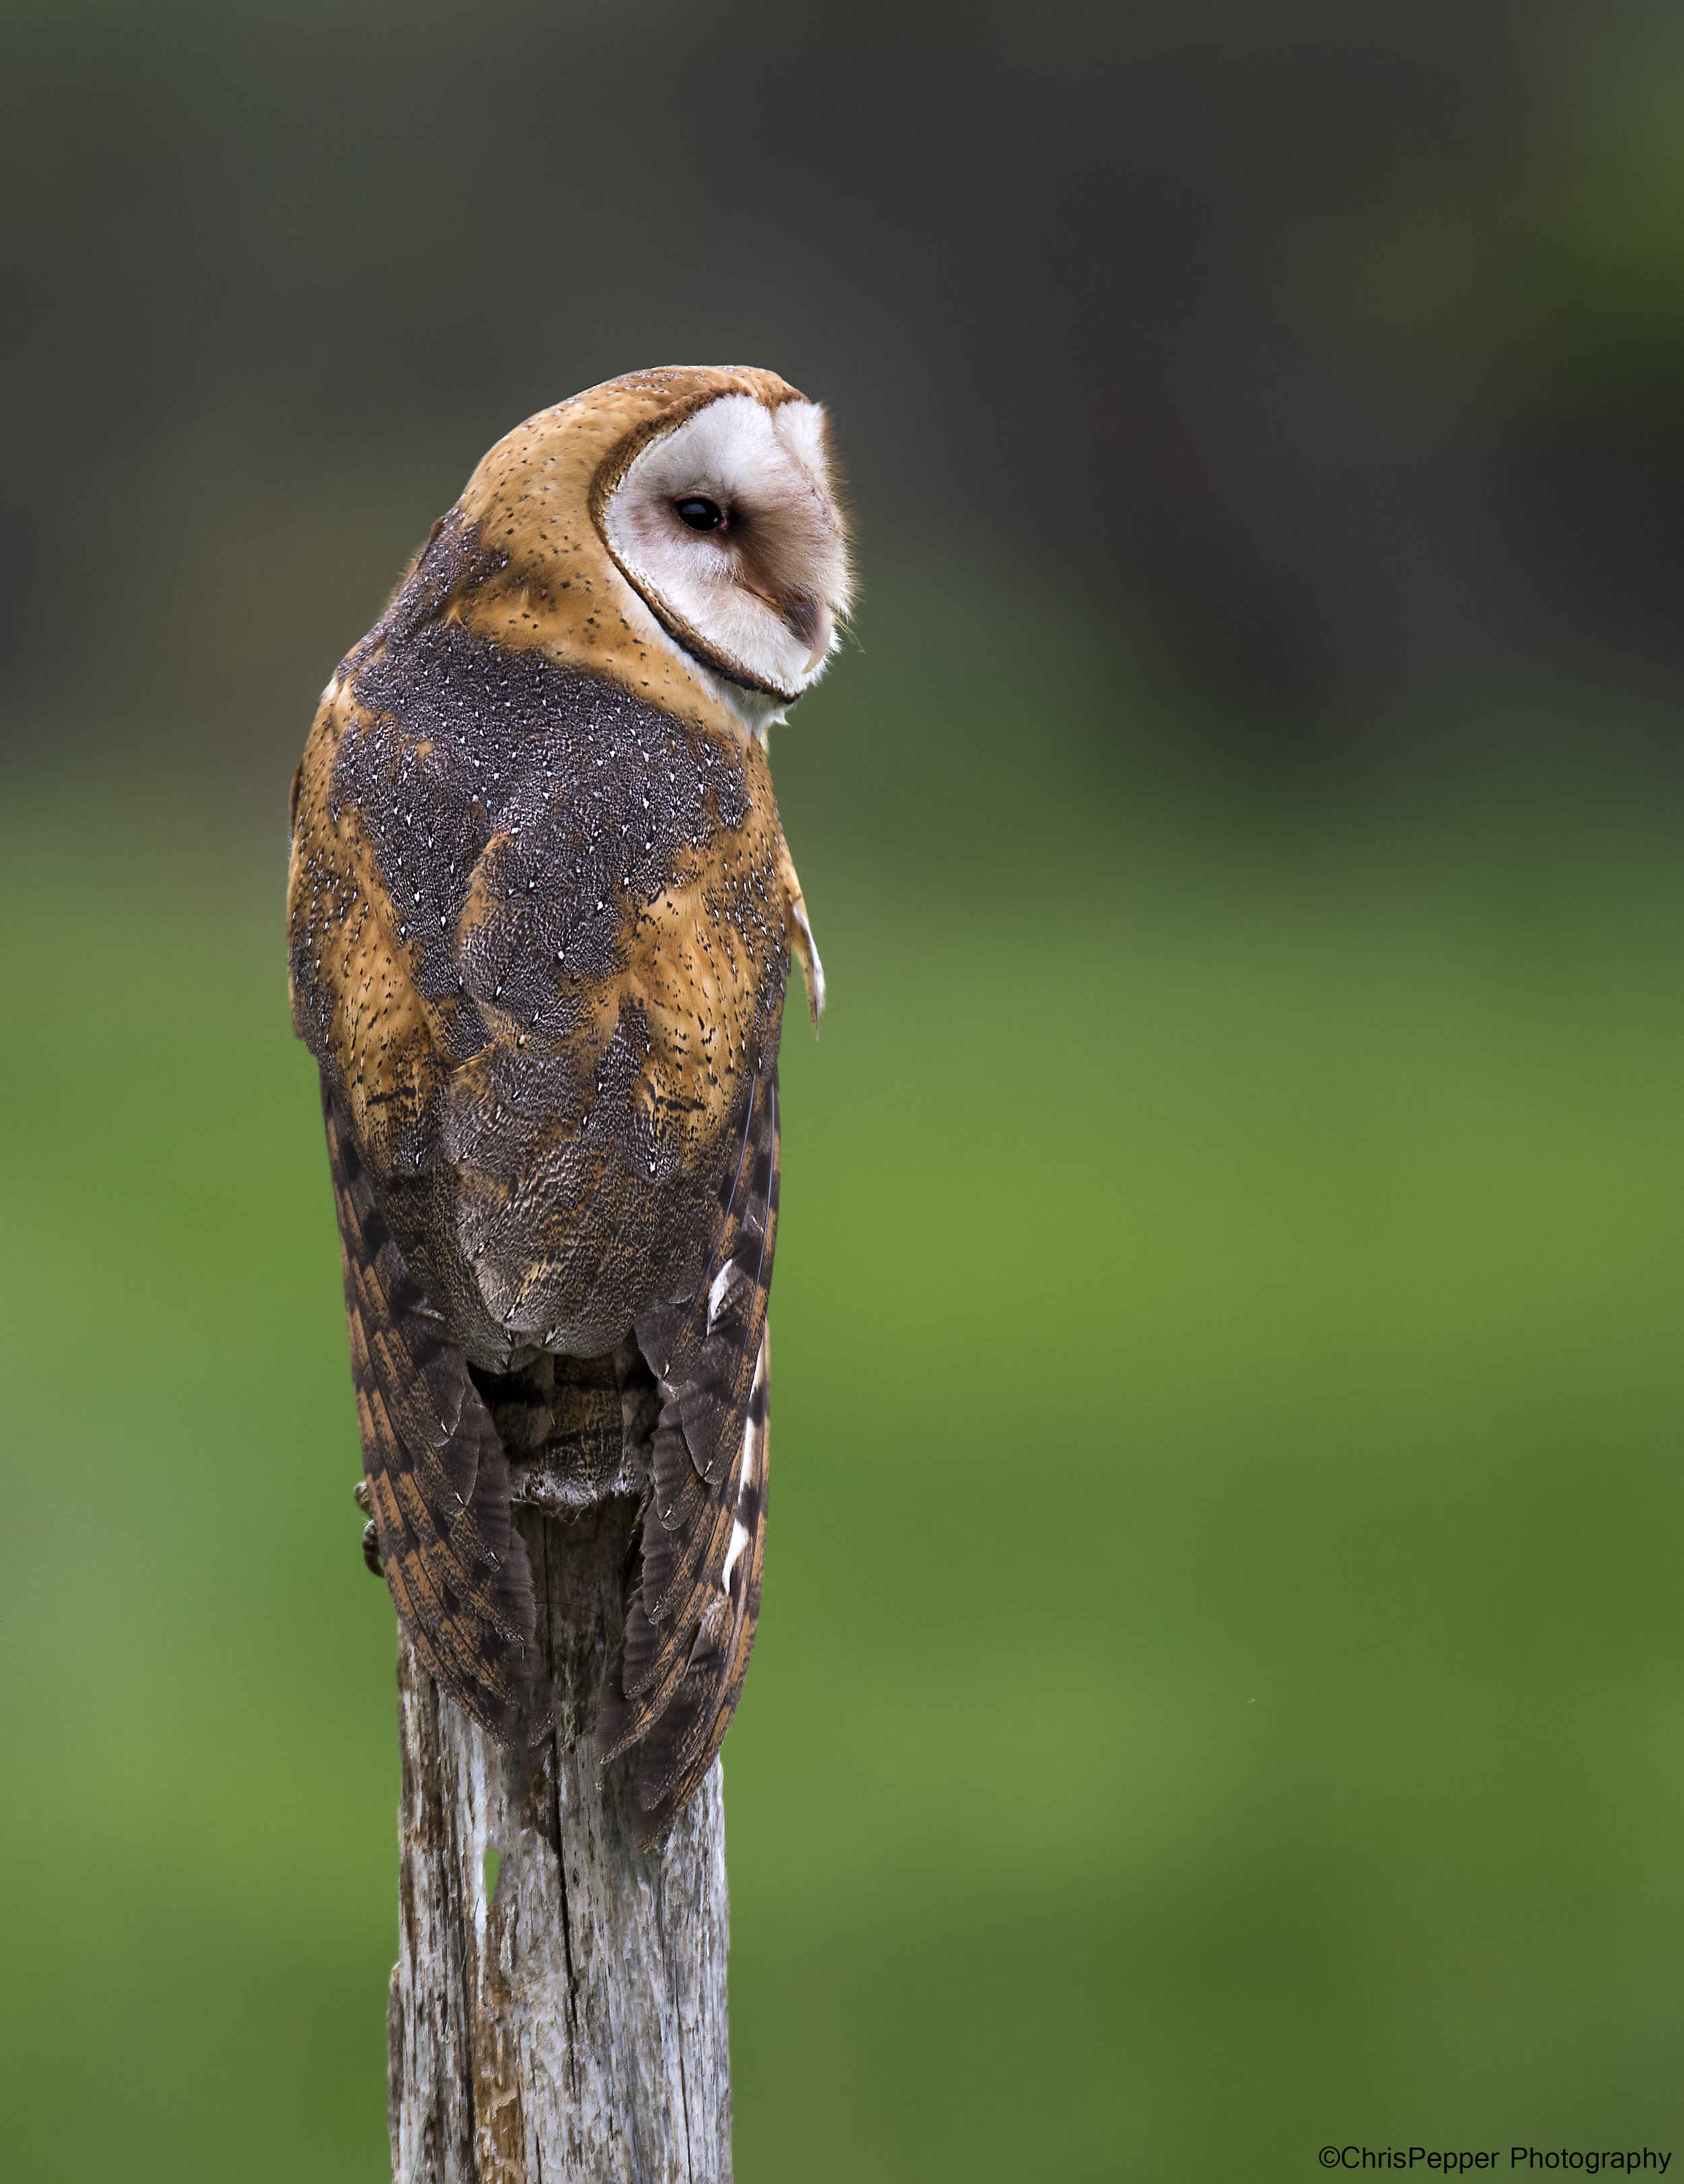
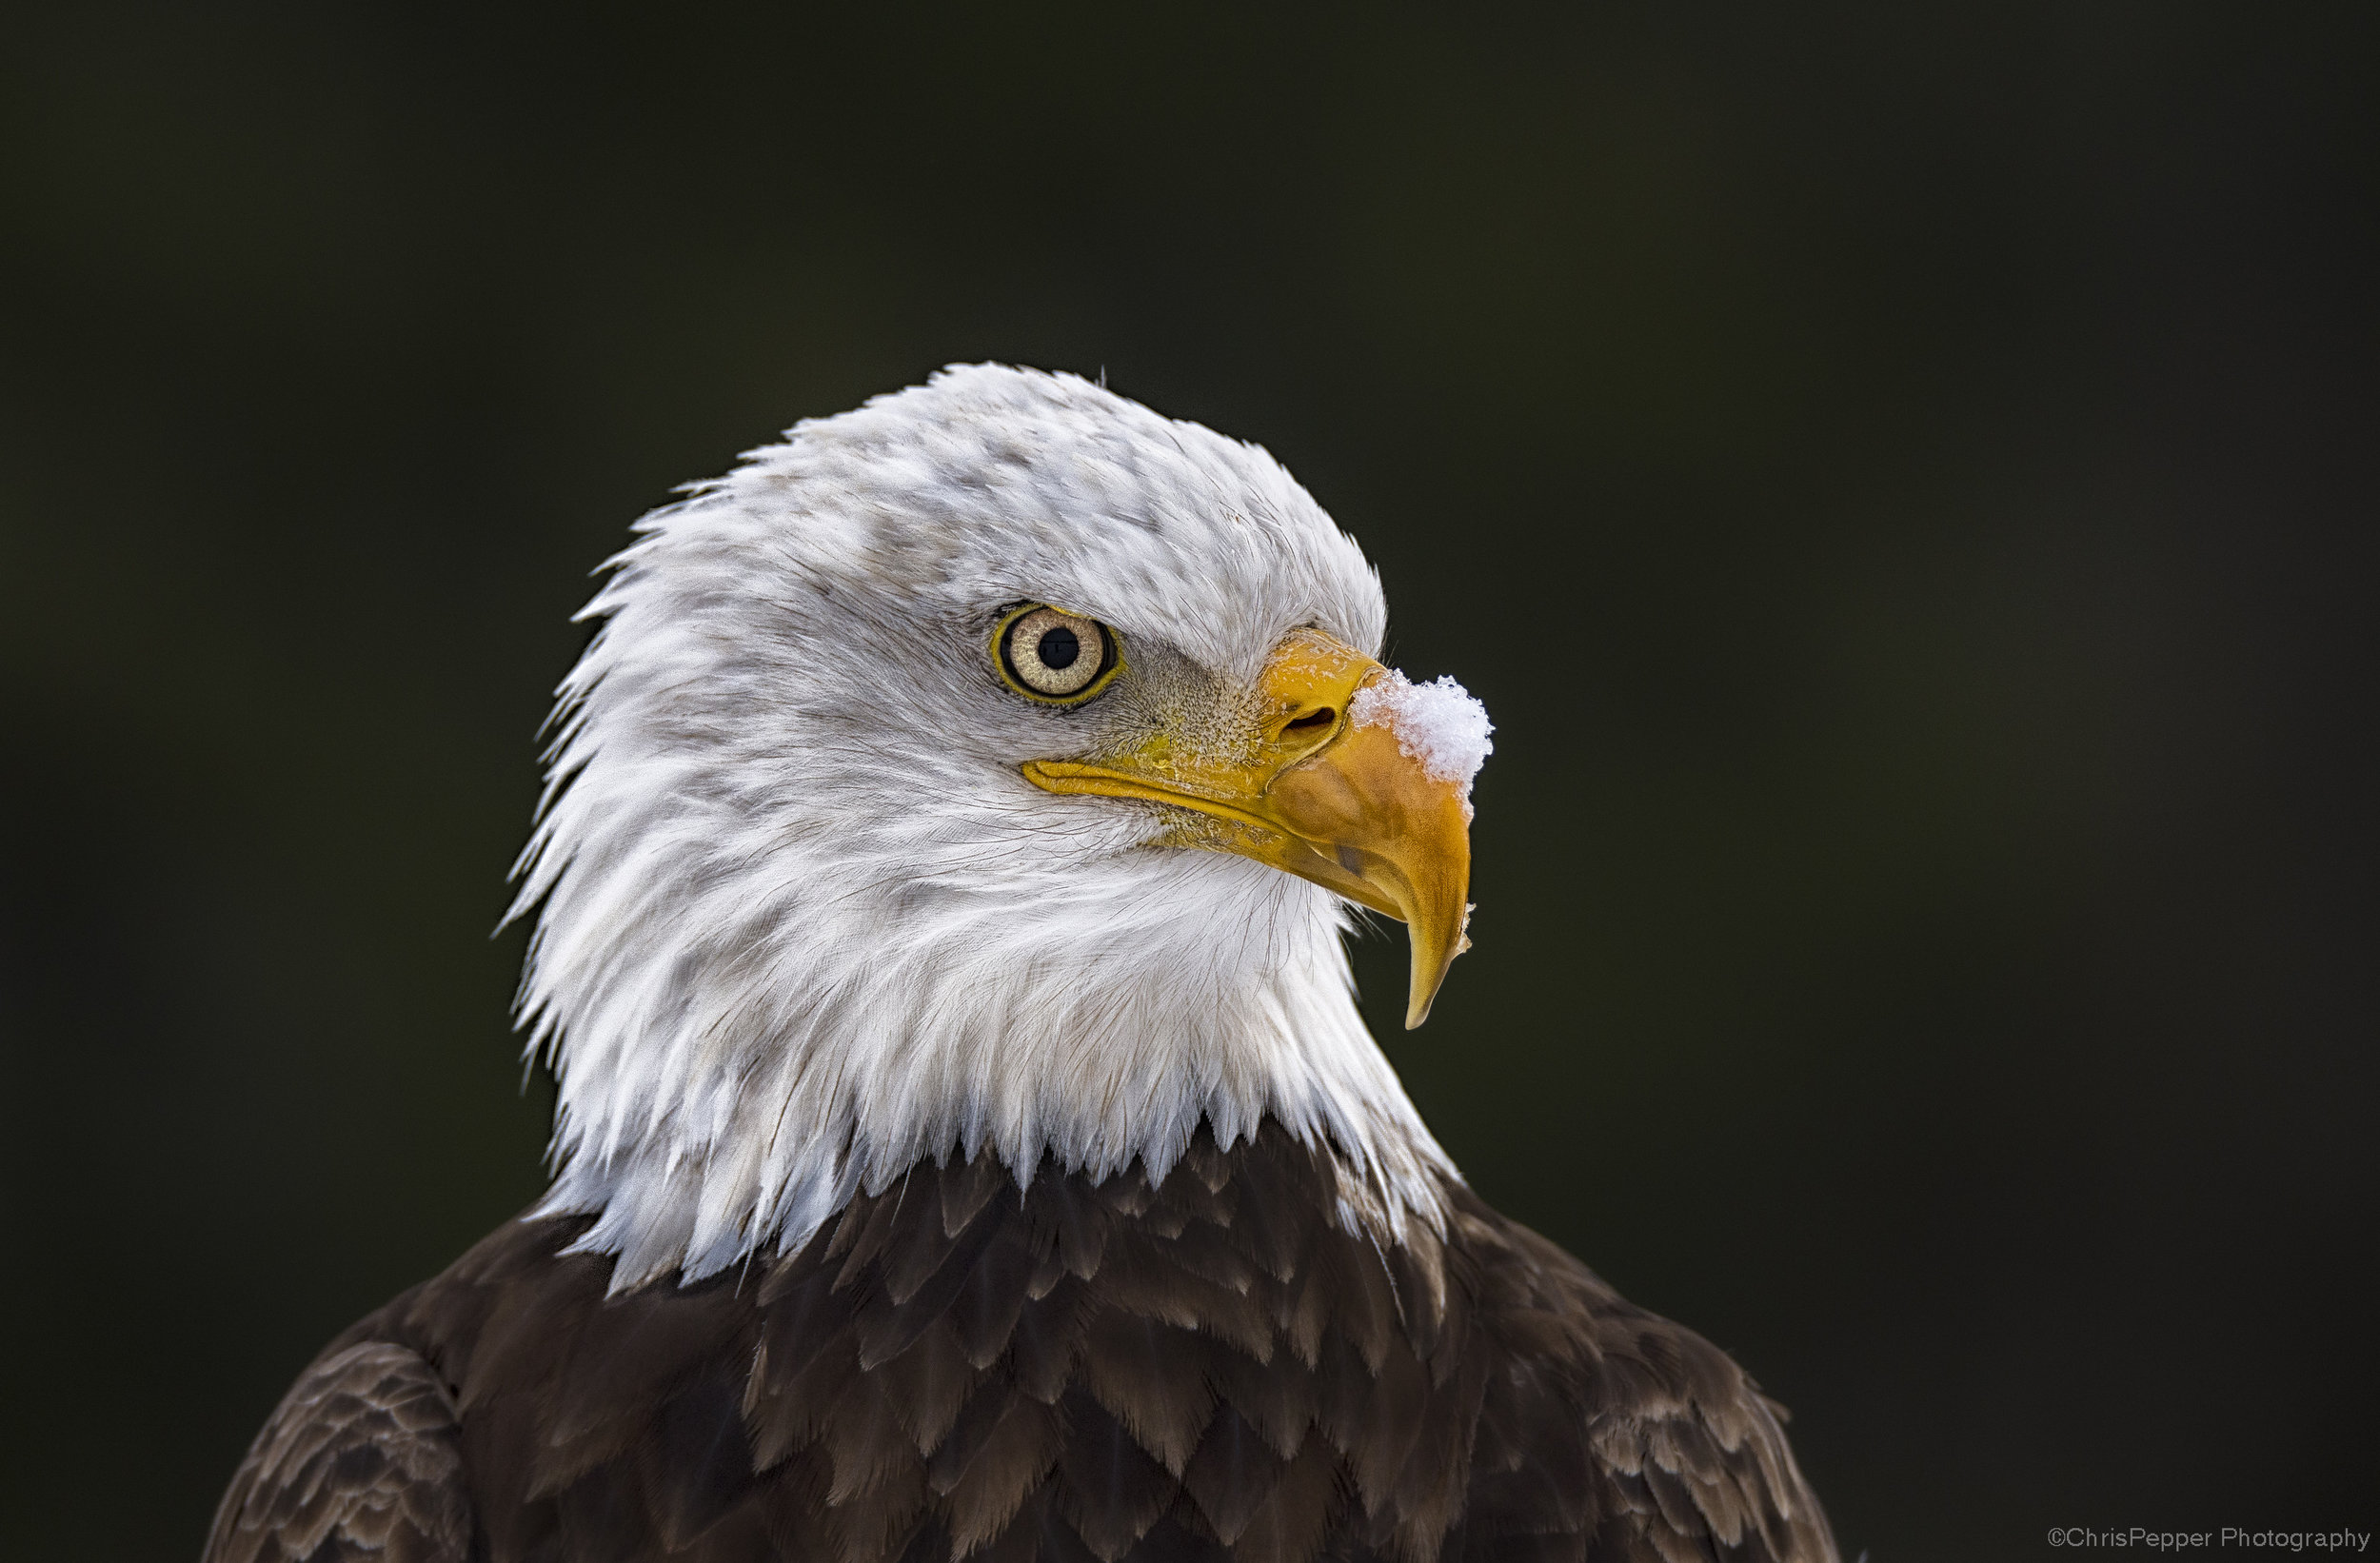
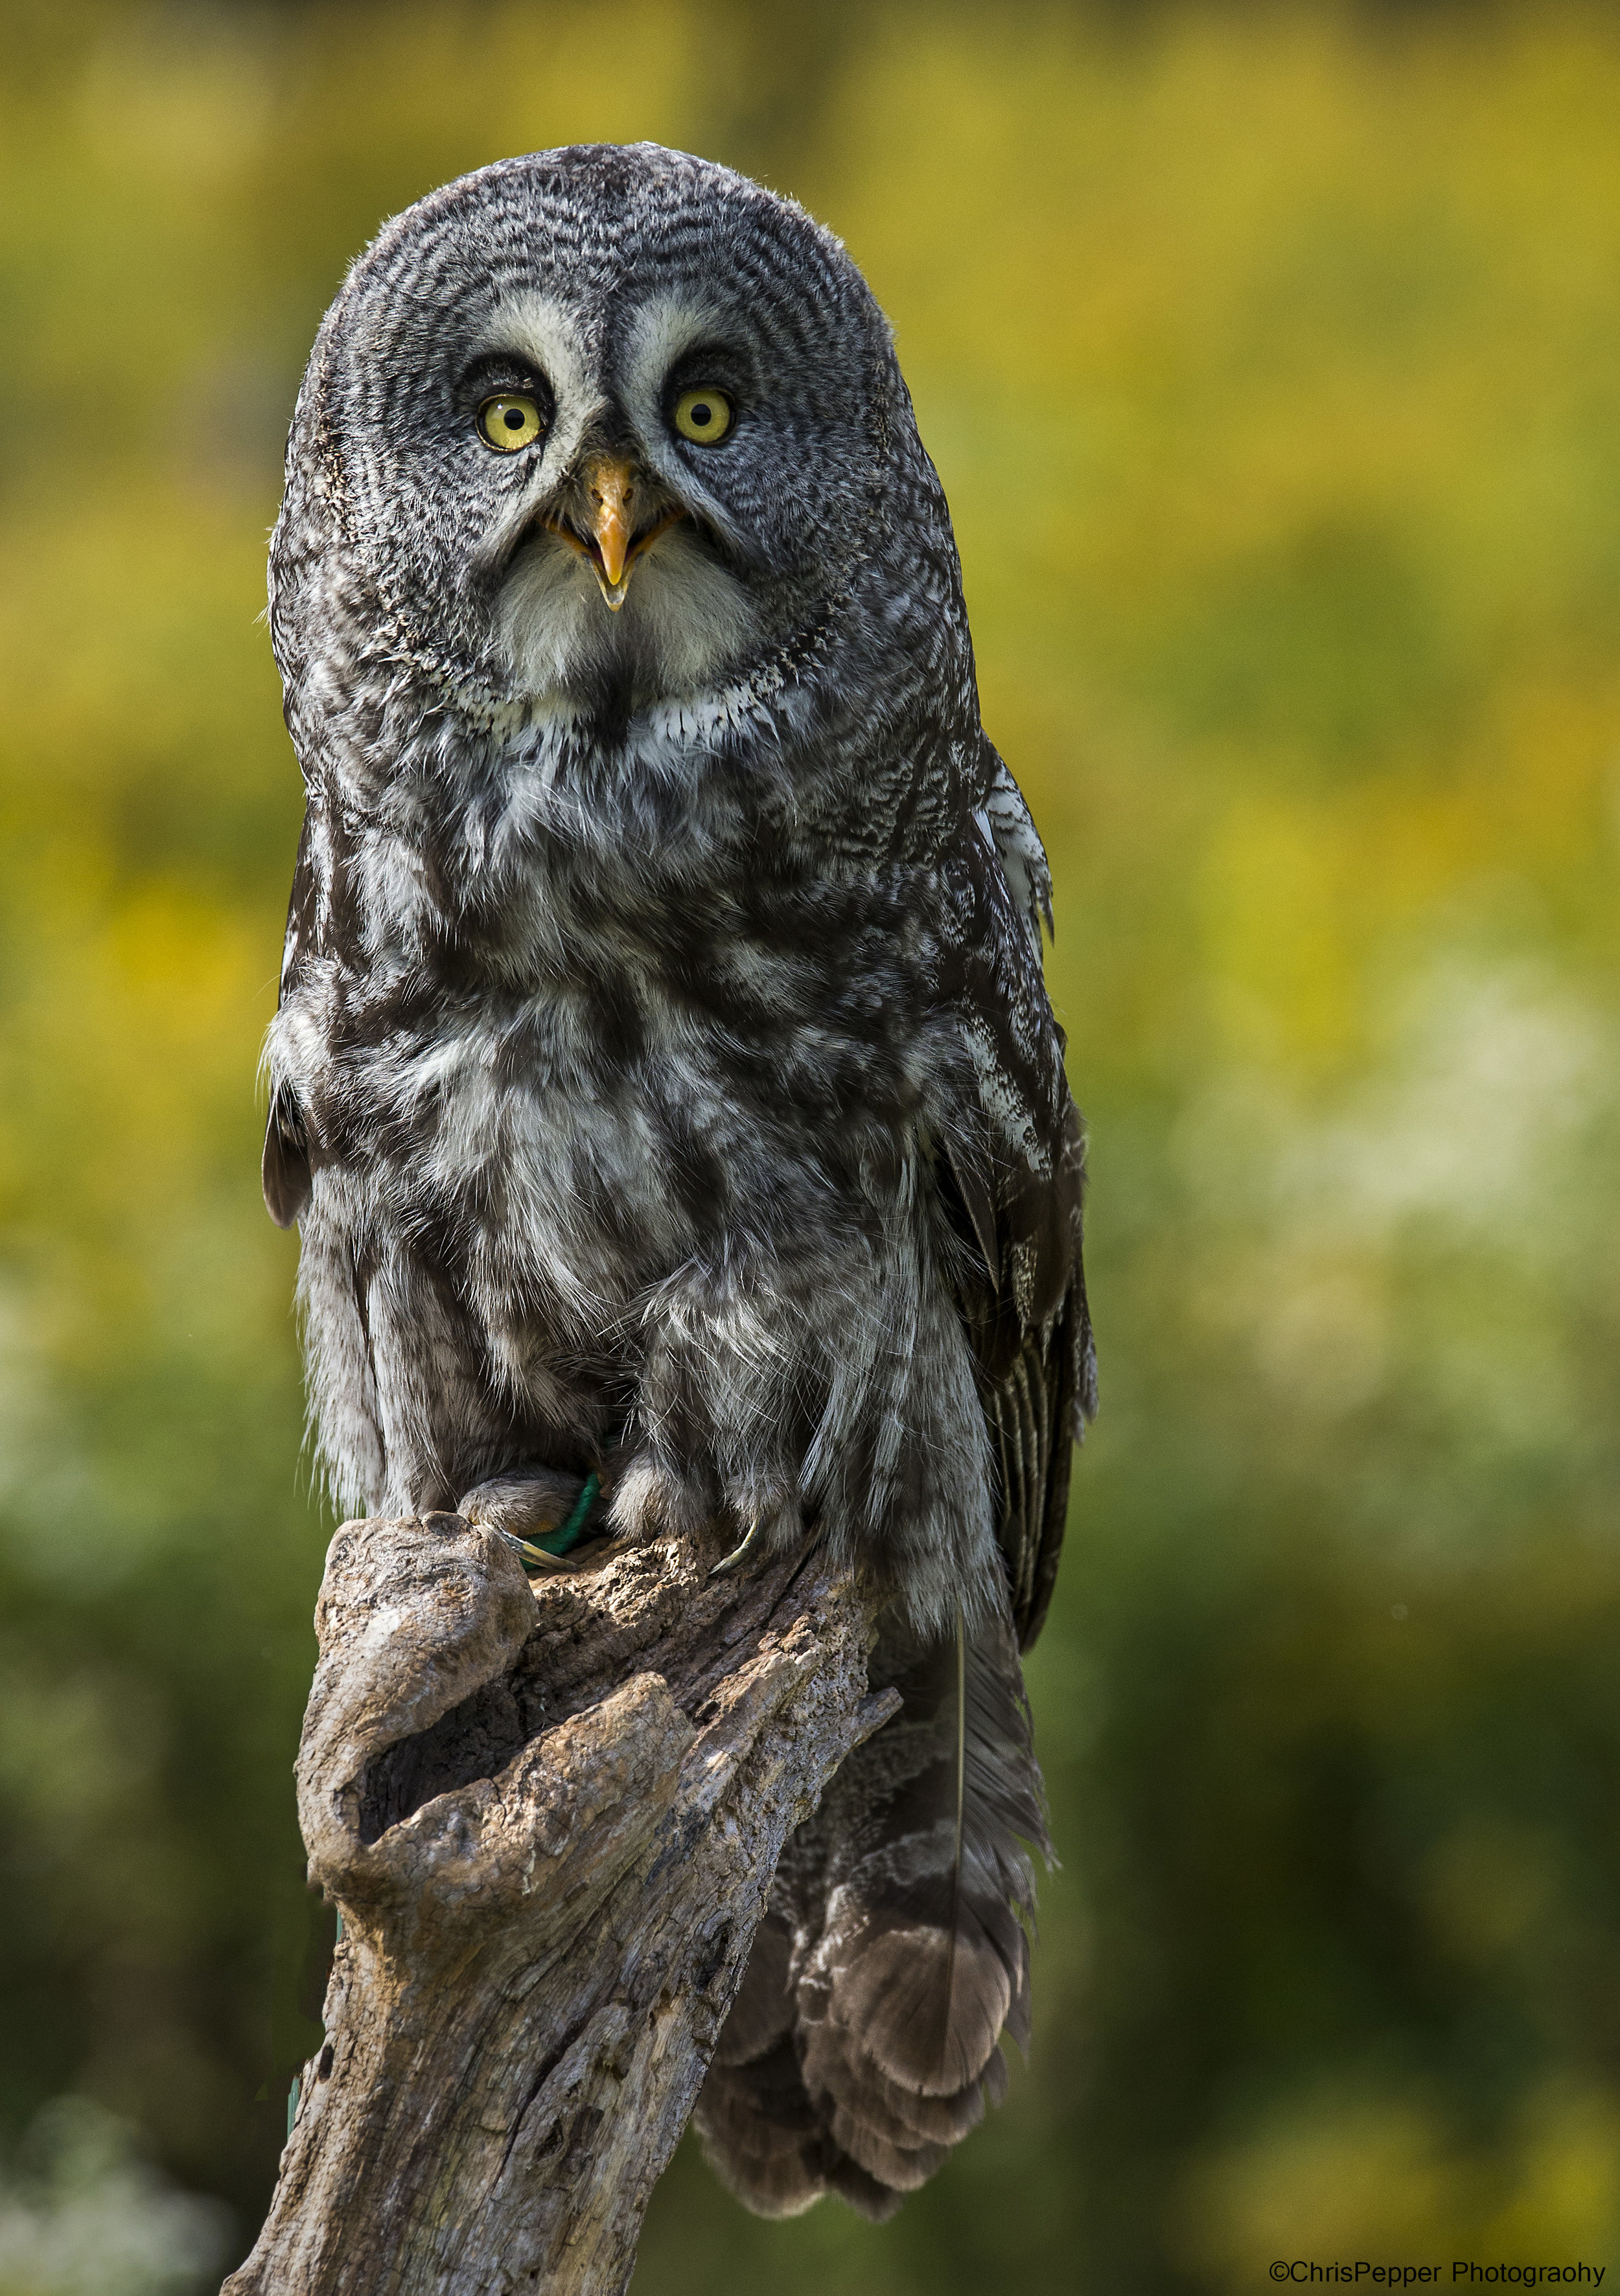
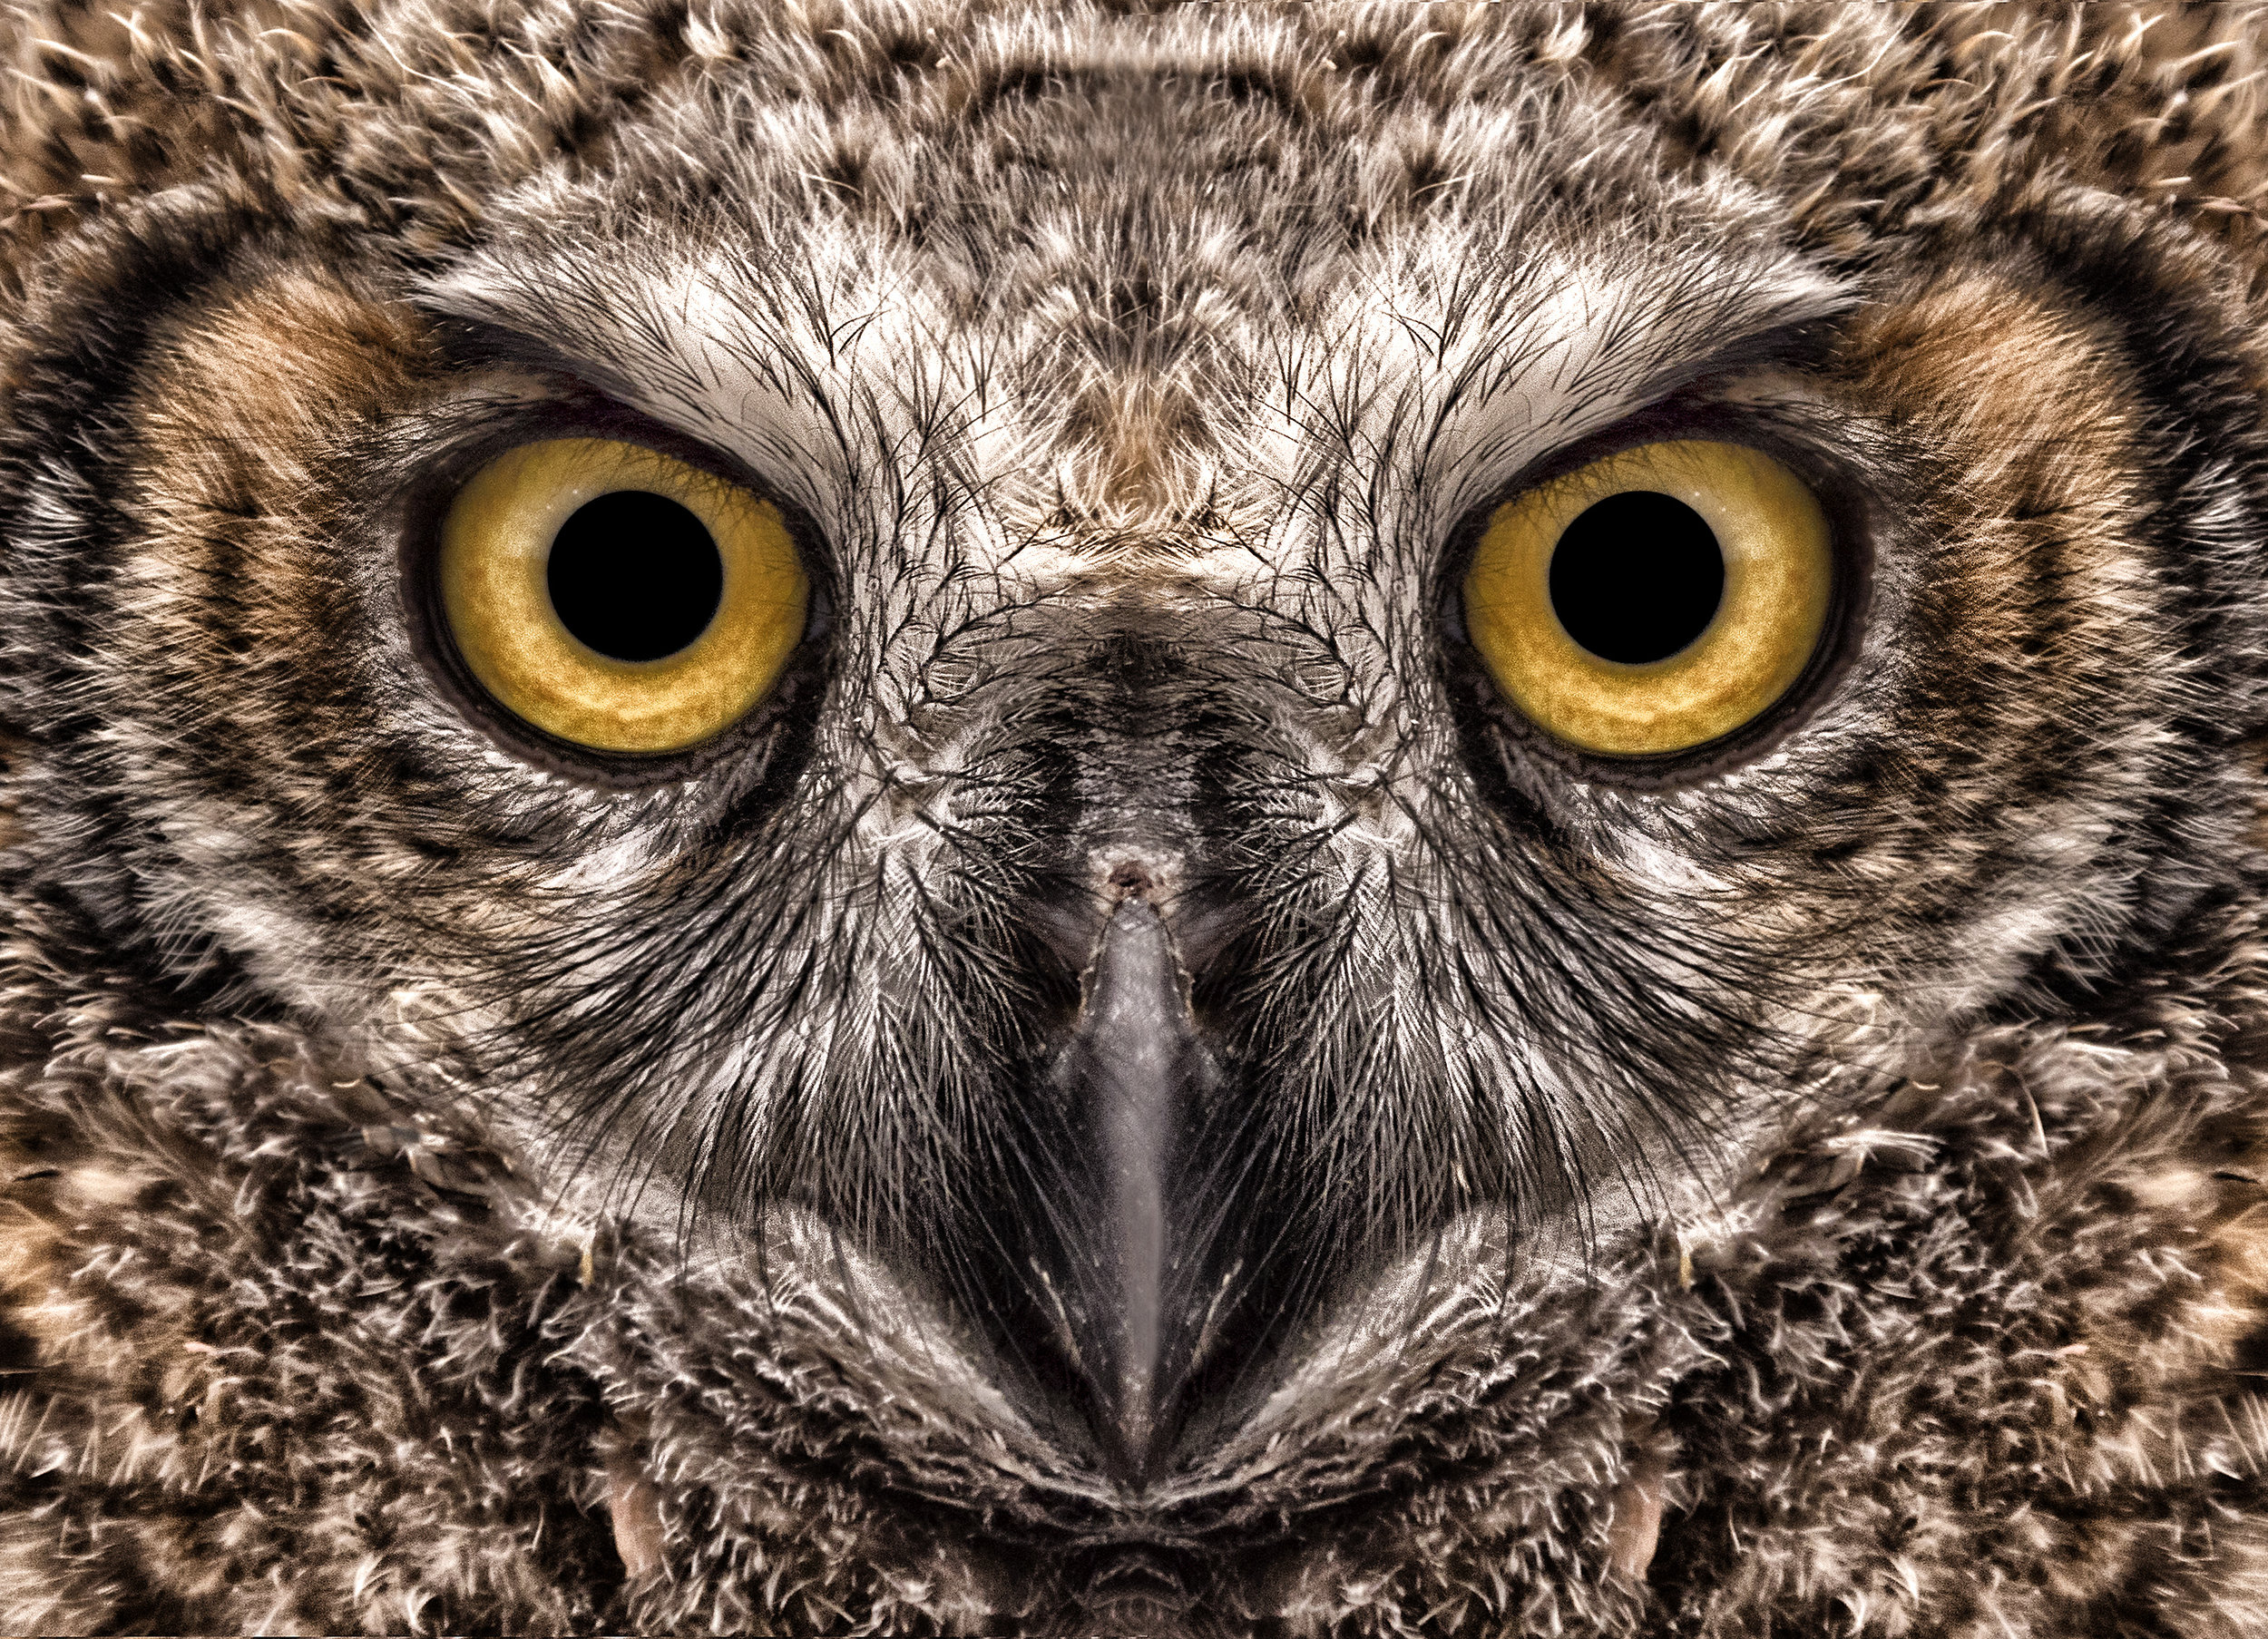
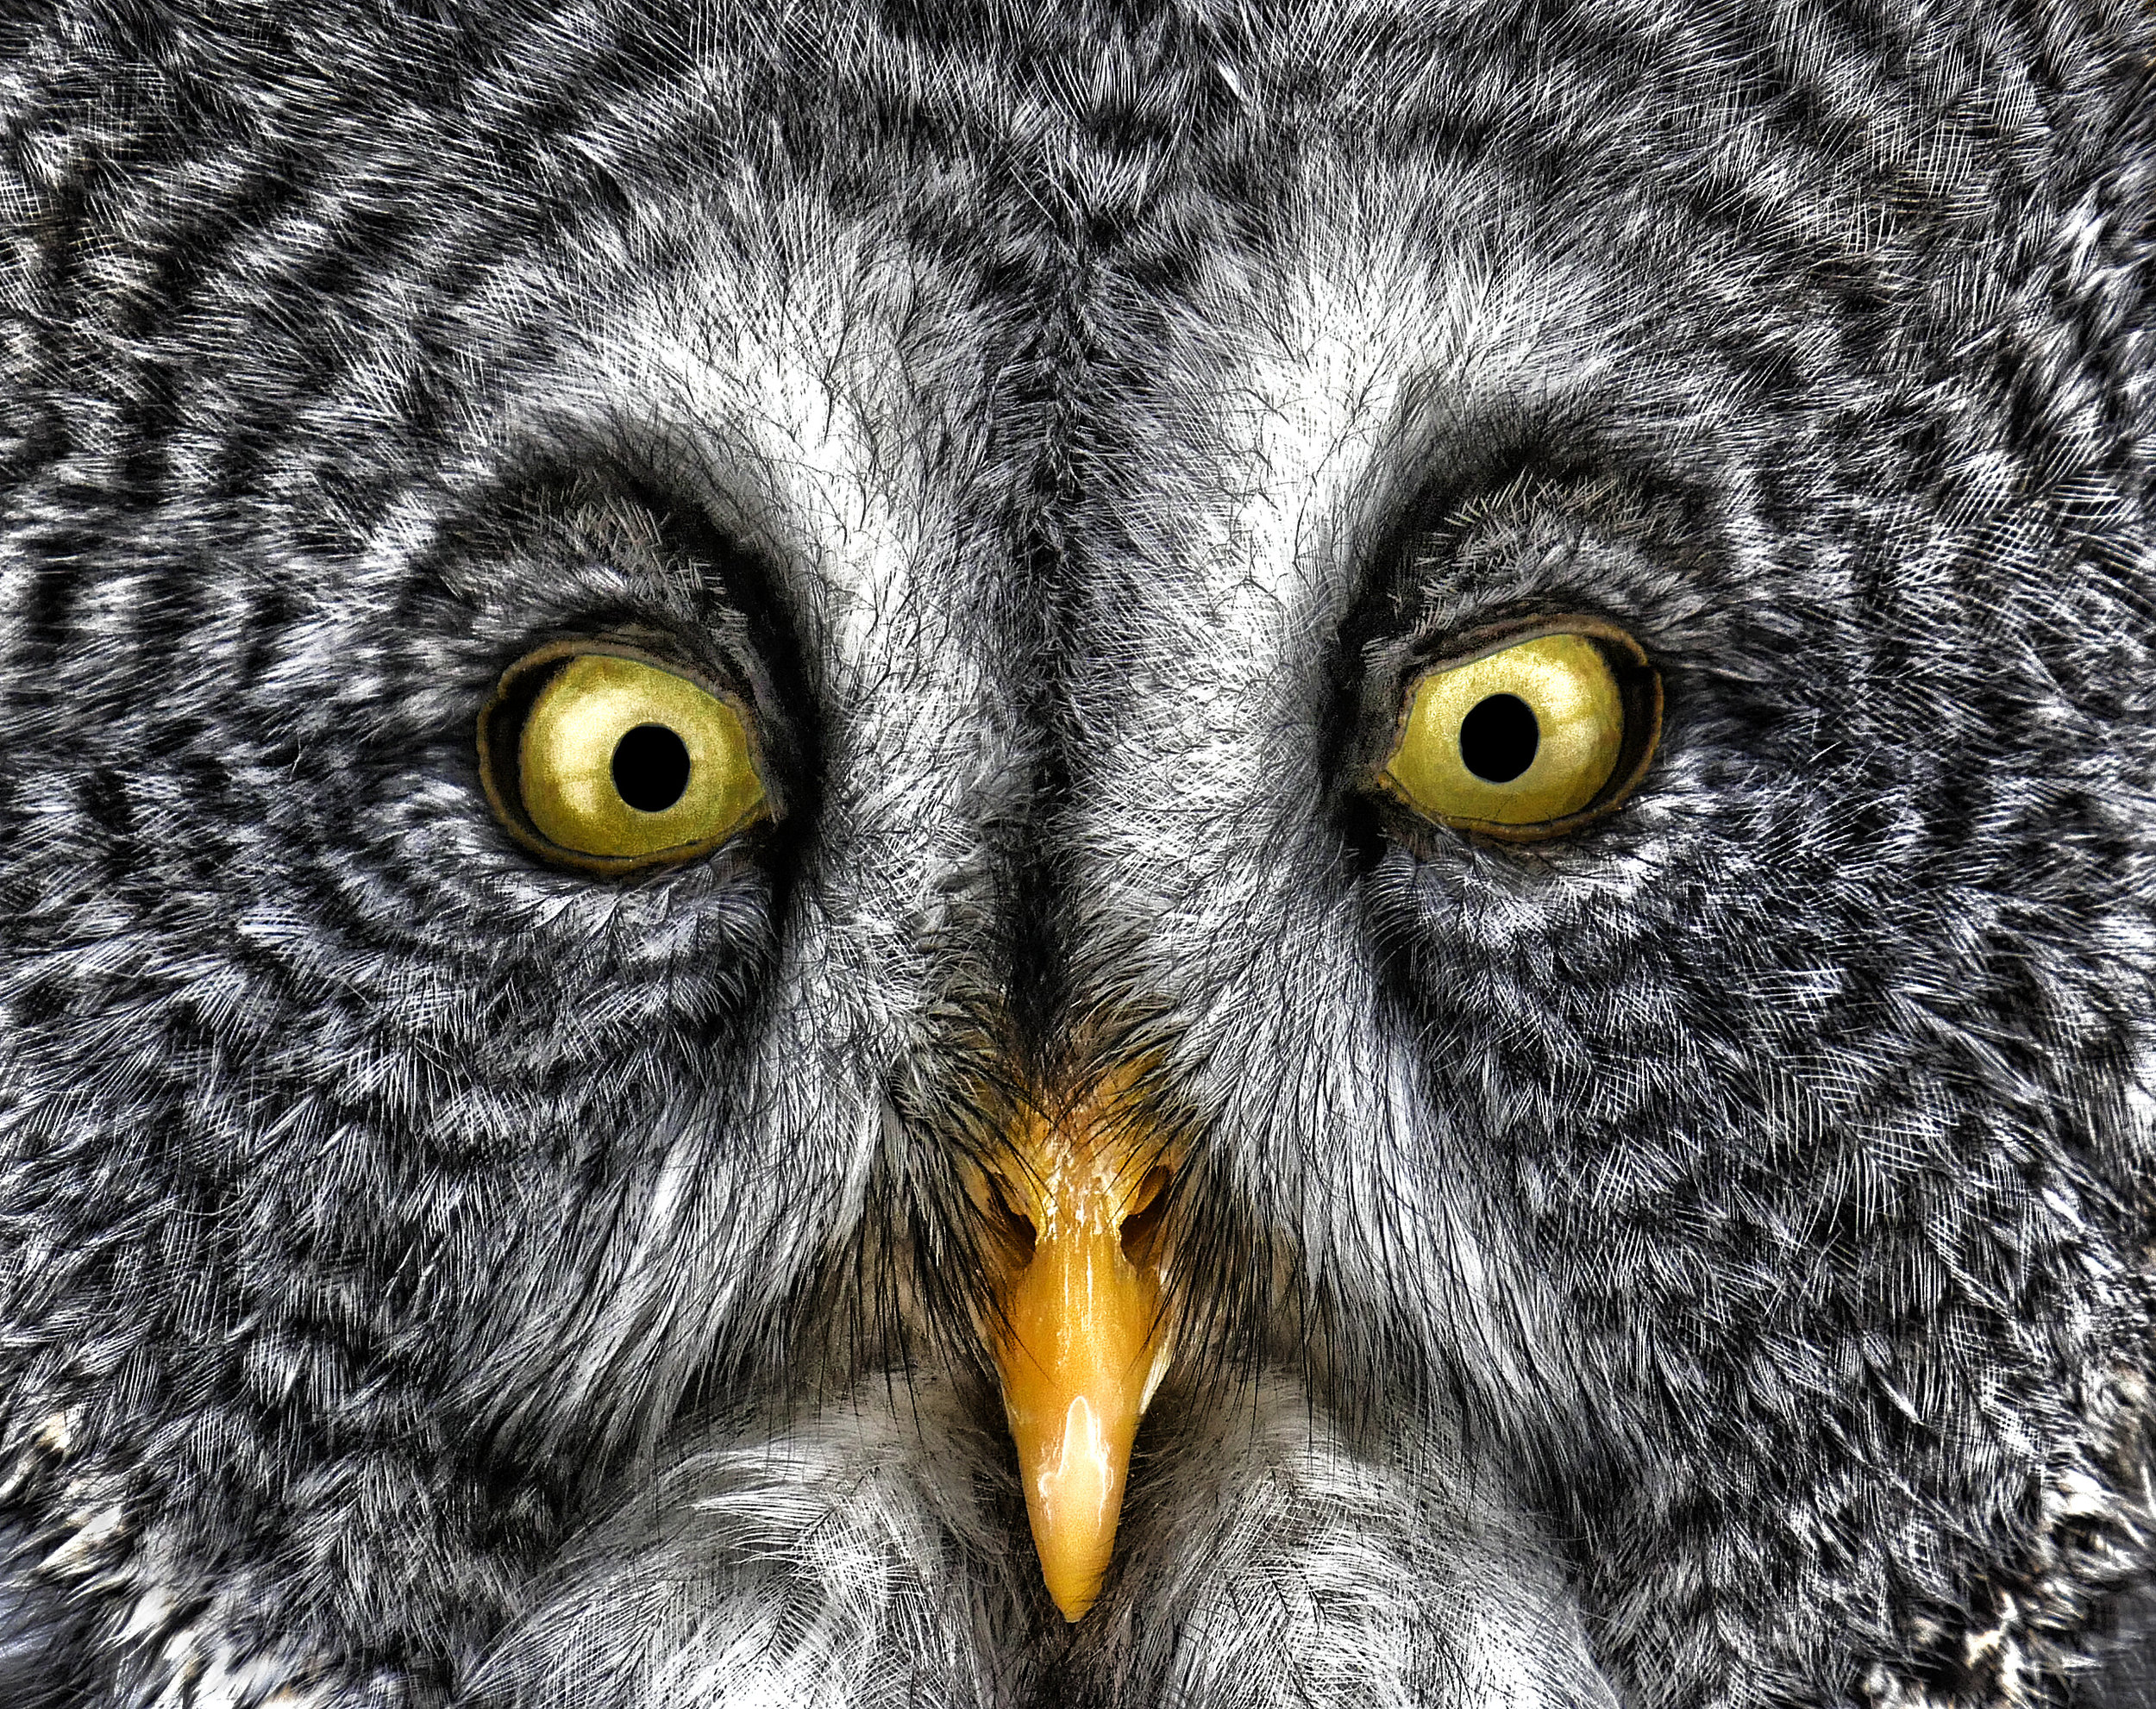
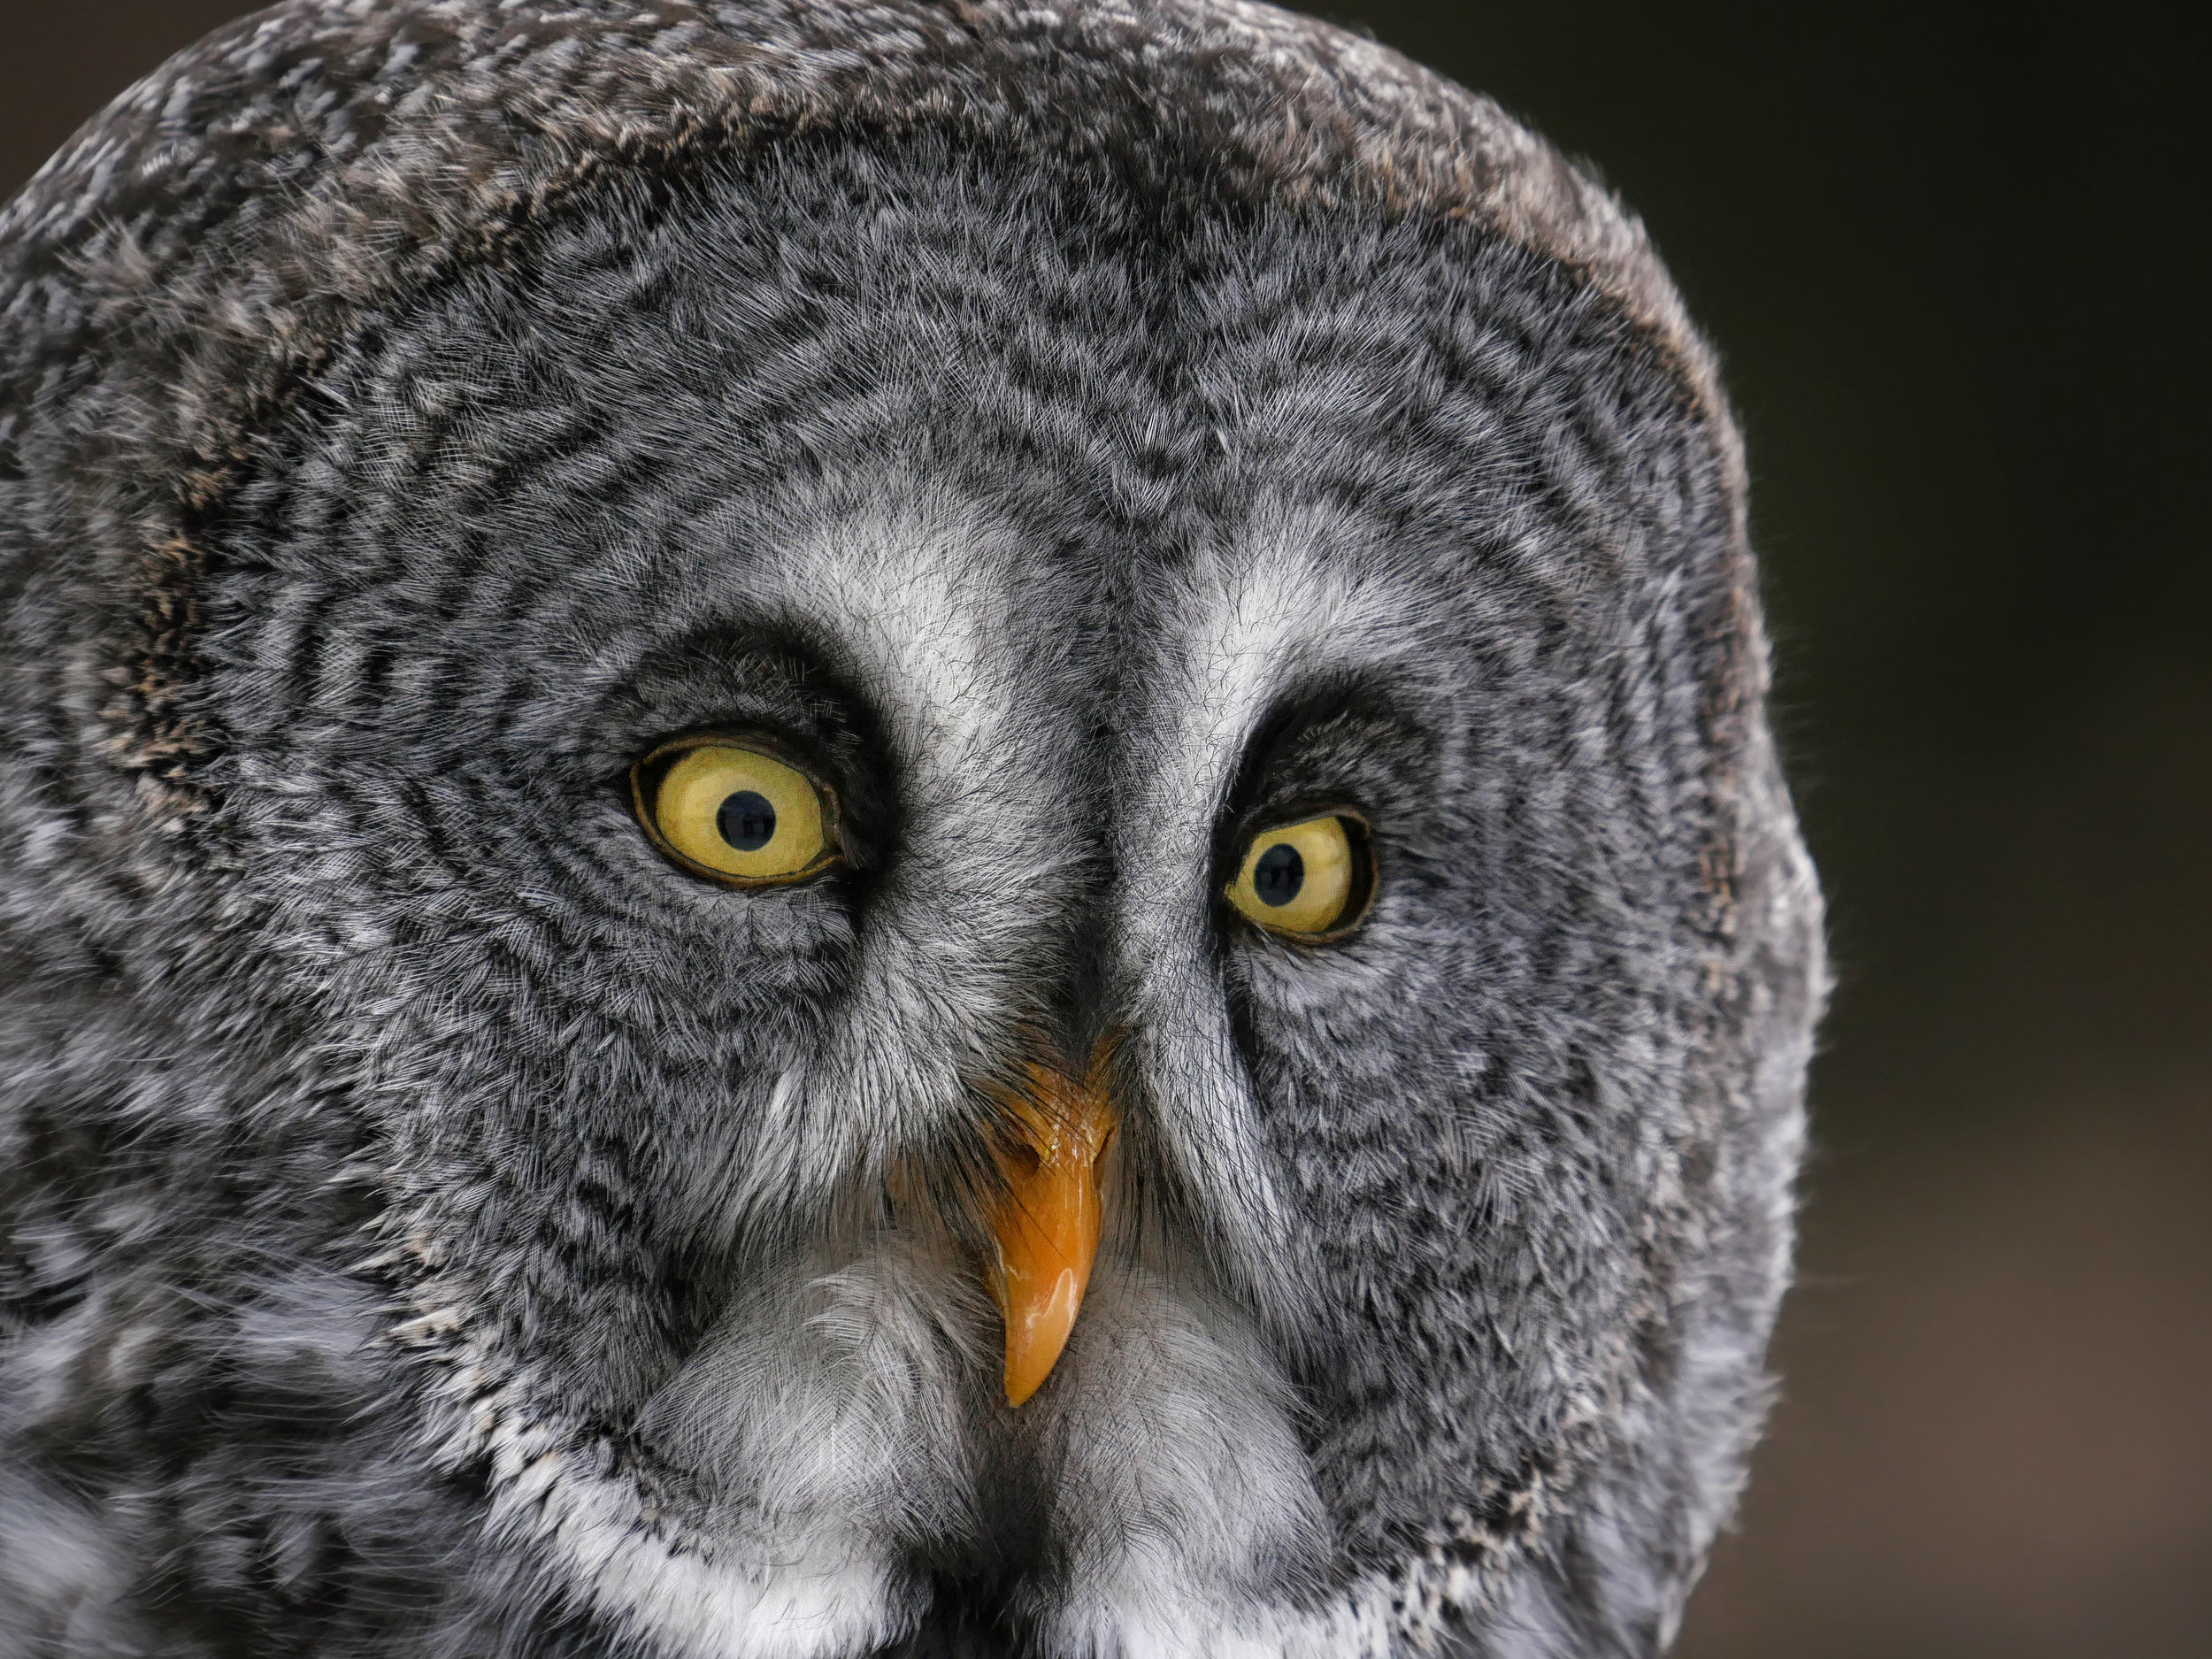
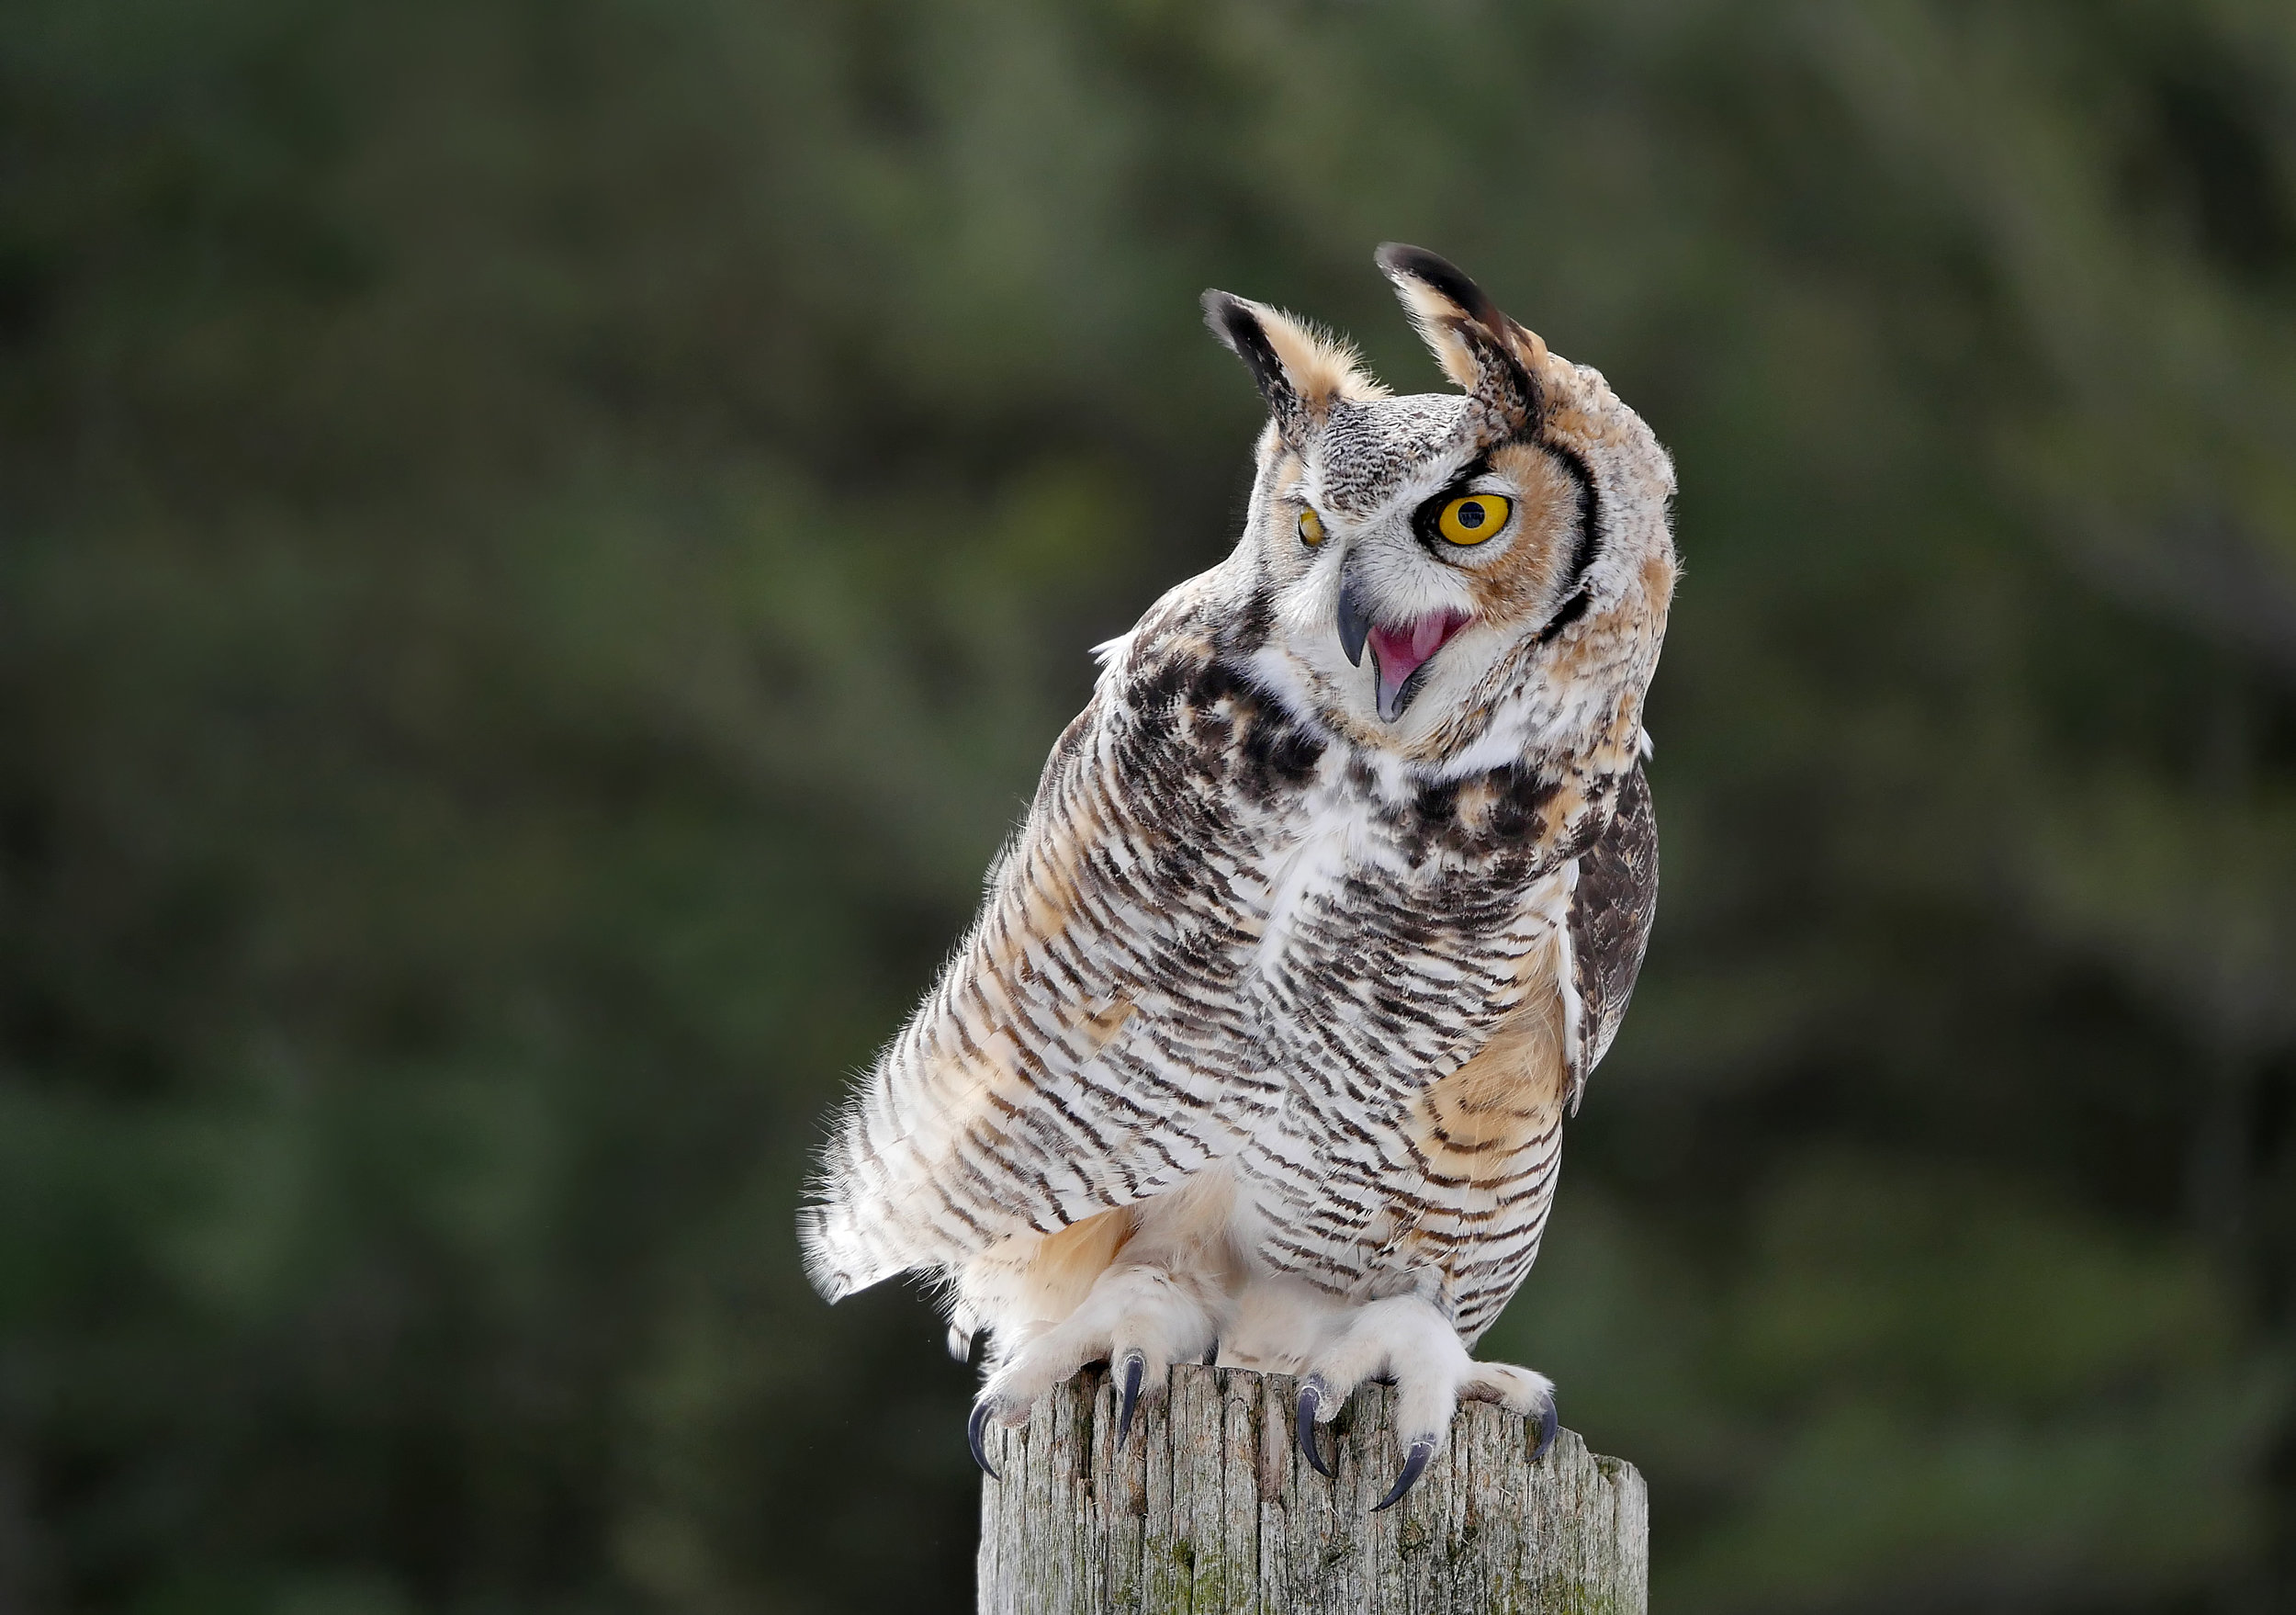
Last will be static images, sometimes James or his falconers may give you an option of the perch or location to place the raptor. Again keep in mind all the details on what it takes to make a great photo. Also keep in mind that you can drop your ISO for these images, I would suggest a shutter speed of 1/500th of a second. This way slight movements won't blur out on you. Keep in mind that if you are getting close to the bird depth of field will change. So make sure you constantly review your images and histogram. Here or some of my best images, most will be in portrait form as I try to full frame the bird if possible, Remember if you have a long lens you can isolate just the head and make some creative detailed images.


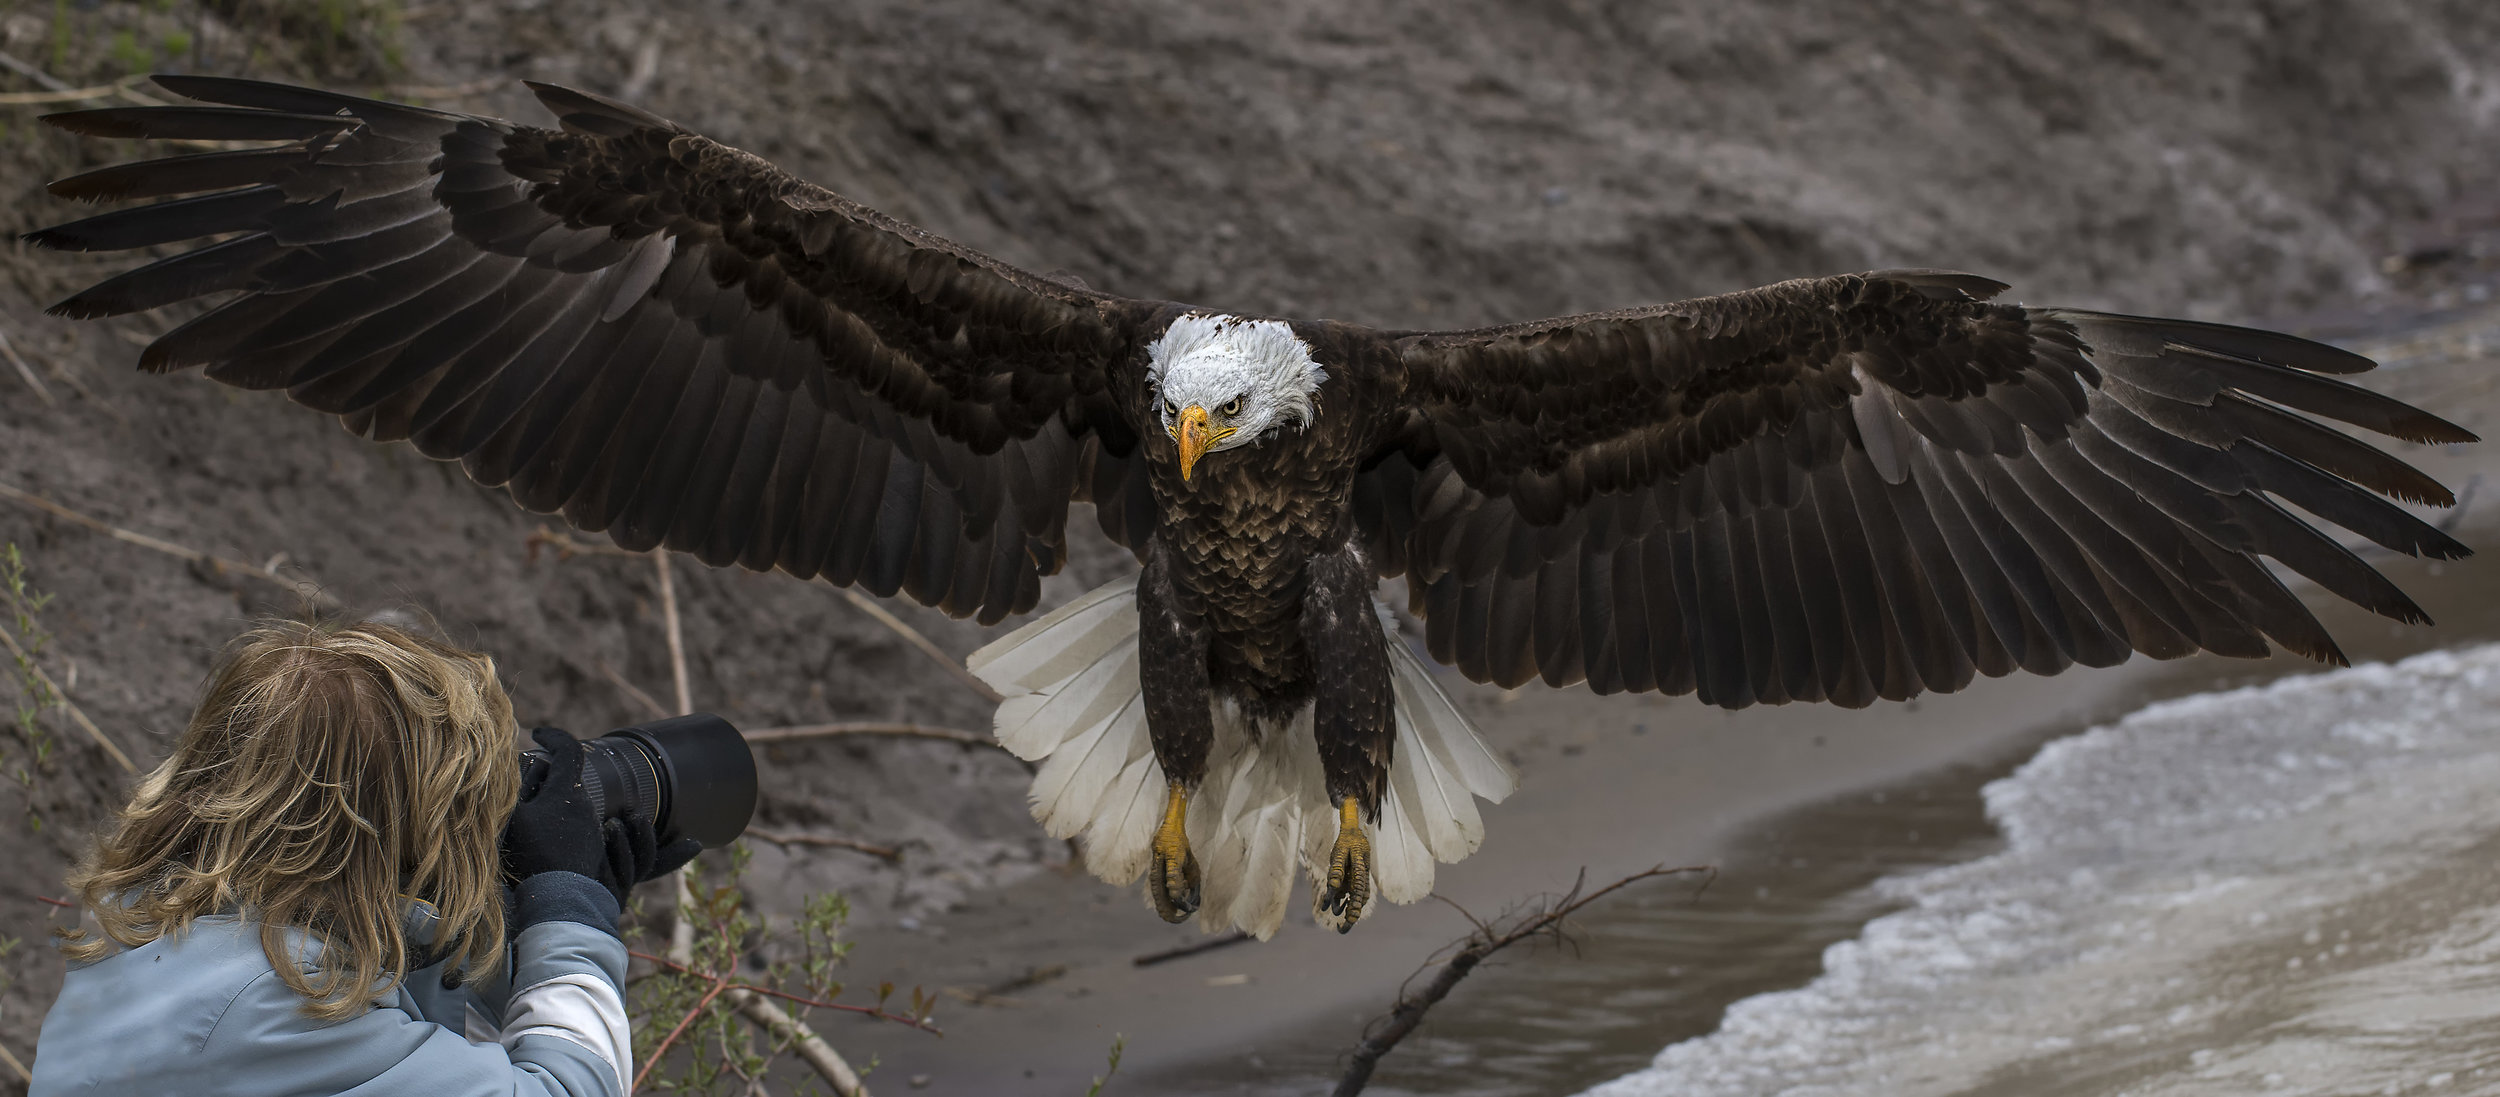
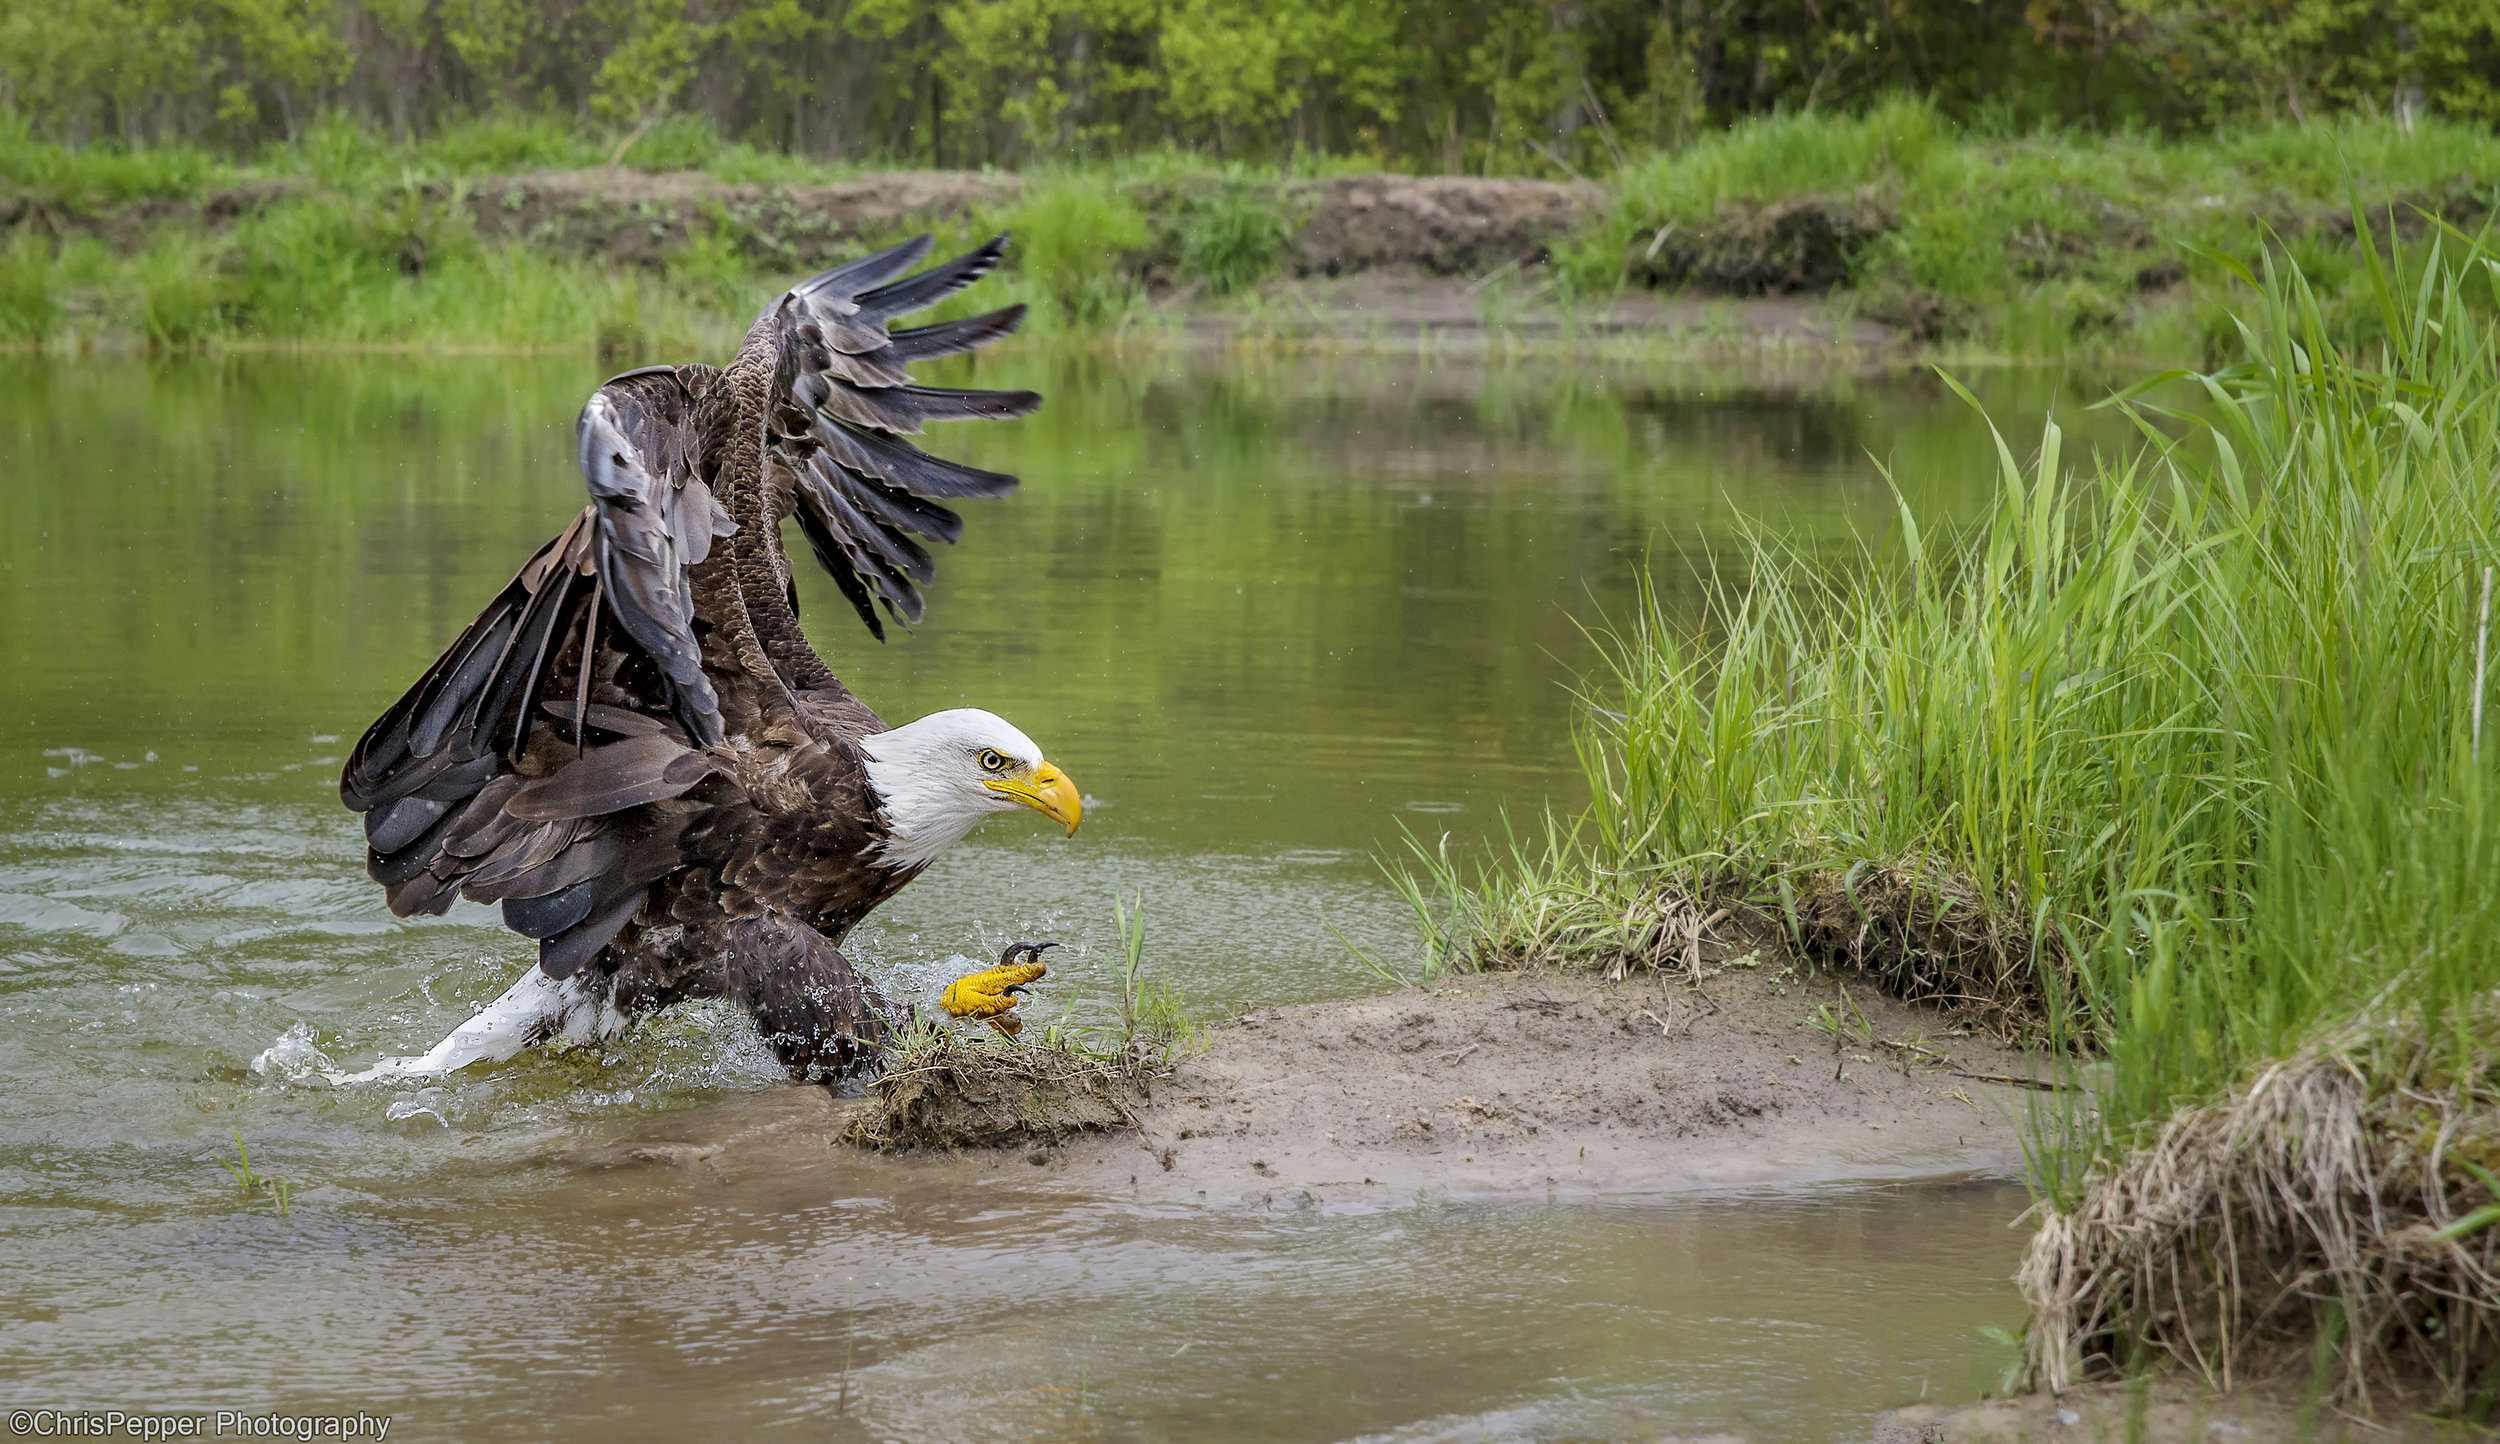
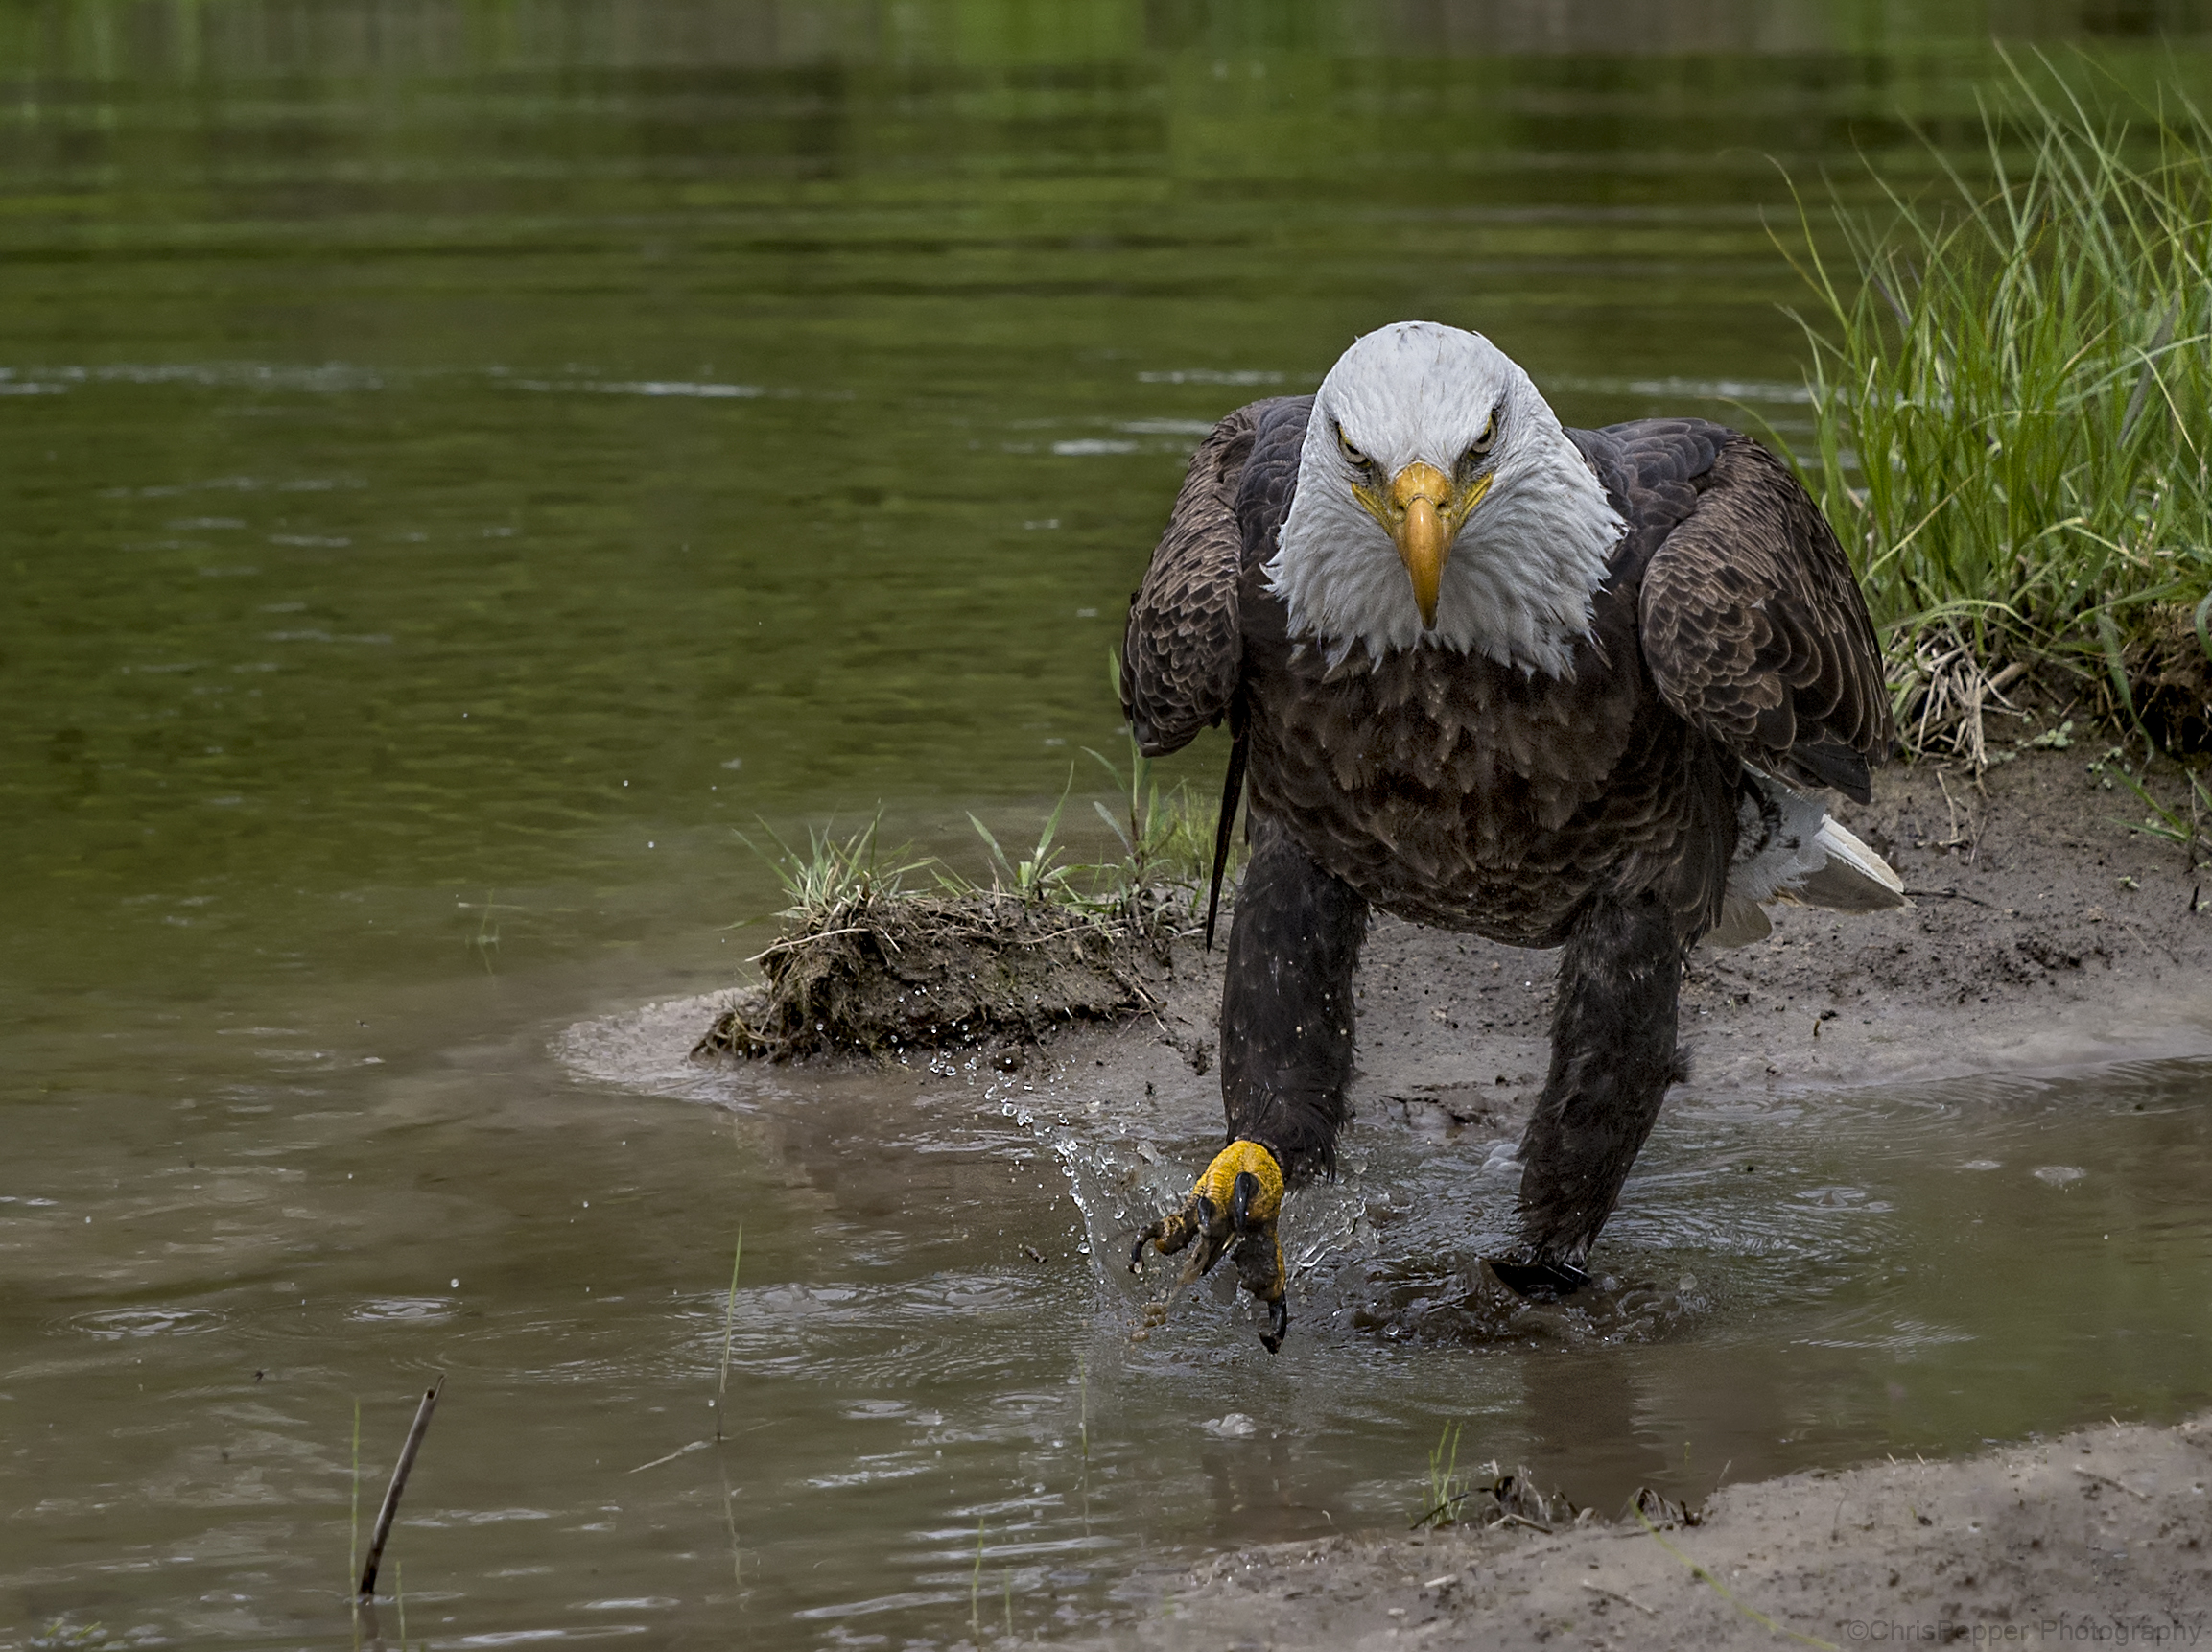
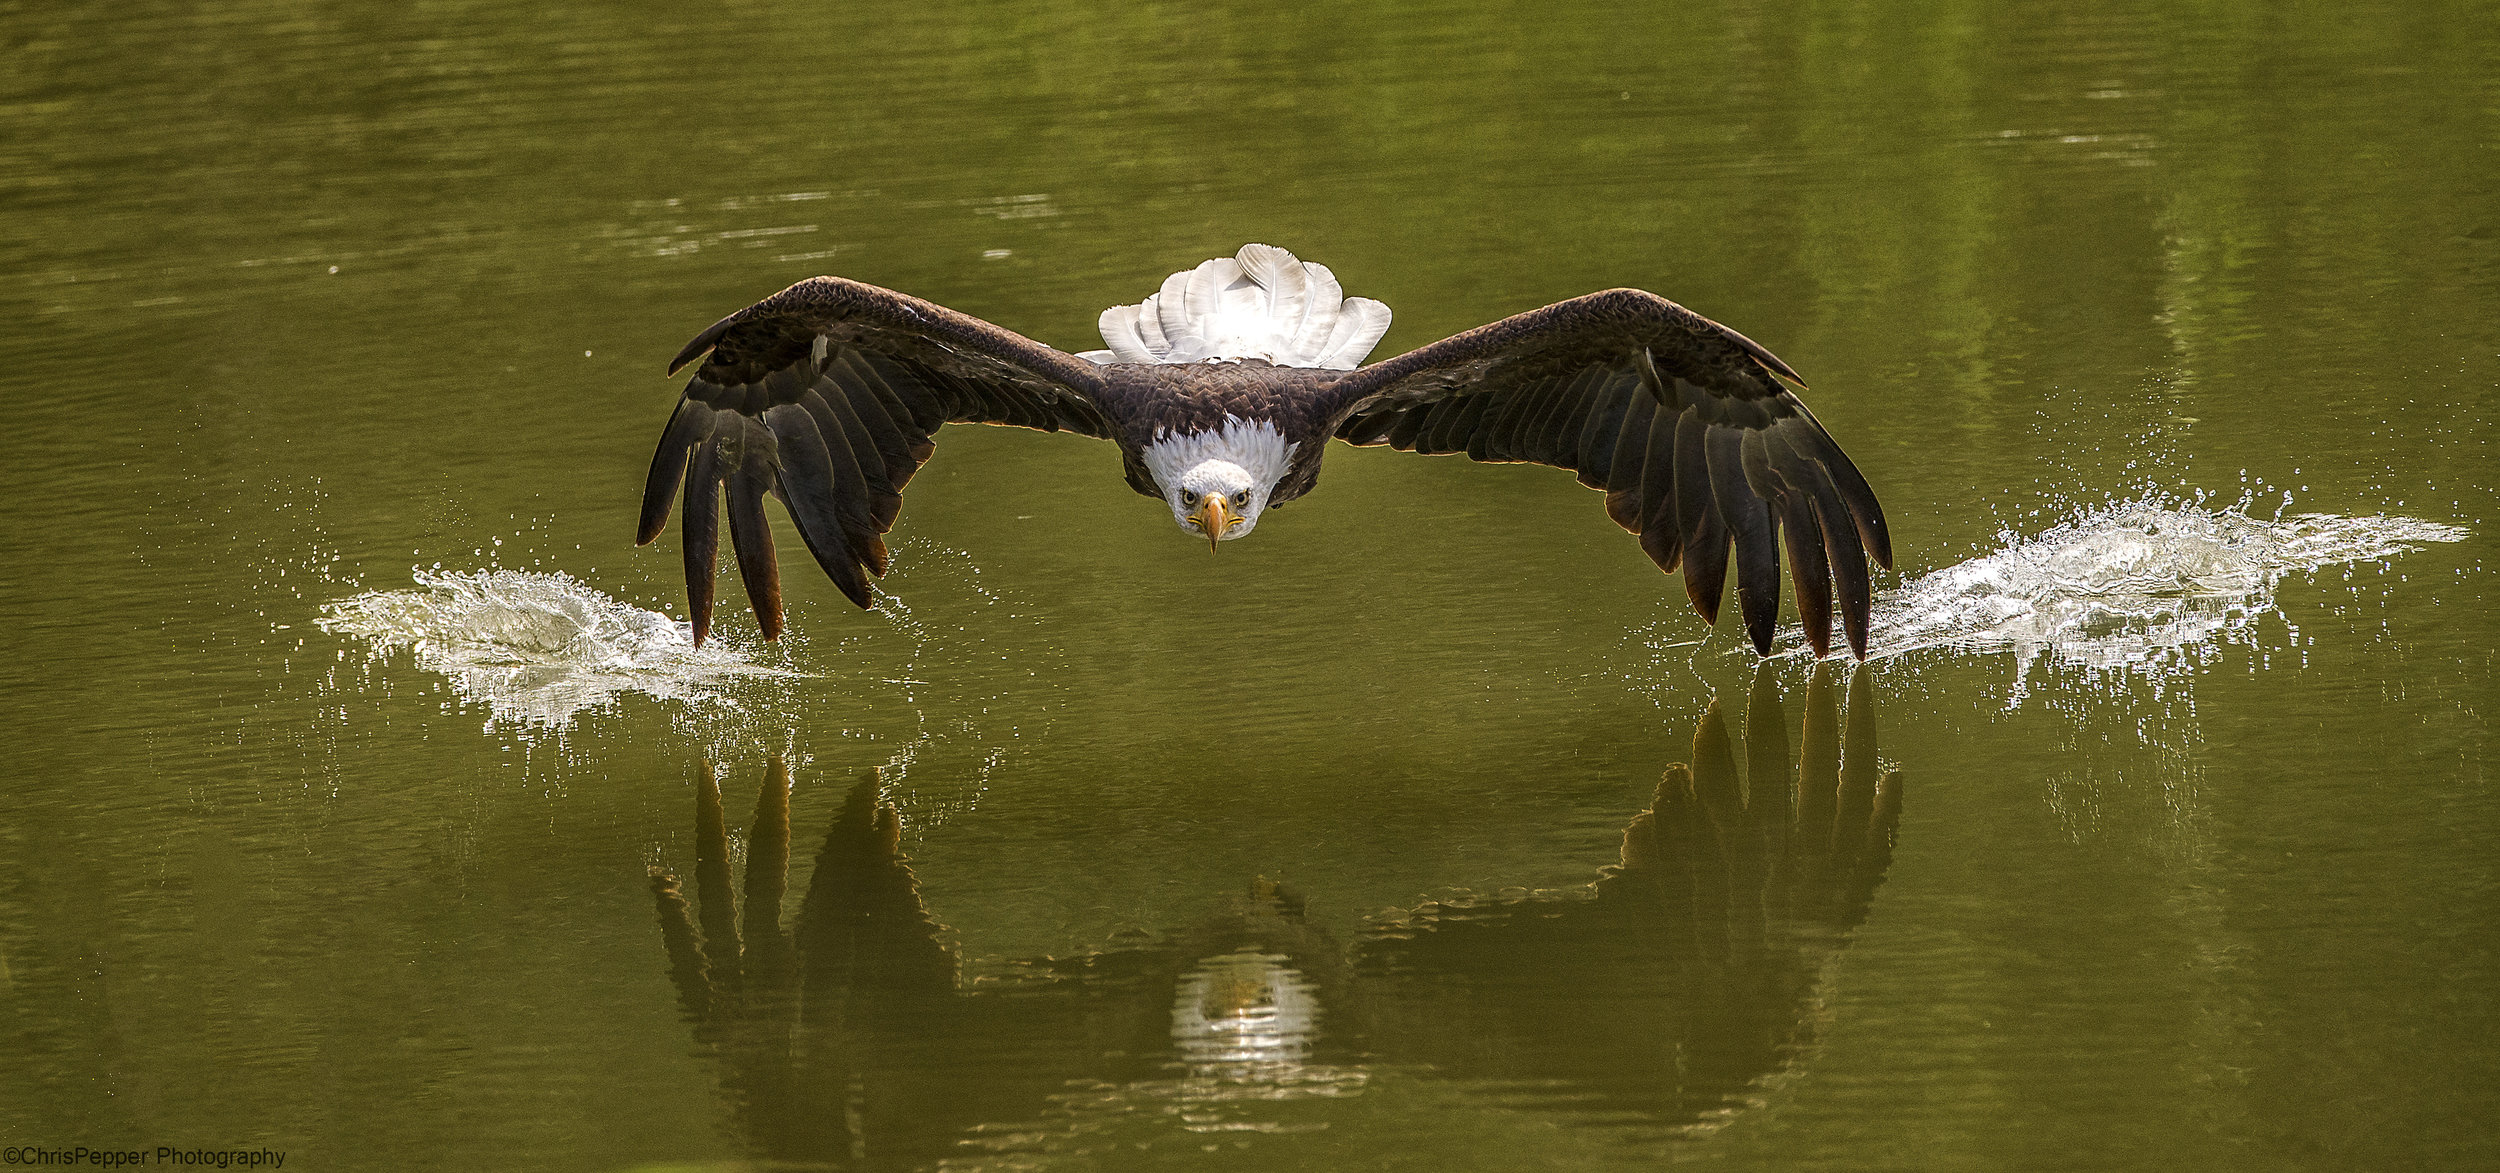
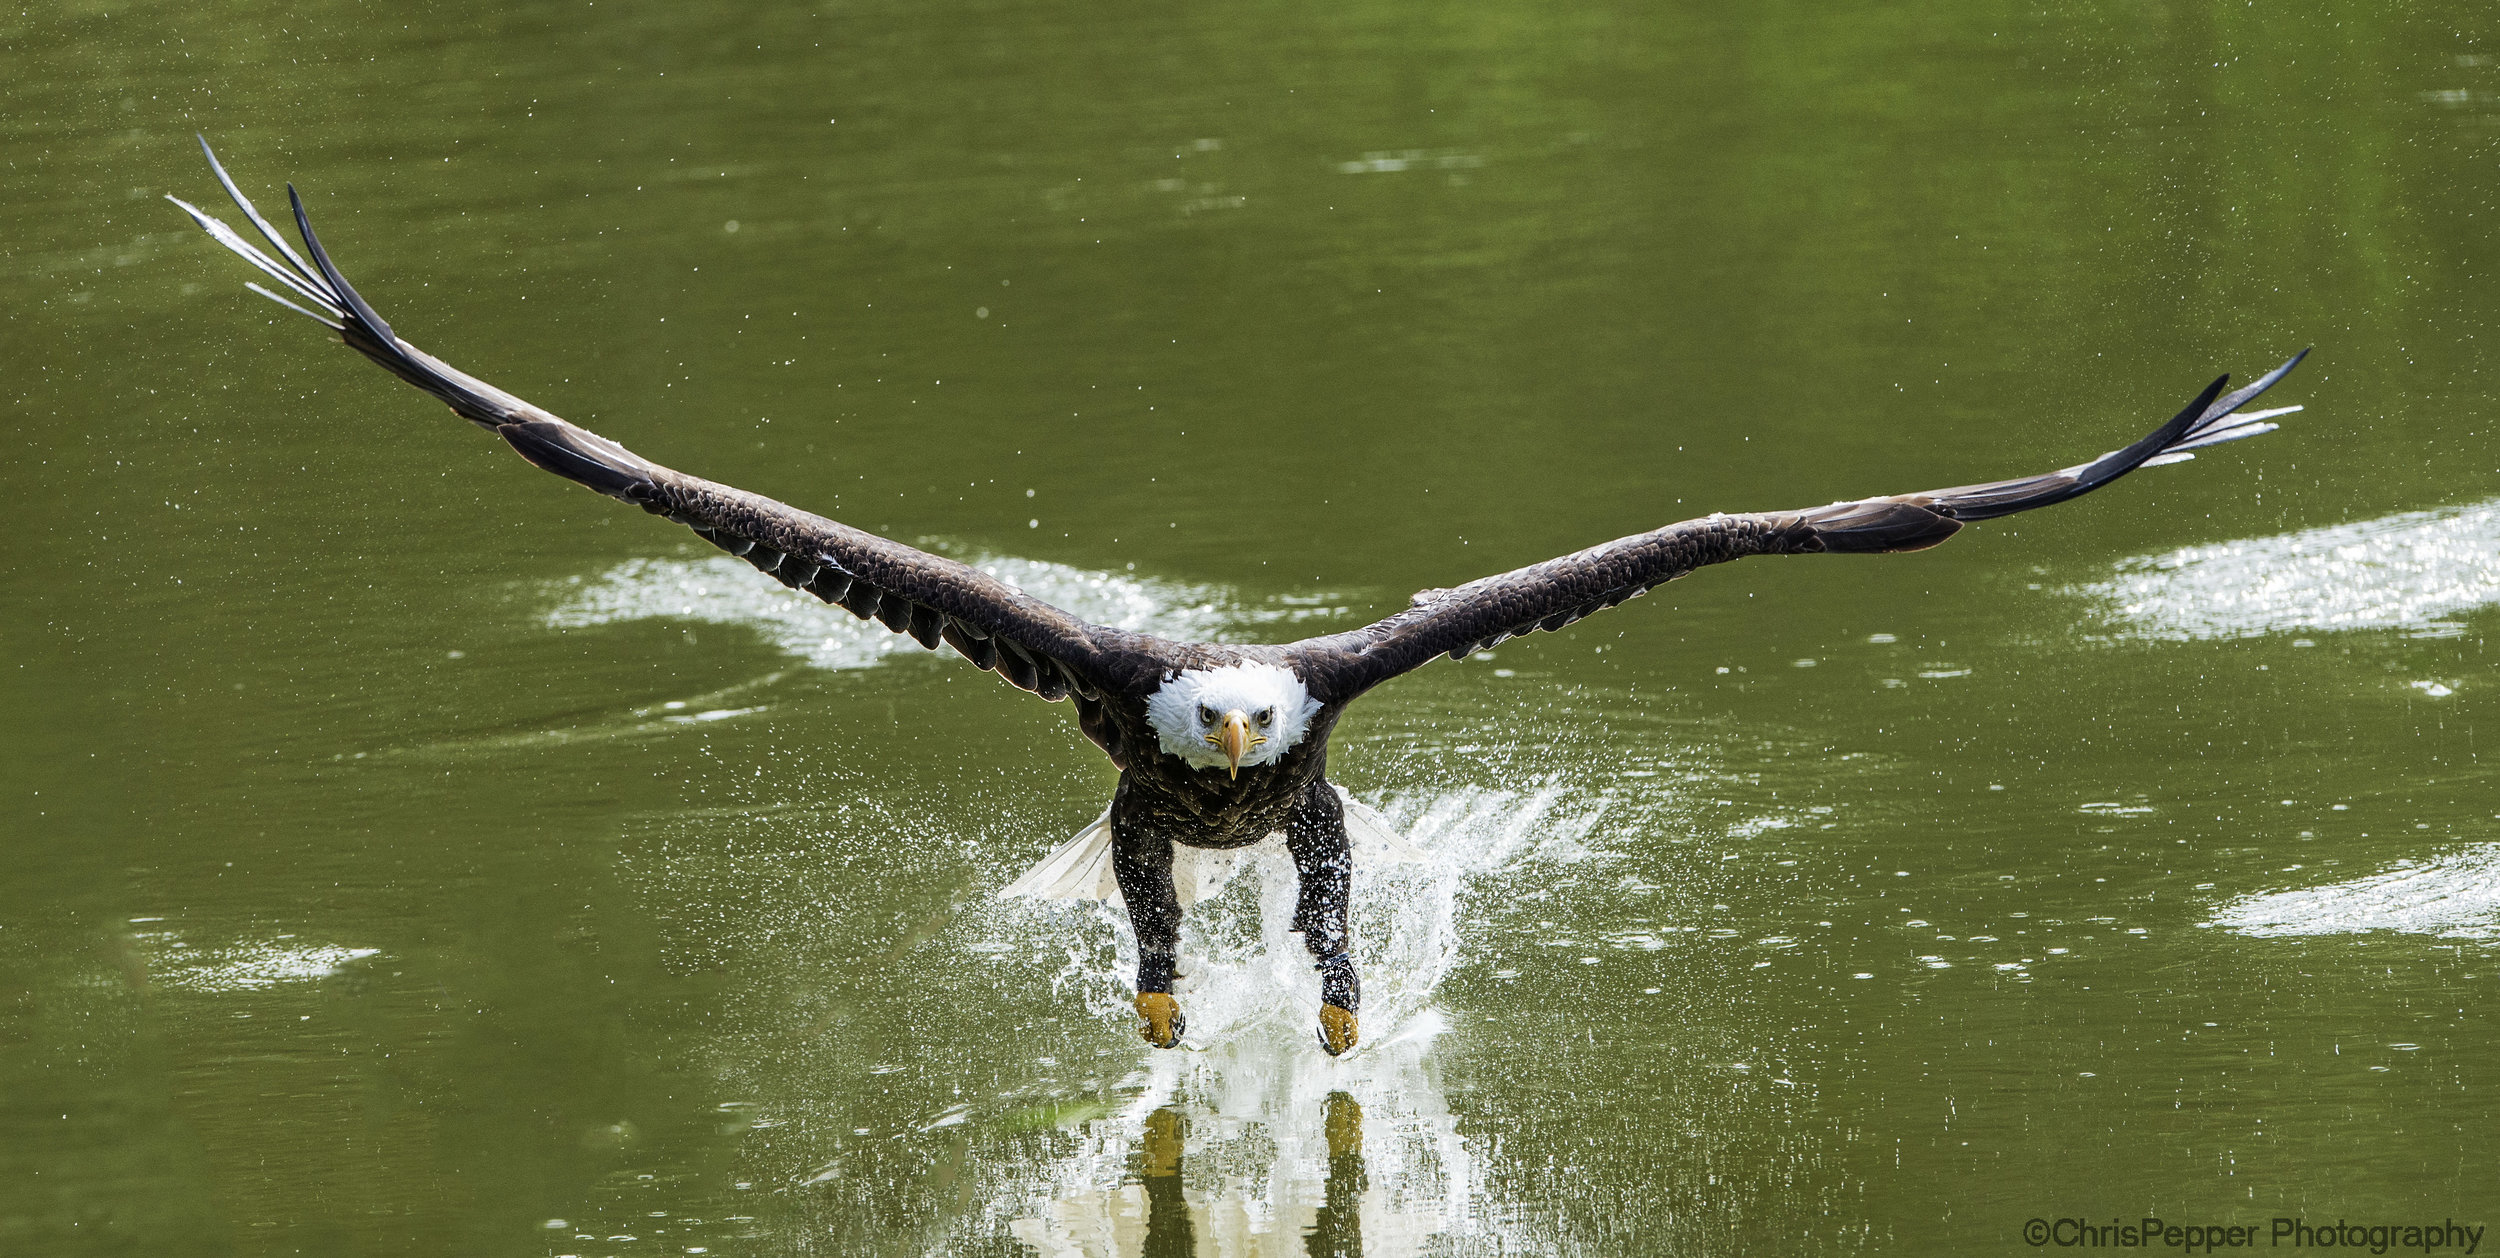
Last subject I wanted to talk about is shooting the eagles over the pond. There are different methods of achieving some different images. One is to shoot eye to eye level and get that nice wing drag on the water. Another is to shoot from a higher elevation on the hill and you can get a great reflection on a calm day. Another is once the eagle is comfortable with some flights over the pond on a wind still day they will drop the bird to a lower landing area. Sometimes the eagle will land on the edge of the water and walk around. These can make some interesting images that most people don't get at this location as they are not looking for them. Here are some pond images I have enjoyed taking.


If you have the option to shoot two sessions in a day I would do both if possible. You will learn so much from the AM session that the PM session will be more second nature to you and your images will be much better. There is also a chance you may get to photograph other raptors you didn't see in the am as sometimes they will switch them up for you. Over the years I have had 5 different falconers who work there fly the birds for us. They are all great at their jobs and will always try to help you as best they can. Please remember these are all birds not super stars, they will make mistakes just like us humans can. Sometimes one won't listen because it fixated on a wild bird in the area. Sometimes there is prey in the grass and it is their nature to hunt for it. Some birds may be new in the program and they possibly may fly off into a tree and be stubborn. This has nothing to do with the falconer or the bird, its just nature taking its course. That being said I have had many flawless days attending sessions where these raptors are like robots. If you enjoy the birds as much as I do don't be afraid to ask the falconers questions. They work with these birds everyday and are very knowledgable people. Some of the facts they can tell you will blow your mind. One tip is to either bring a notepad or use a note app on your phone, ask the birds name and the species type. This will give you better reference when you are going through your images later on.
Lastly make sure you have fun and don't forget to prepare yourself for being outside for the day. Sunscreen can come in handy, if there is no breeze you may have some mosquitos after a rain on a hot sunny day. If it did rain hard the night before sometimes old shoes or rubber boots will keep the mud off your good shoes or keep the dampness off your feet.
Good luck fellow photographers and have fun!
If you want to ask me any other questions please feel free to email me at chrispepperphotography@gmail.com
Canadian Raptor Conservancy Inc.
Address: 2848 Front Rd, Vittoria, ON N0E 1W0
Phone: (519) 428-2637
Province: Ontario
Google maps directions below.
Do you want to put your new bird photography skills to the test? Think about joining me in Newfoundland for Puffins, Razorbills and Northern Gannets
https://www.northof49photography.com/southern-newfoundland-2020
Do you like photographing eagles? Join me in BC for the bald eagle migration!
https://www.northof49photography.com/bc-bald-eagles-2020


