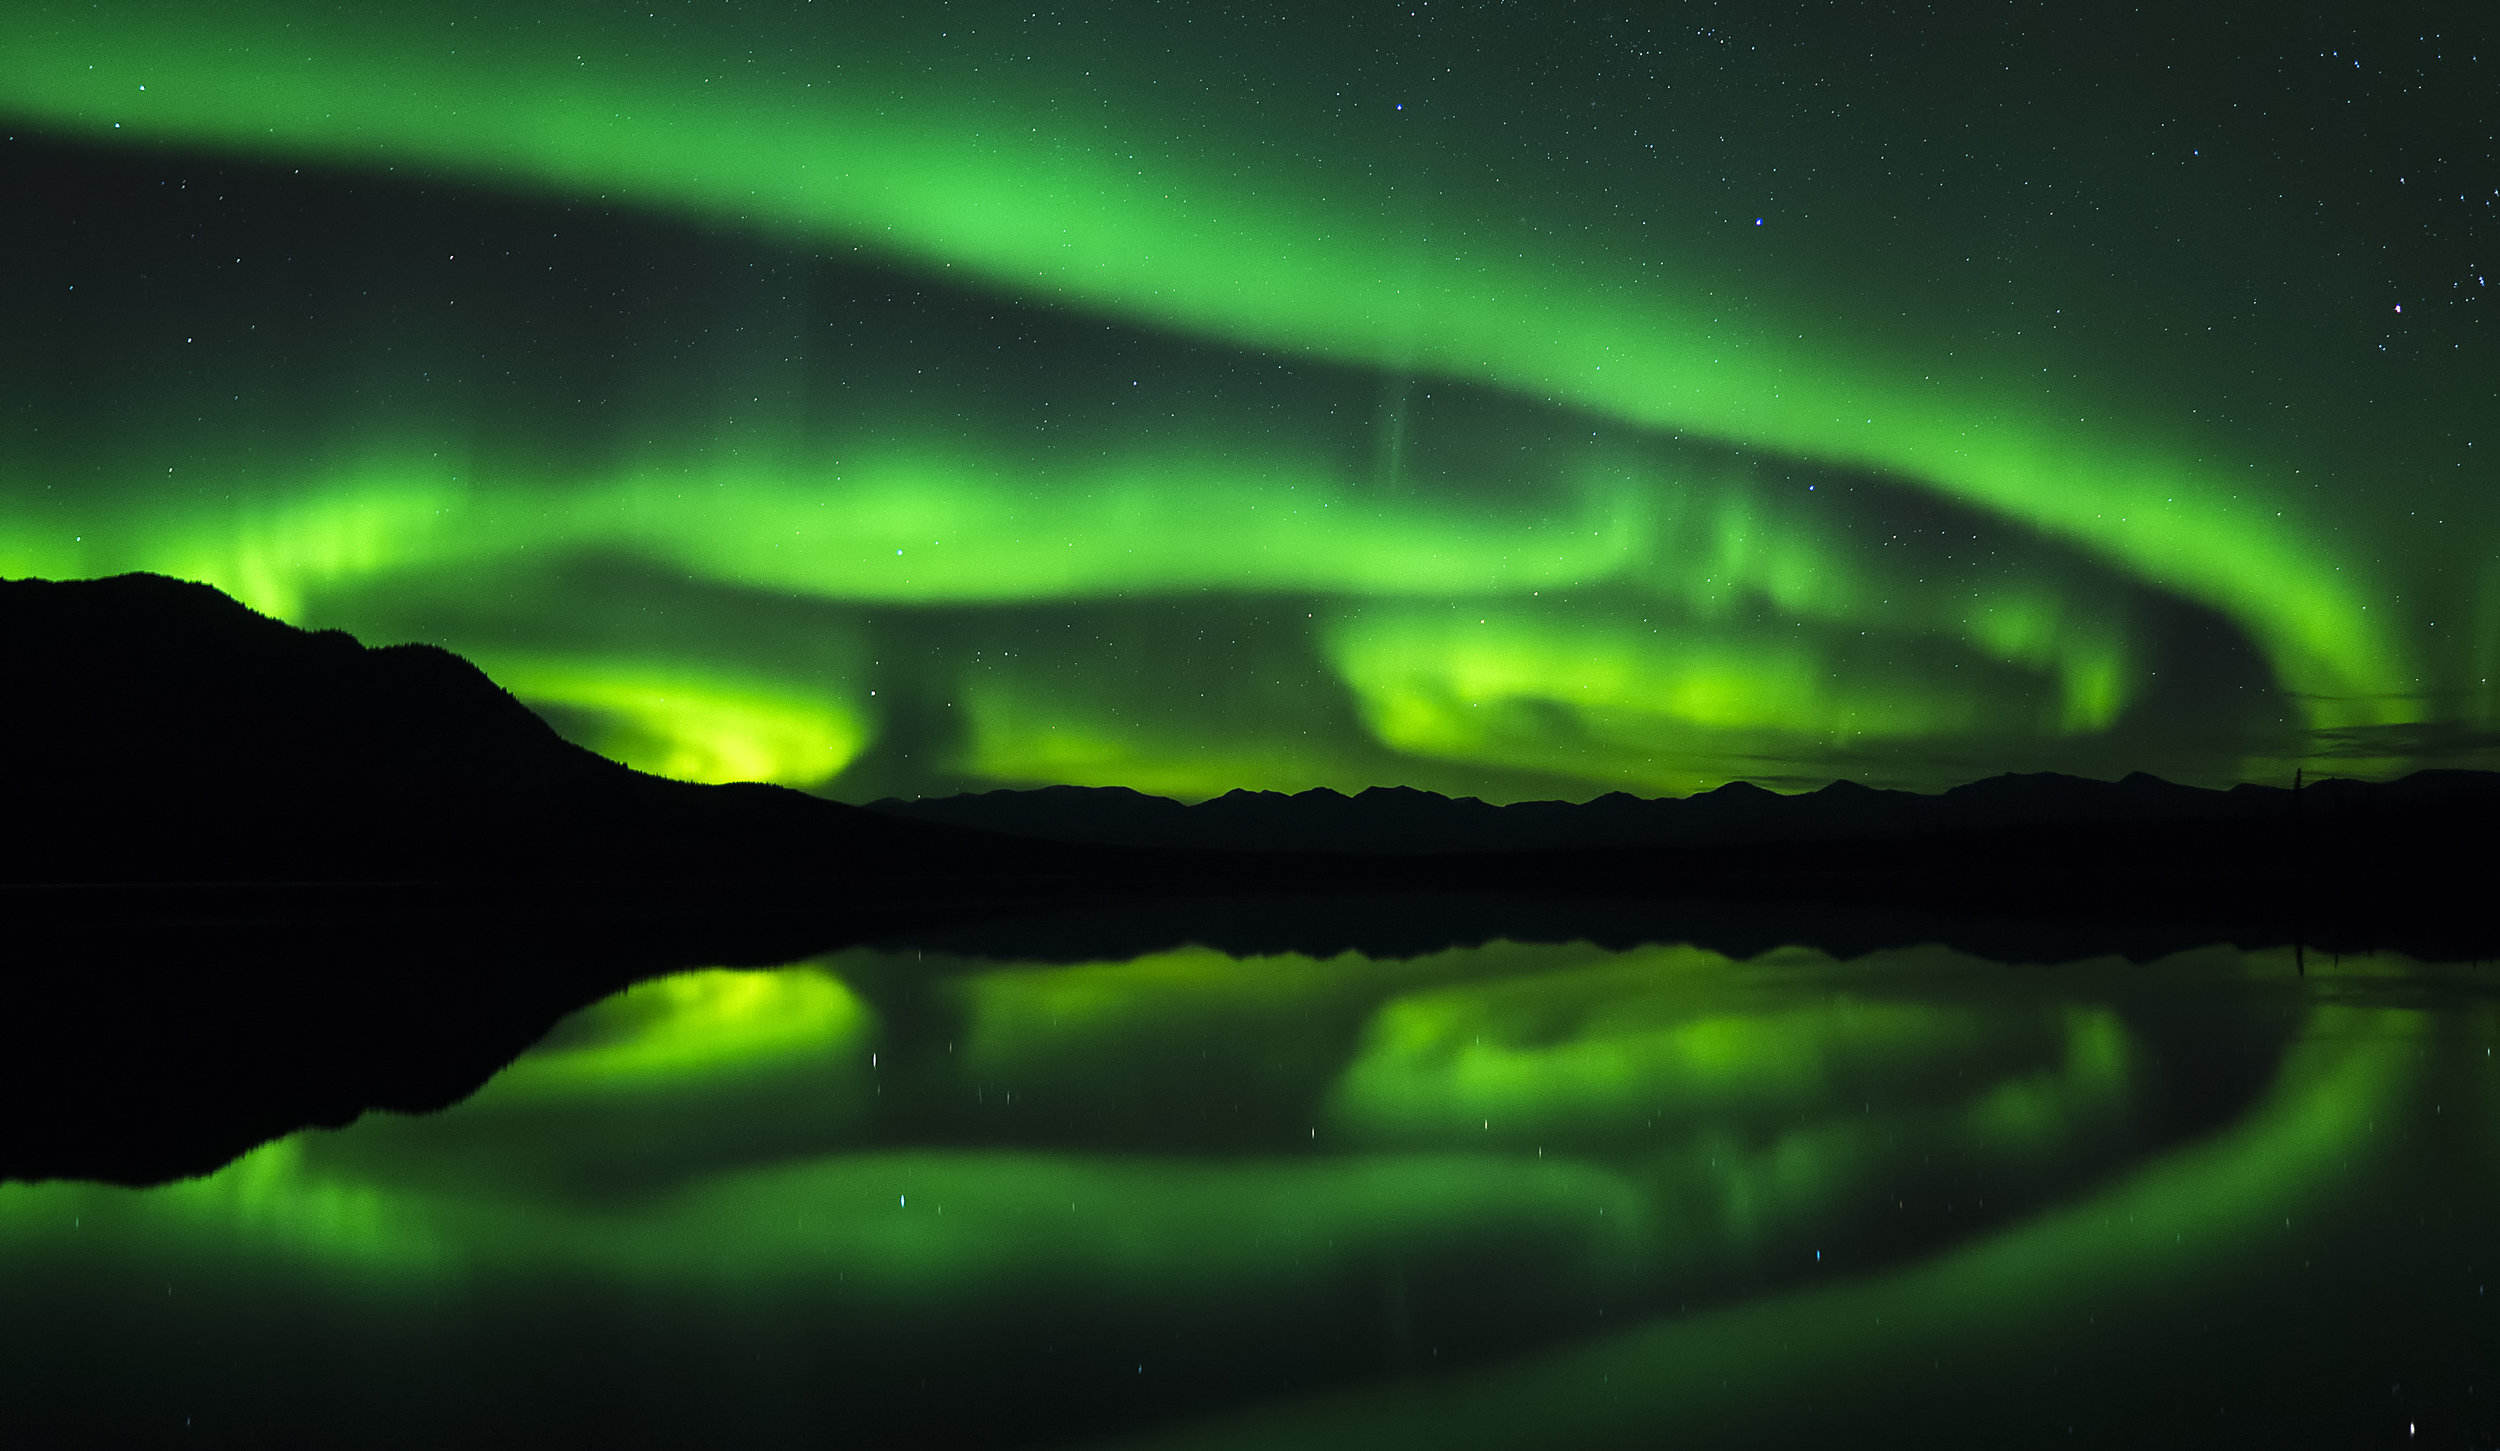
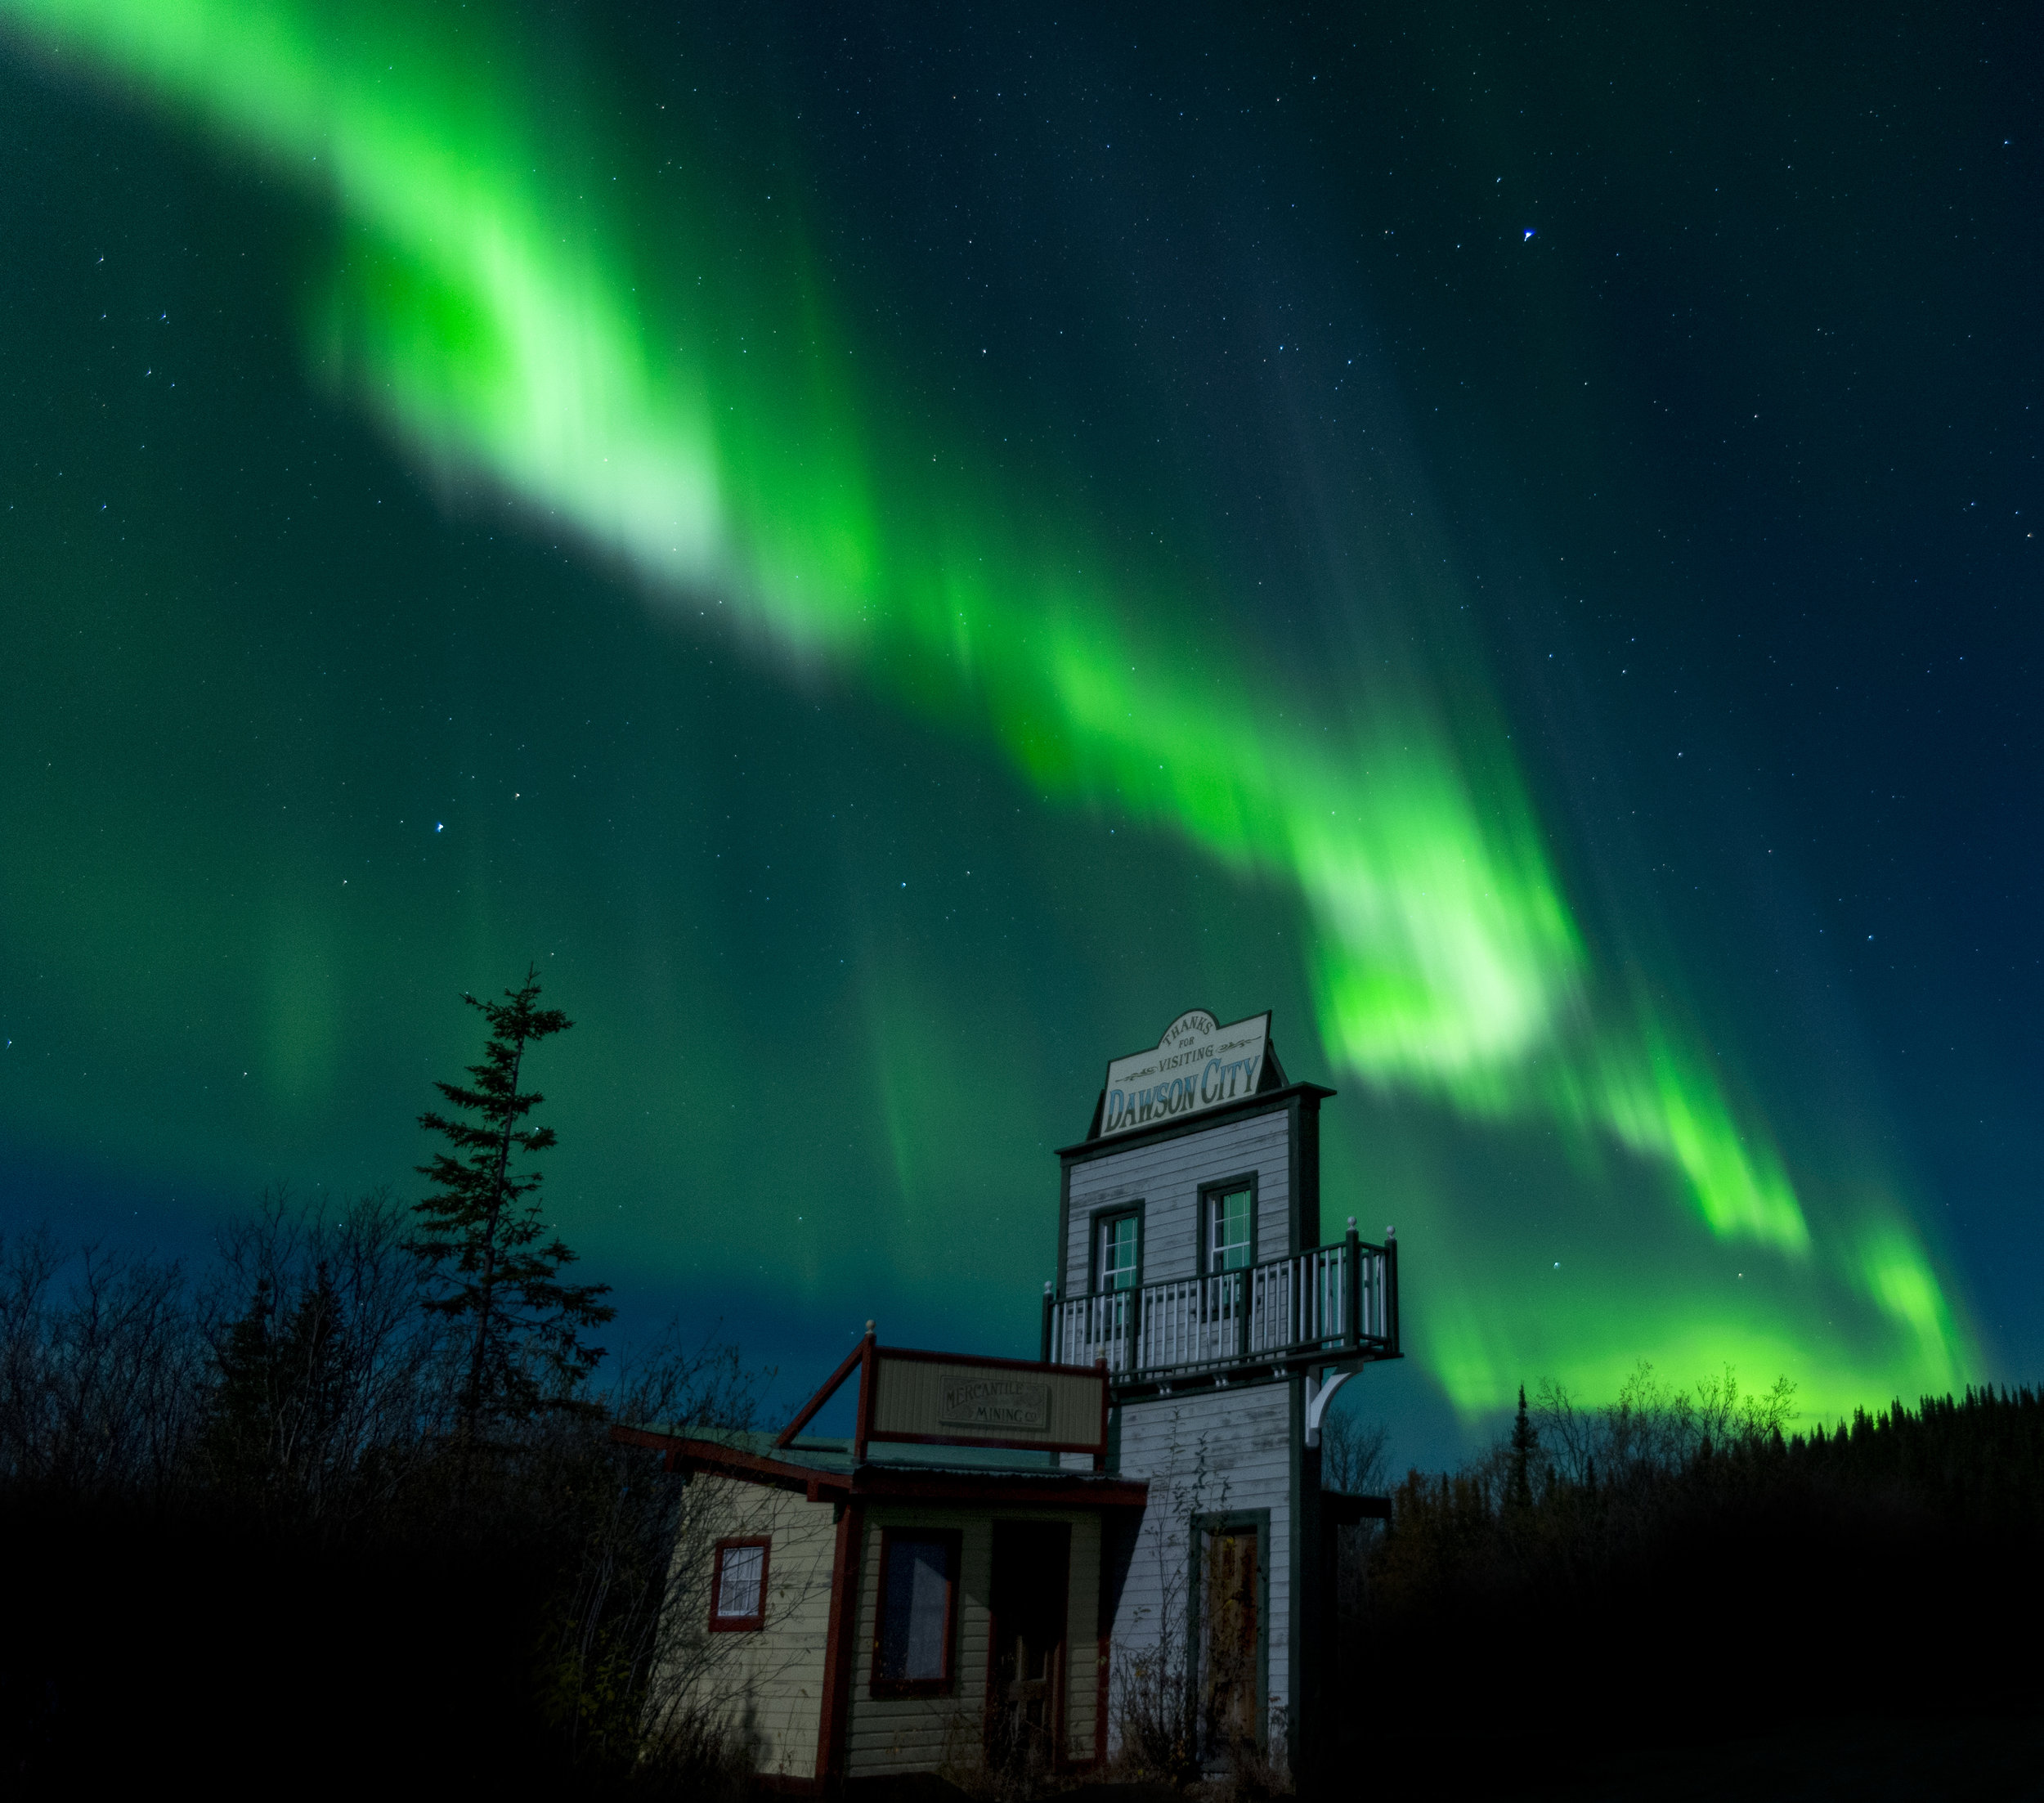
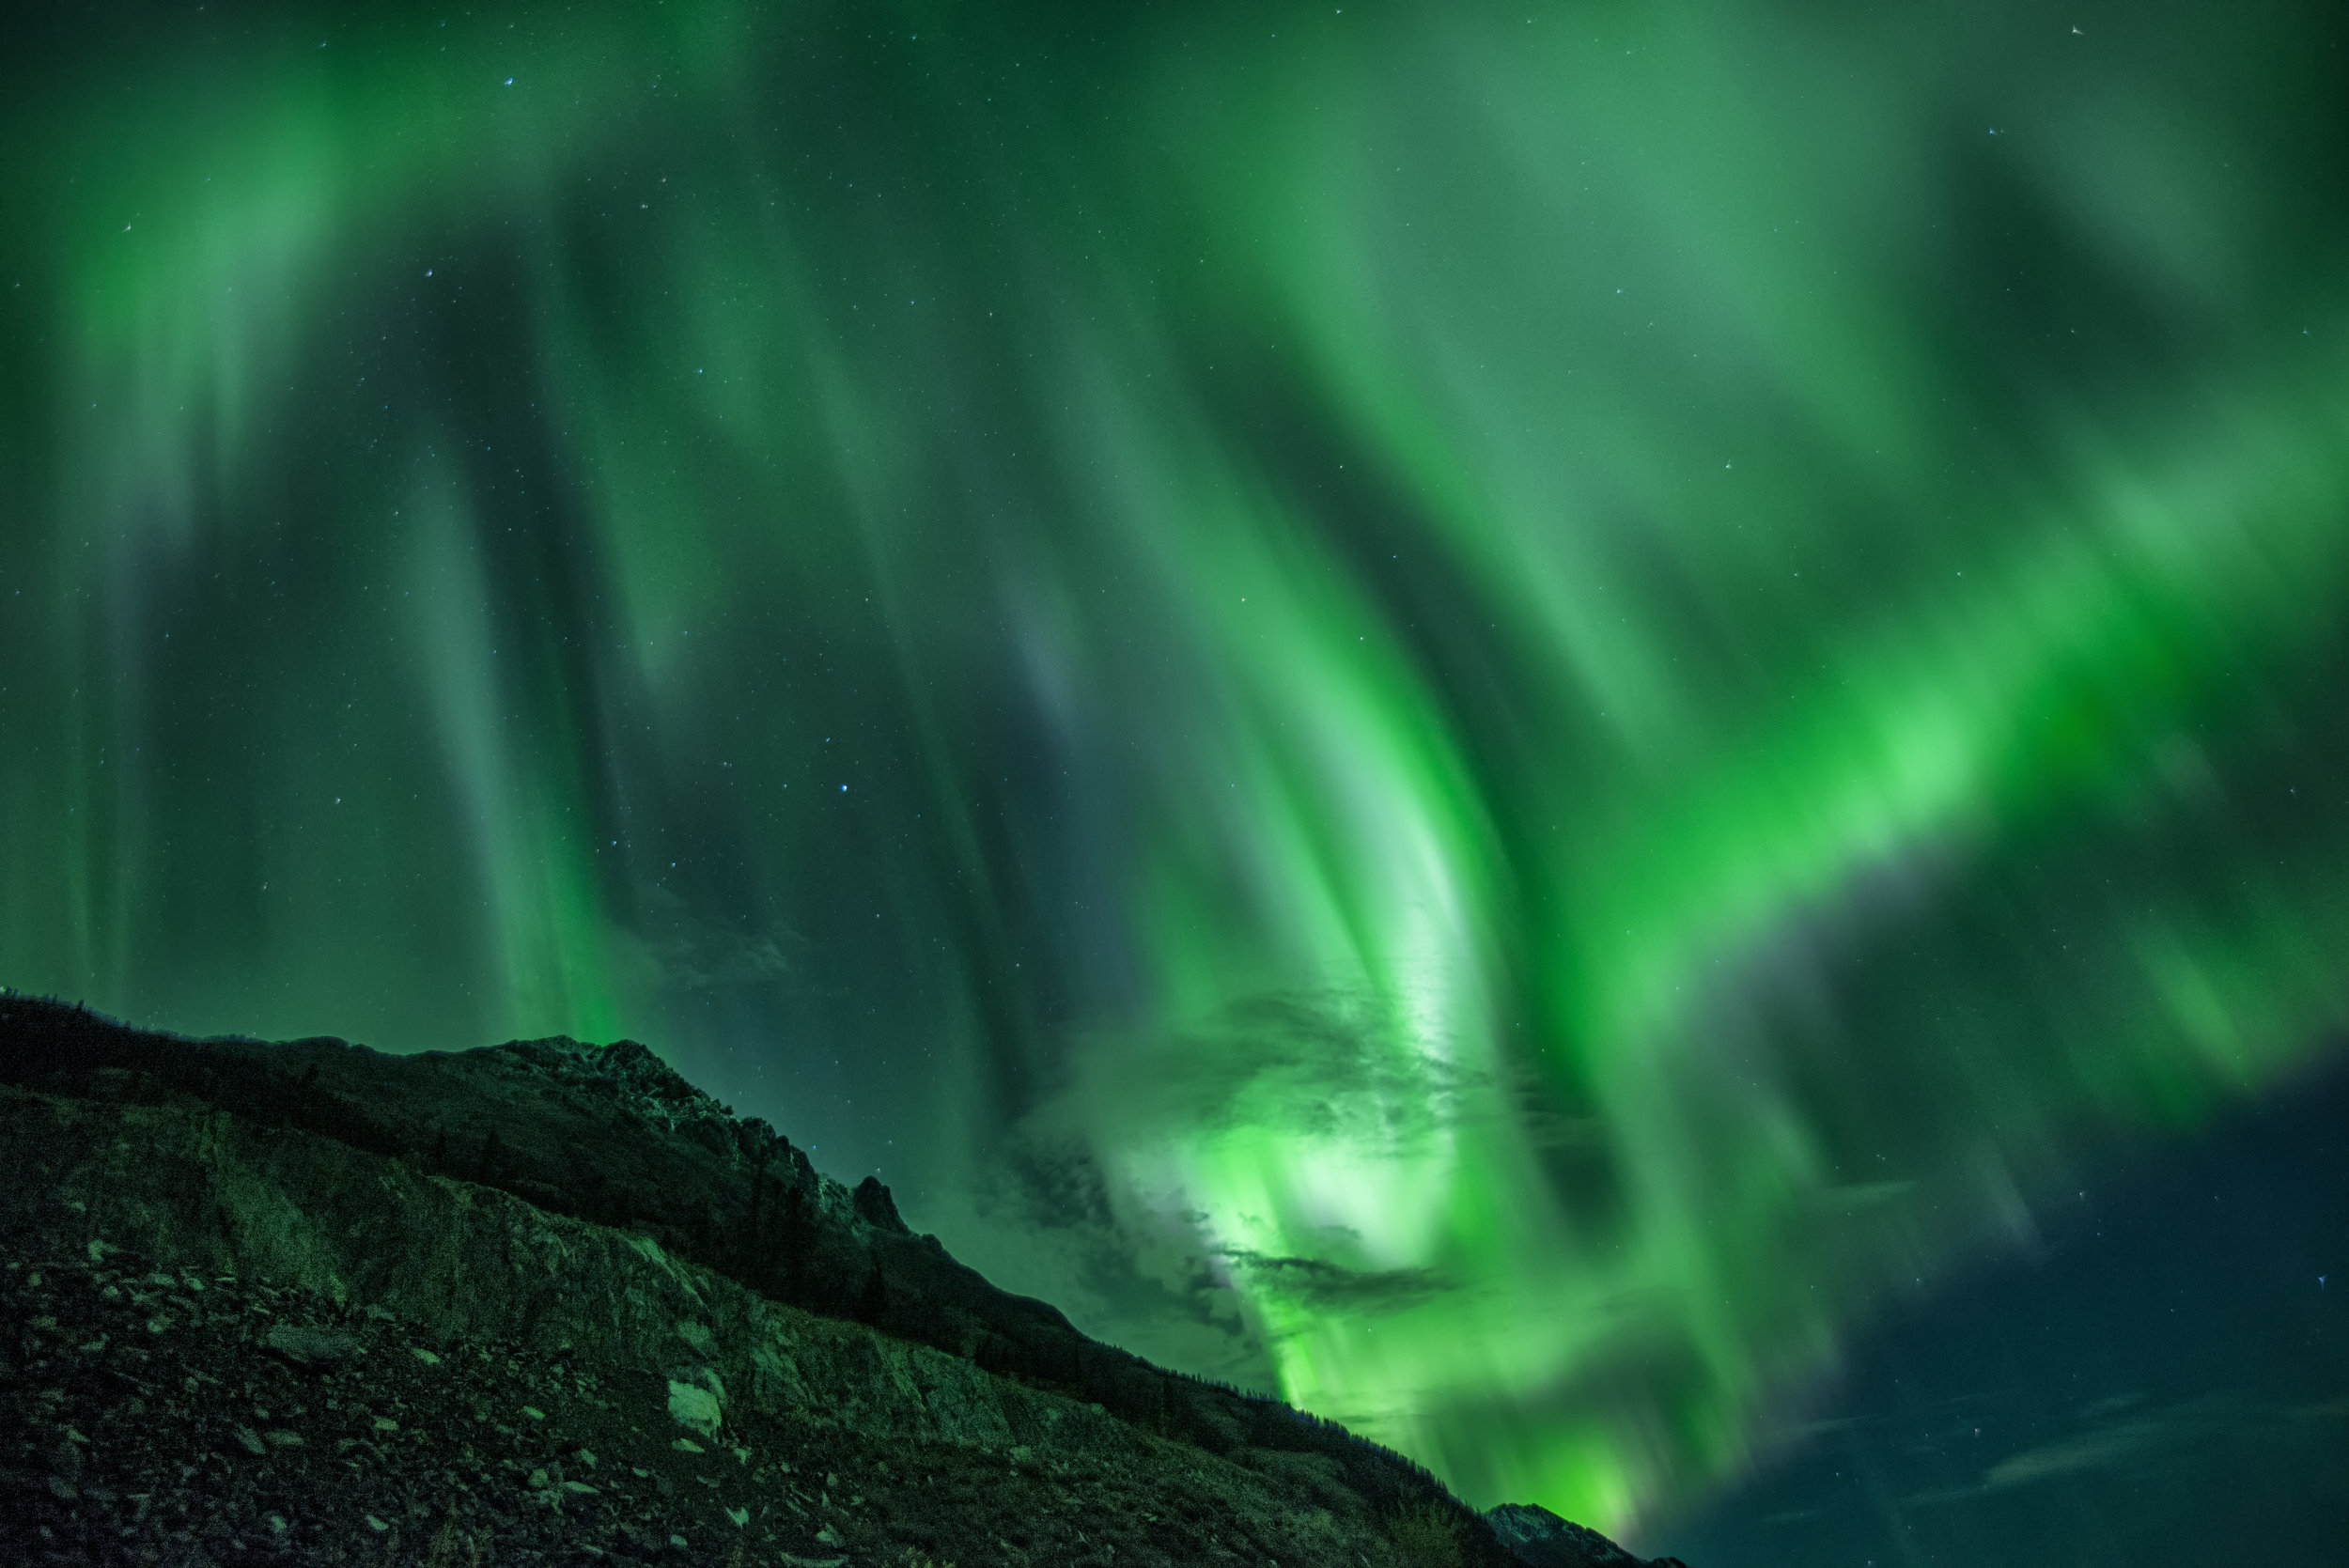
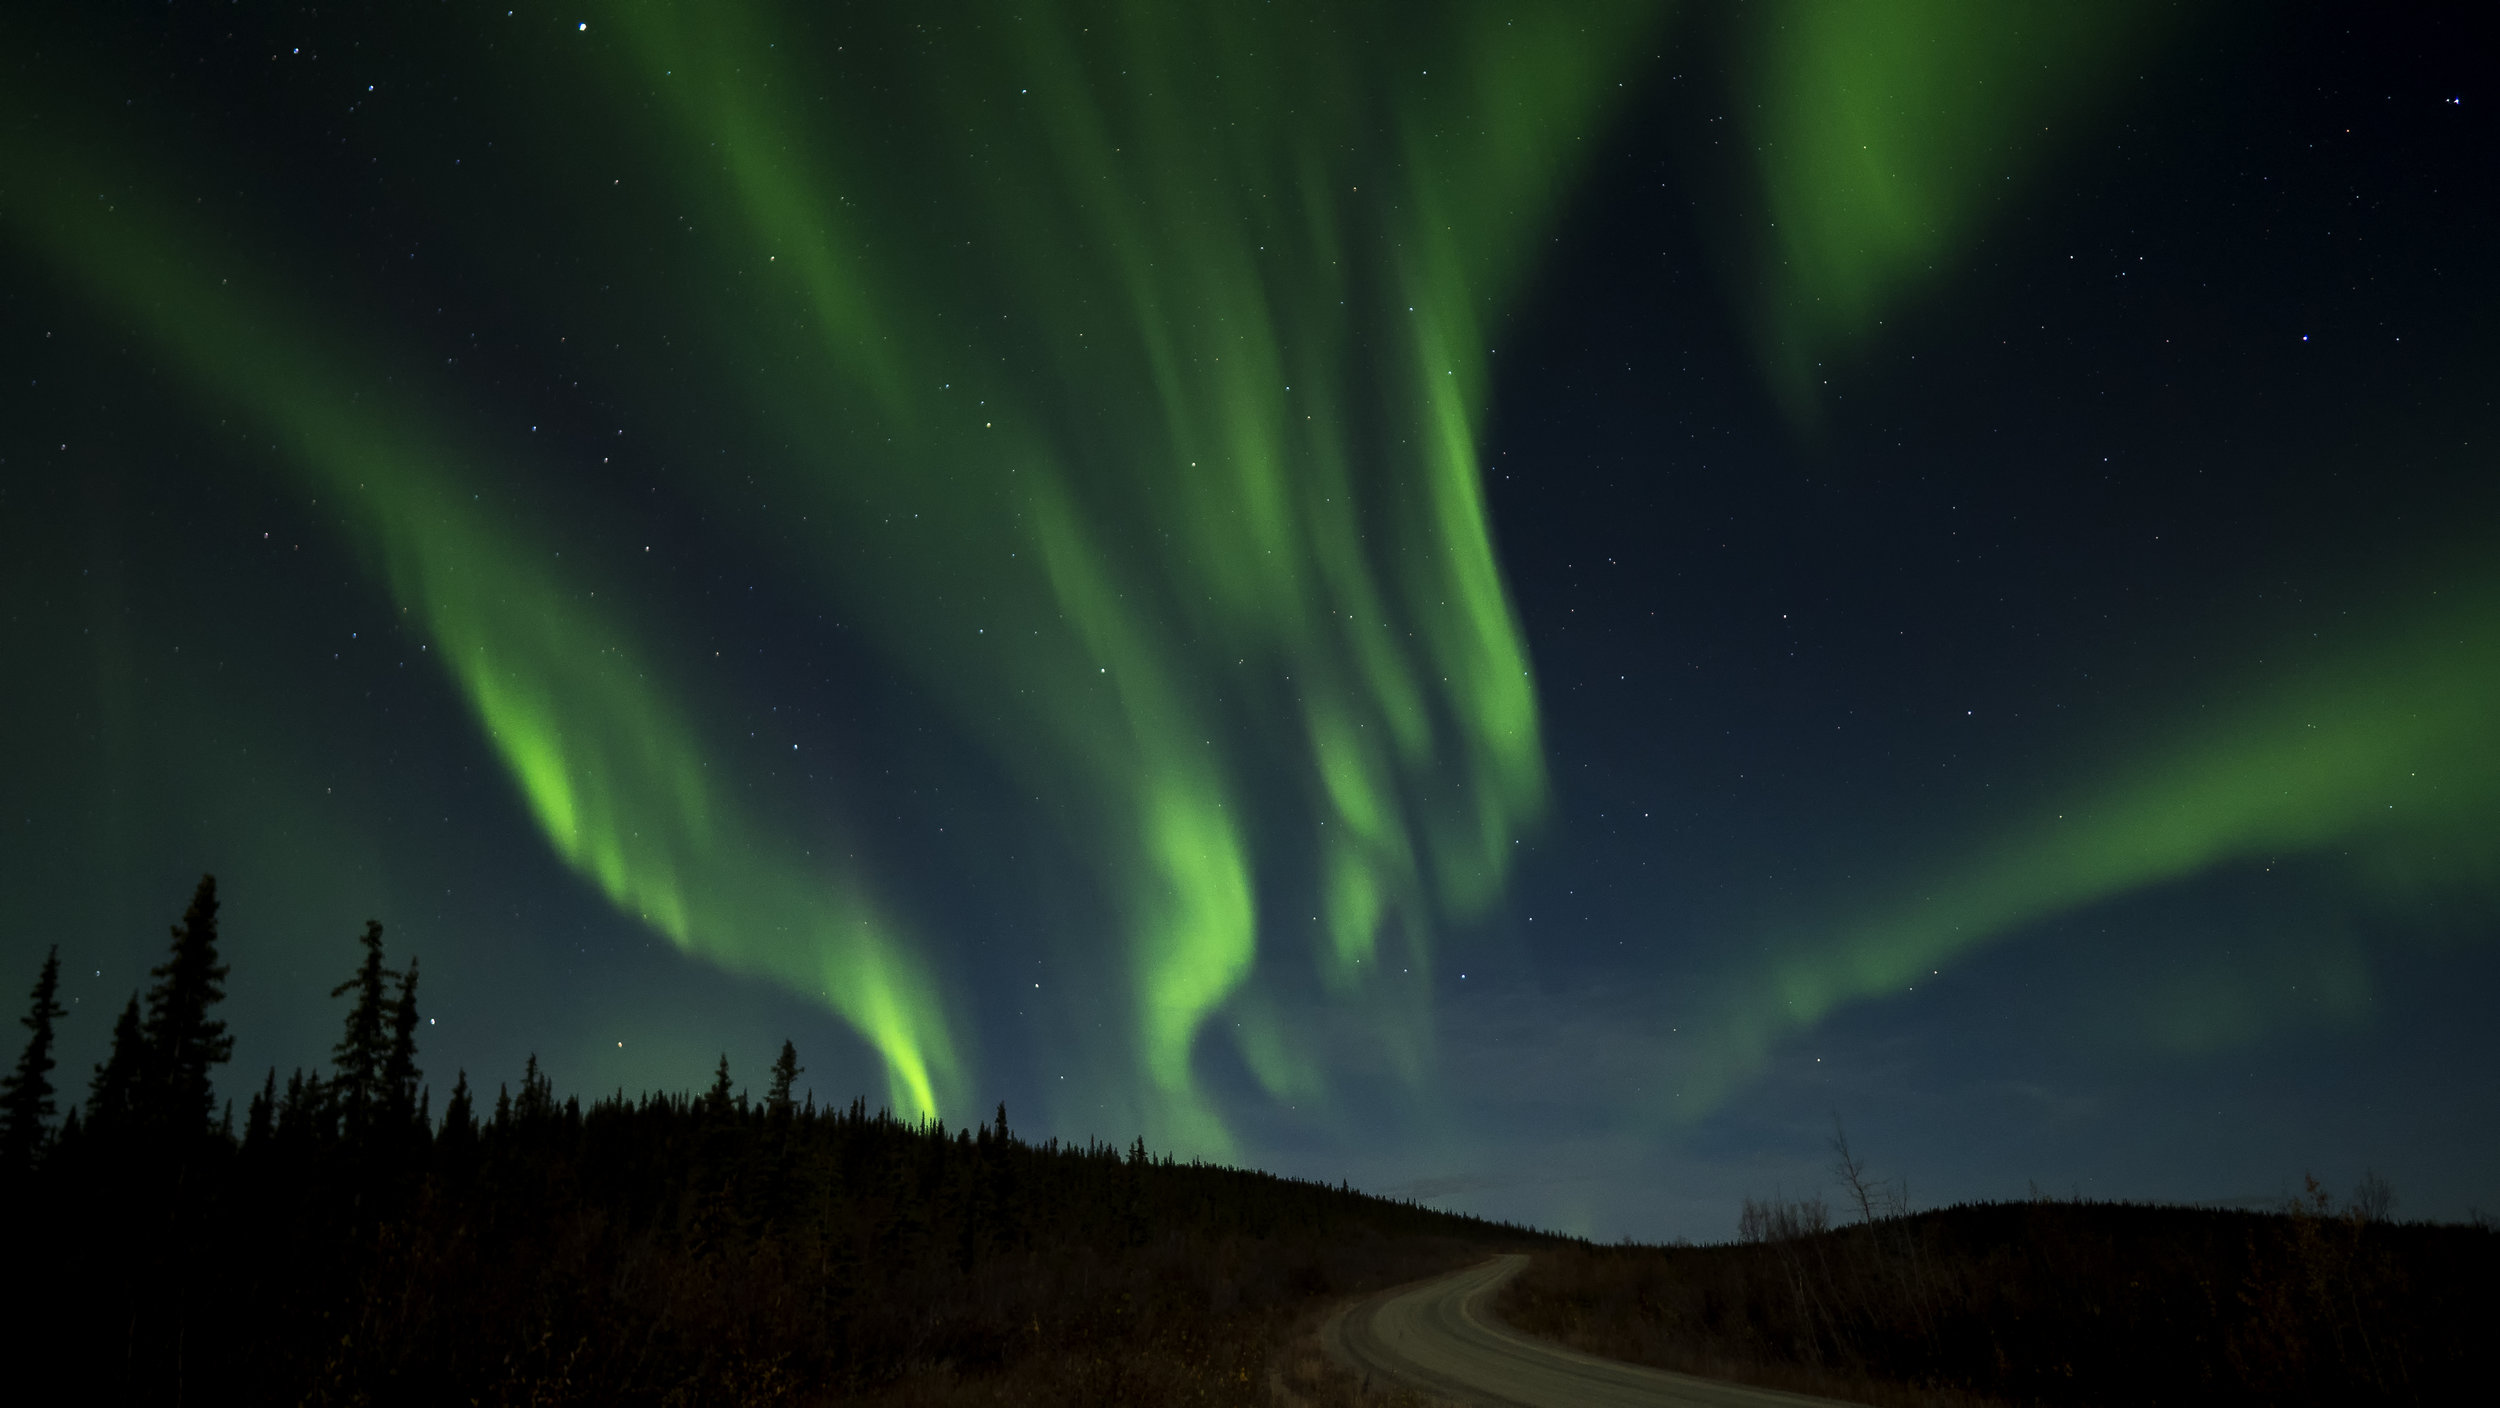
How to photograph the Northern Lights
/Are you looking for tips on how to photograph the northern lights?

Looking for tips?
Let's get started
Today we are going to help you with some tips on how to photograph the northern lights. Every year in the fall I head out on multiple back to back tours in search of the northern lights. Let my experience help you with some tips on taking better photographs.
Gear list
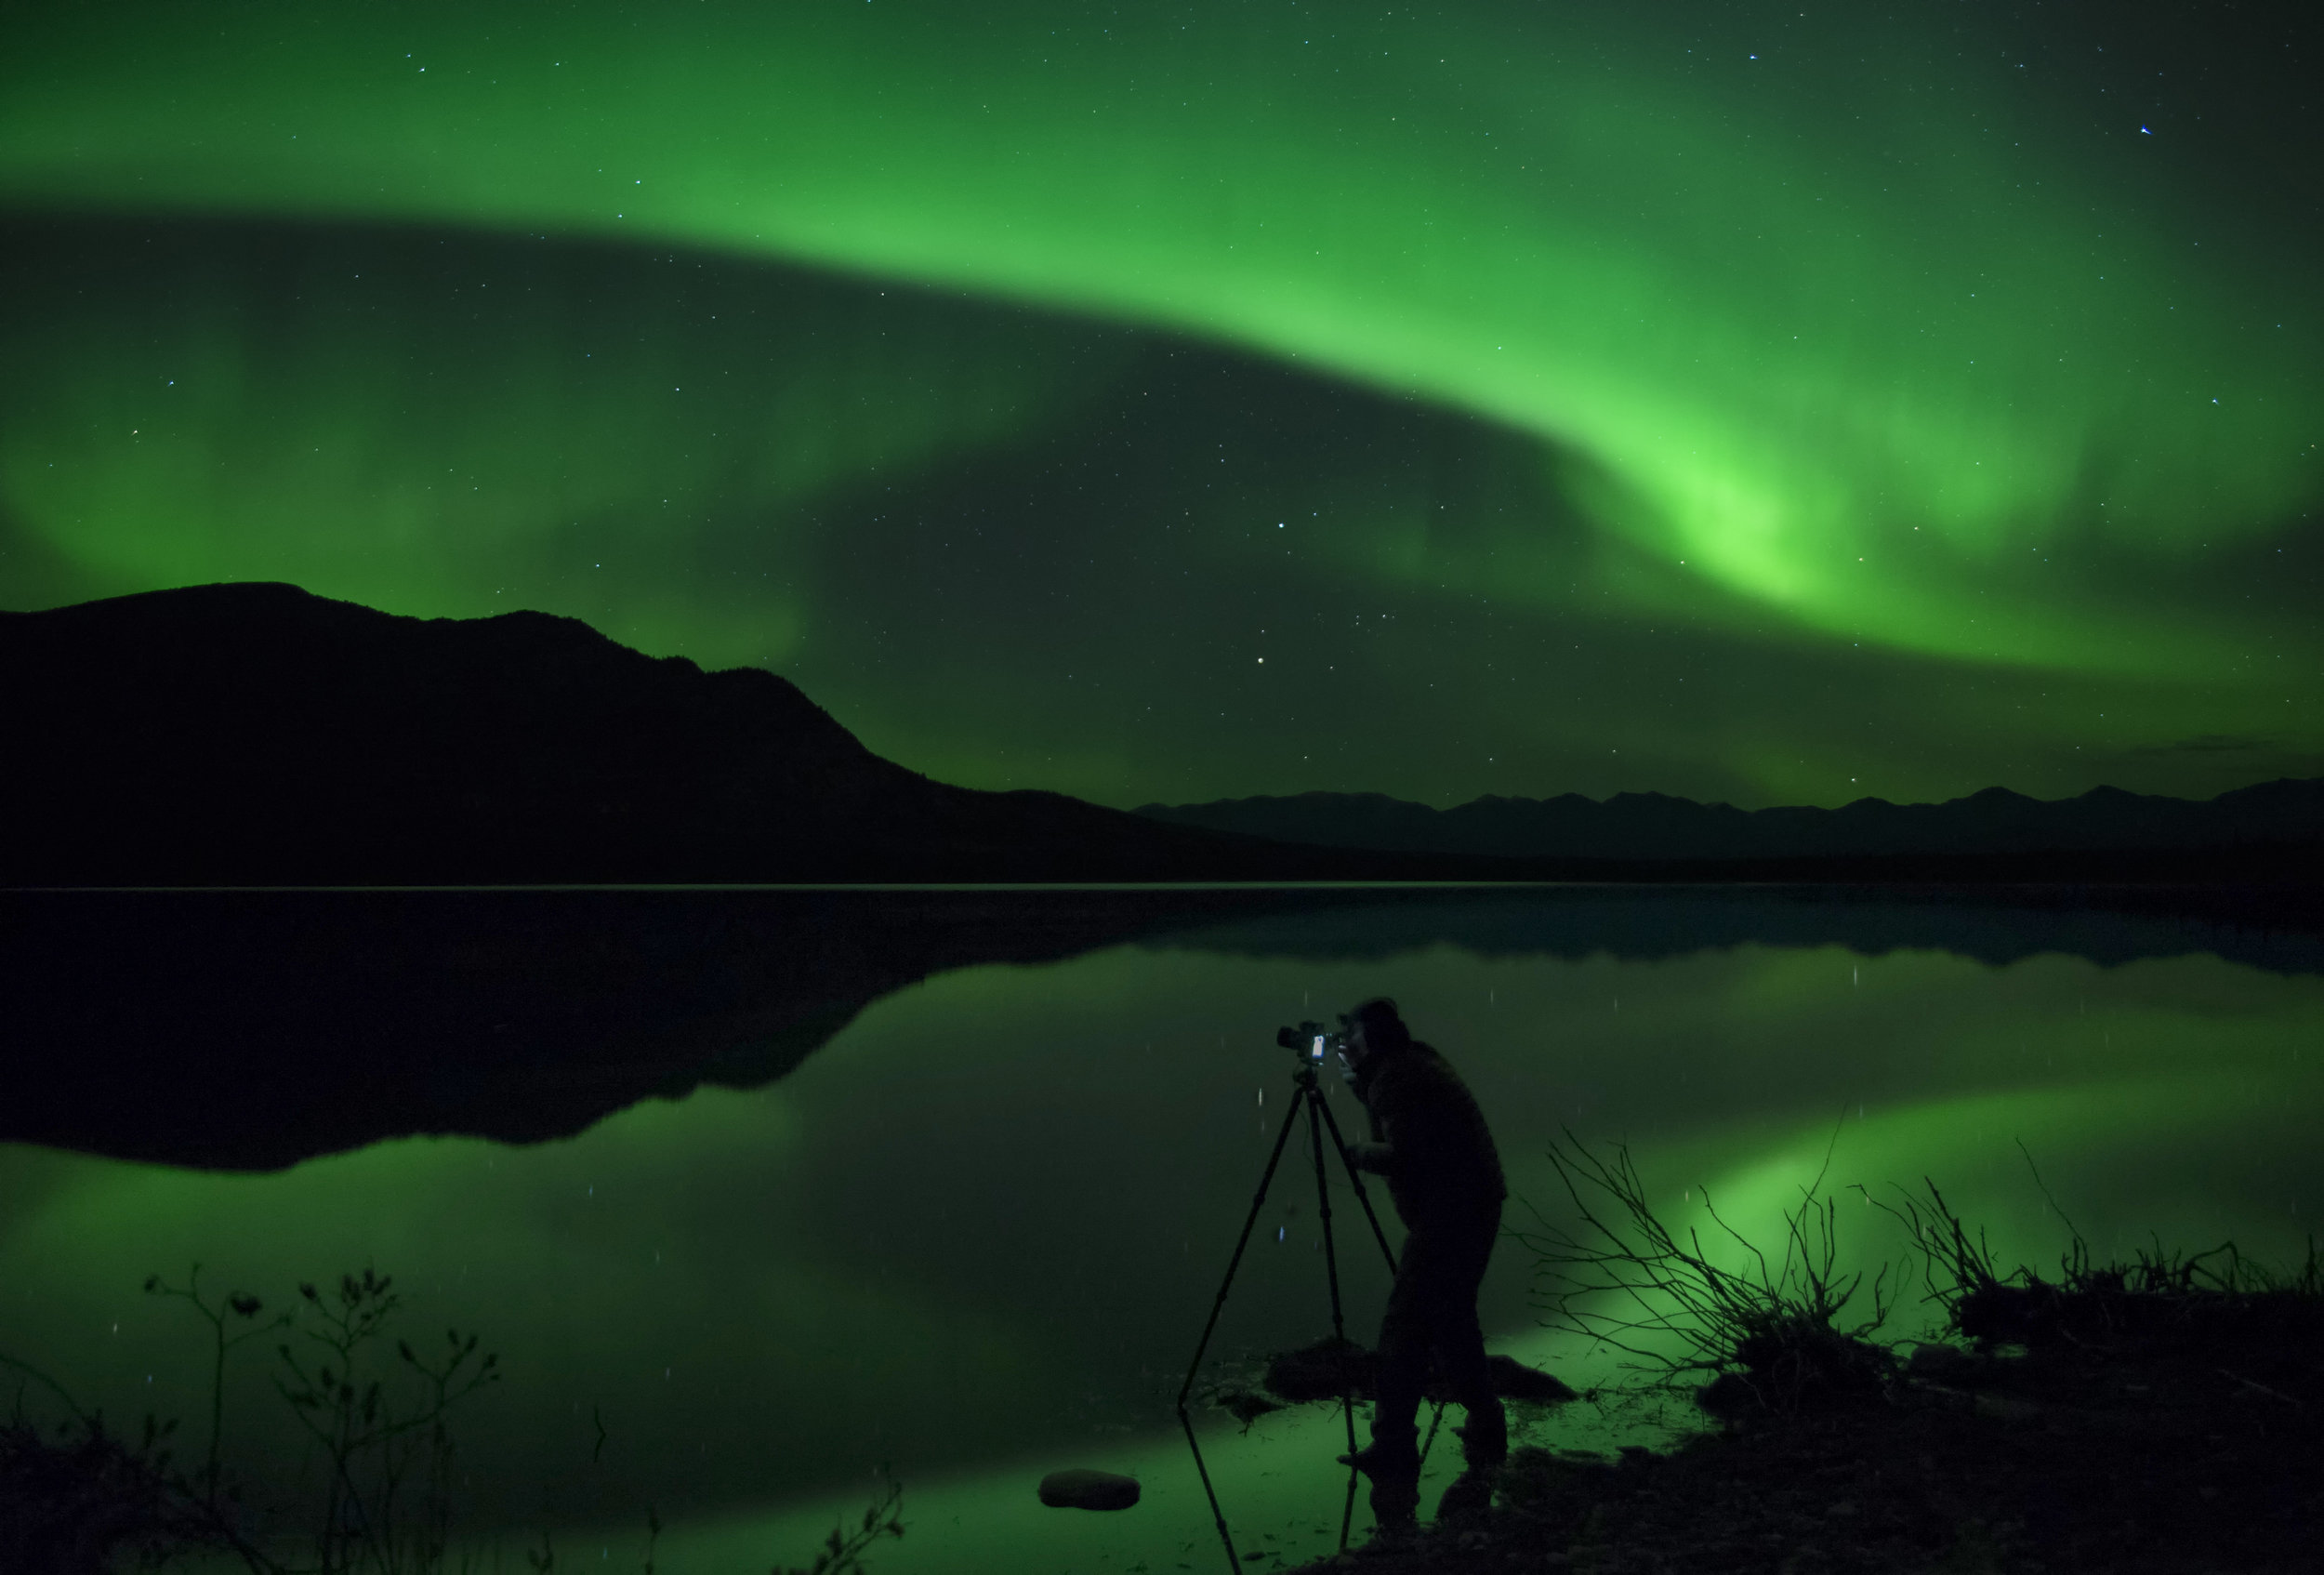
The first thing we need is a solid foundations to set our camera on. Tripods always seem to be a big subject when it comes to travel photography. I don't want something to heavy so let's get something light to travel with. Well thats a great idea in hindsight until you are out shooting on a windy night. You need something that can be stable and weighted down if possible, last thing you want is that special moment to be a soft image because your tripod was shaking in the breeze. If you don't have something super stable try to keep all your legs retracted and spread out the legs. This will keep your rig stable and less likely to shake. downside is you always have to squat or sit on the ground when you are shooting.
Next we should talk about remotes, you can spend top dollar on super expensive remotes or you can buy regular OEM remotes. What ever remote you choose to buy just do yourself a favour and buy a spare 30-60 dollar remote to keep in your bag. There are ways around shooting without a remote by using a timer feature. Remotes make it so much easier and less of a chance to accidentally hit your tripod. My theory is why travel thousands of miles, pay thousands of dollars, just to be mad you didn't buy a spare 30 dollar item when your old one fails. If you choose to buy a battery operated remote please make sure you have spare batteries. Jim's gas bar /garage/bakery/motel/fudge house will likely not have any types of specialty batteries when you are in the middle of timbucktoo.
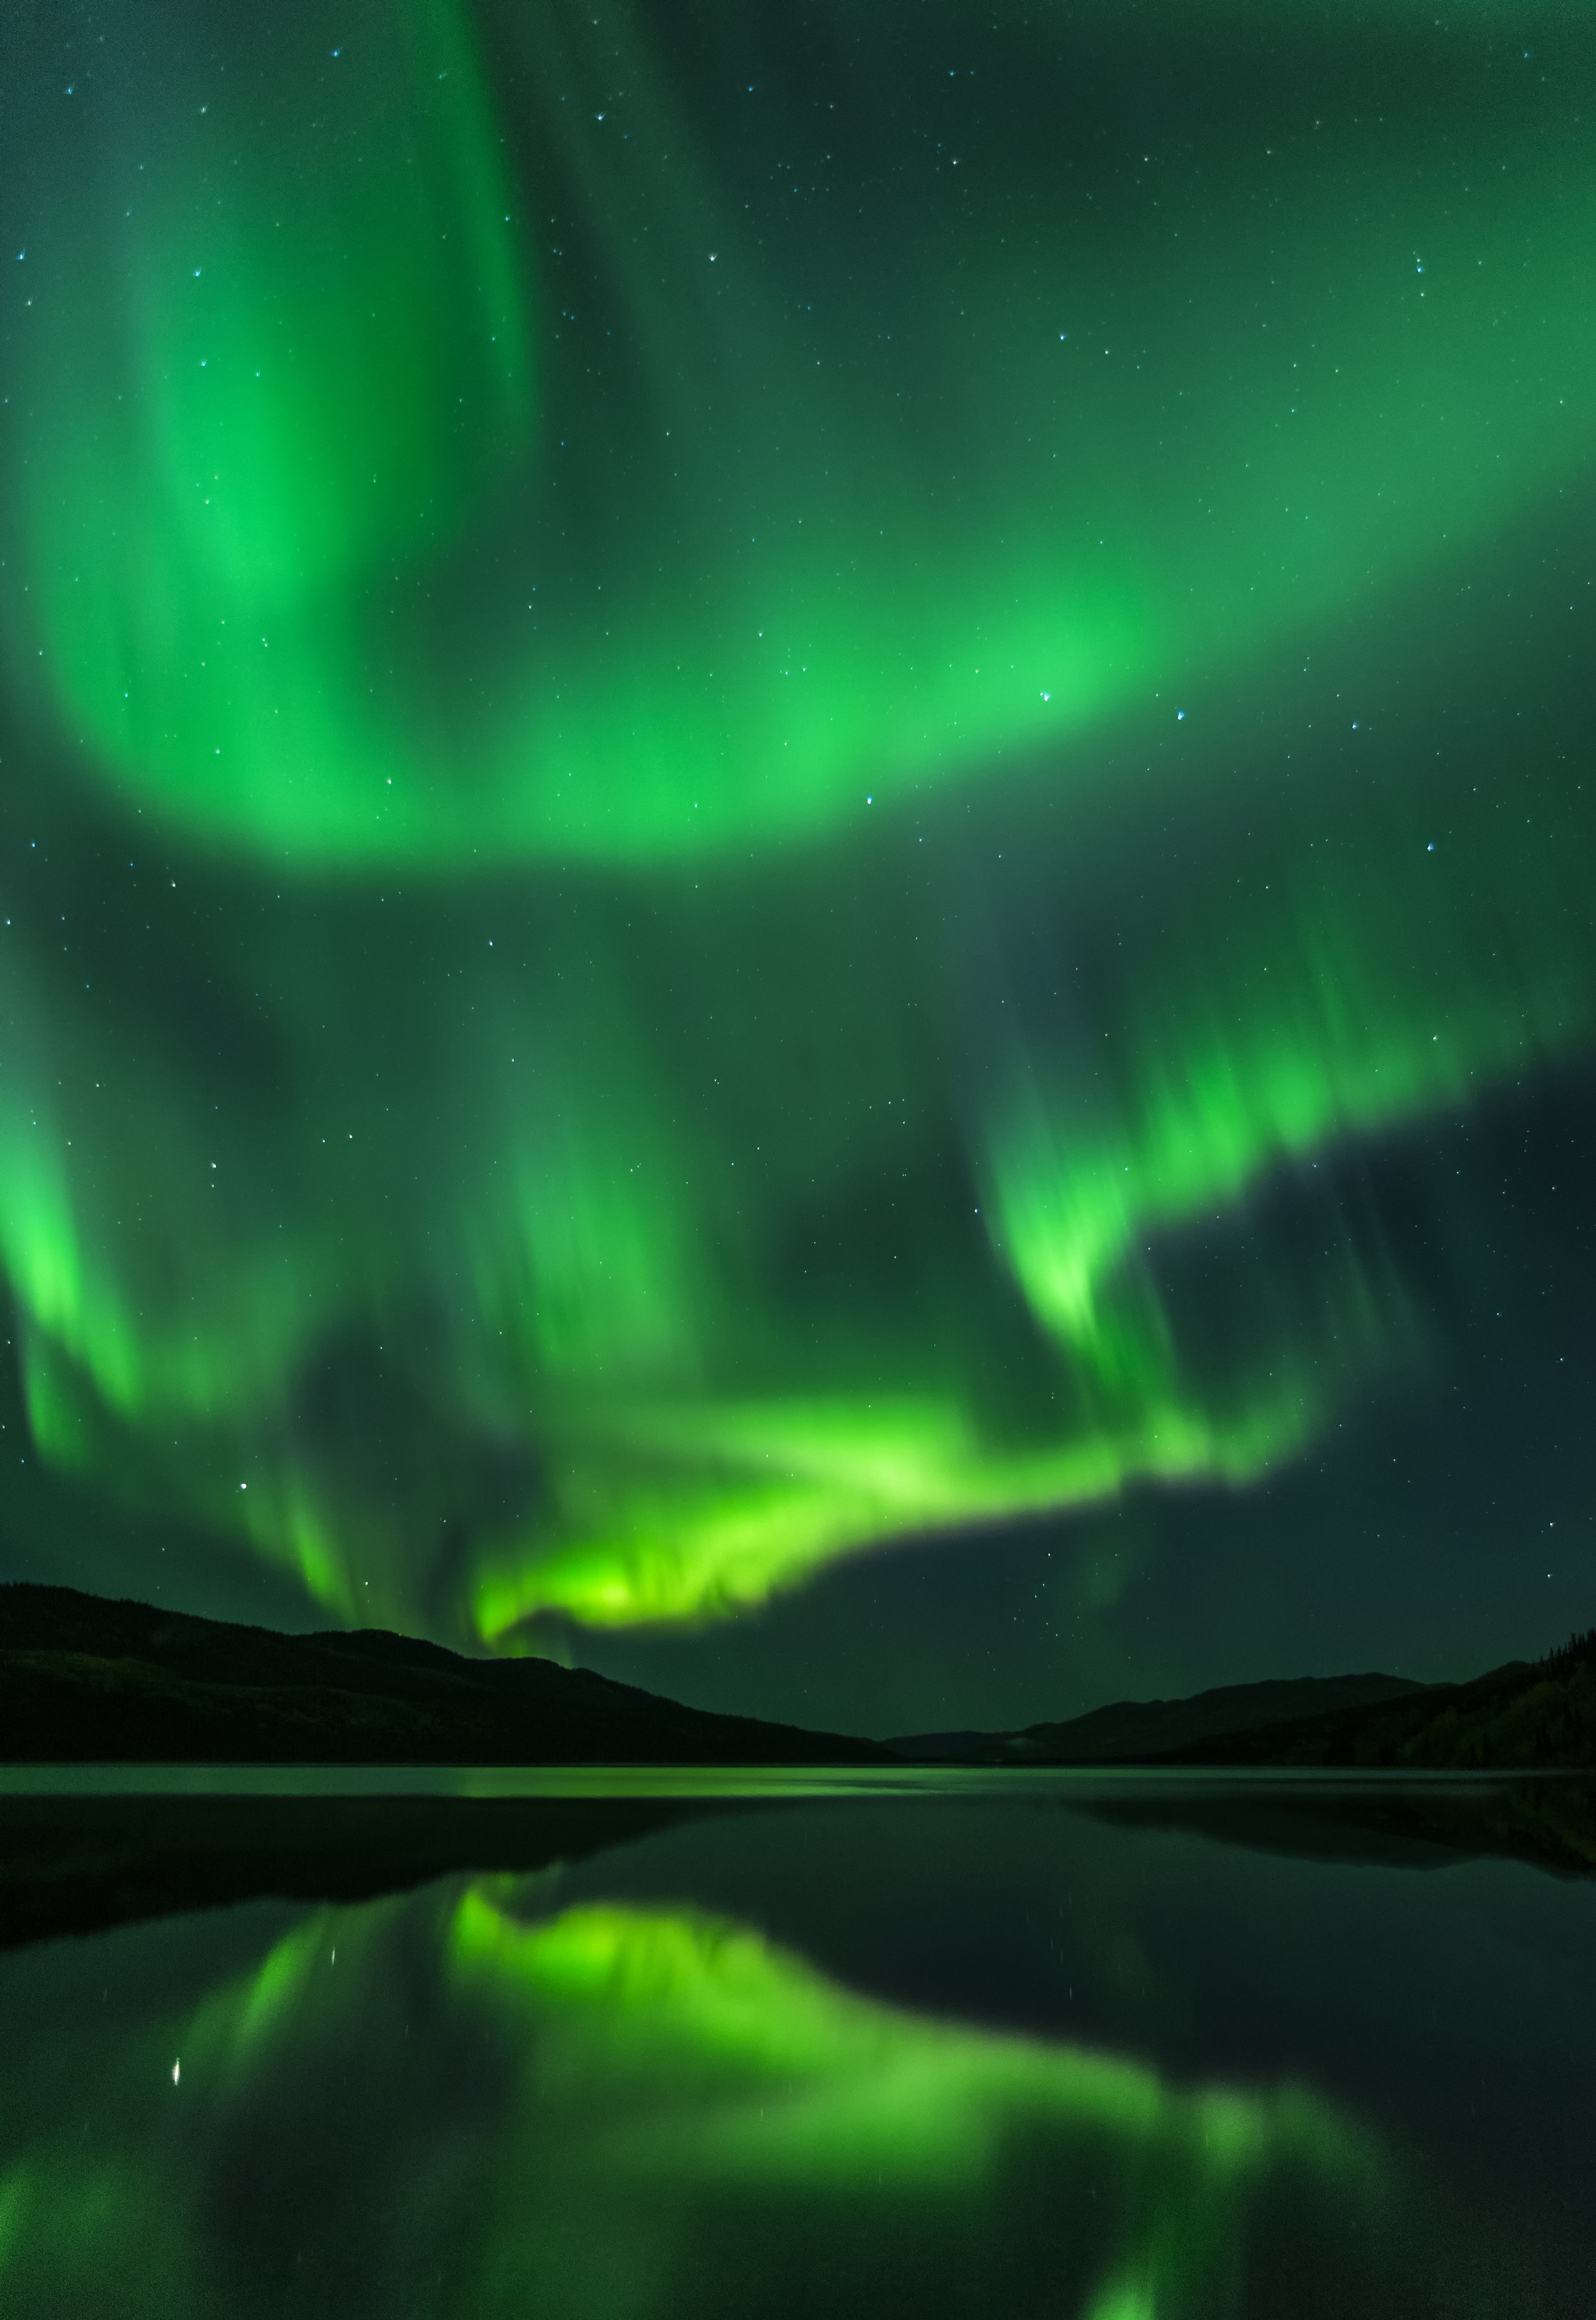
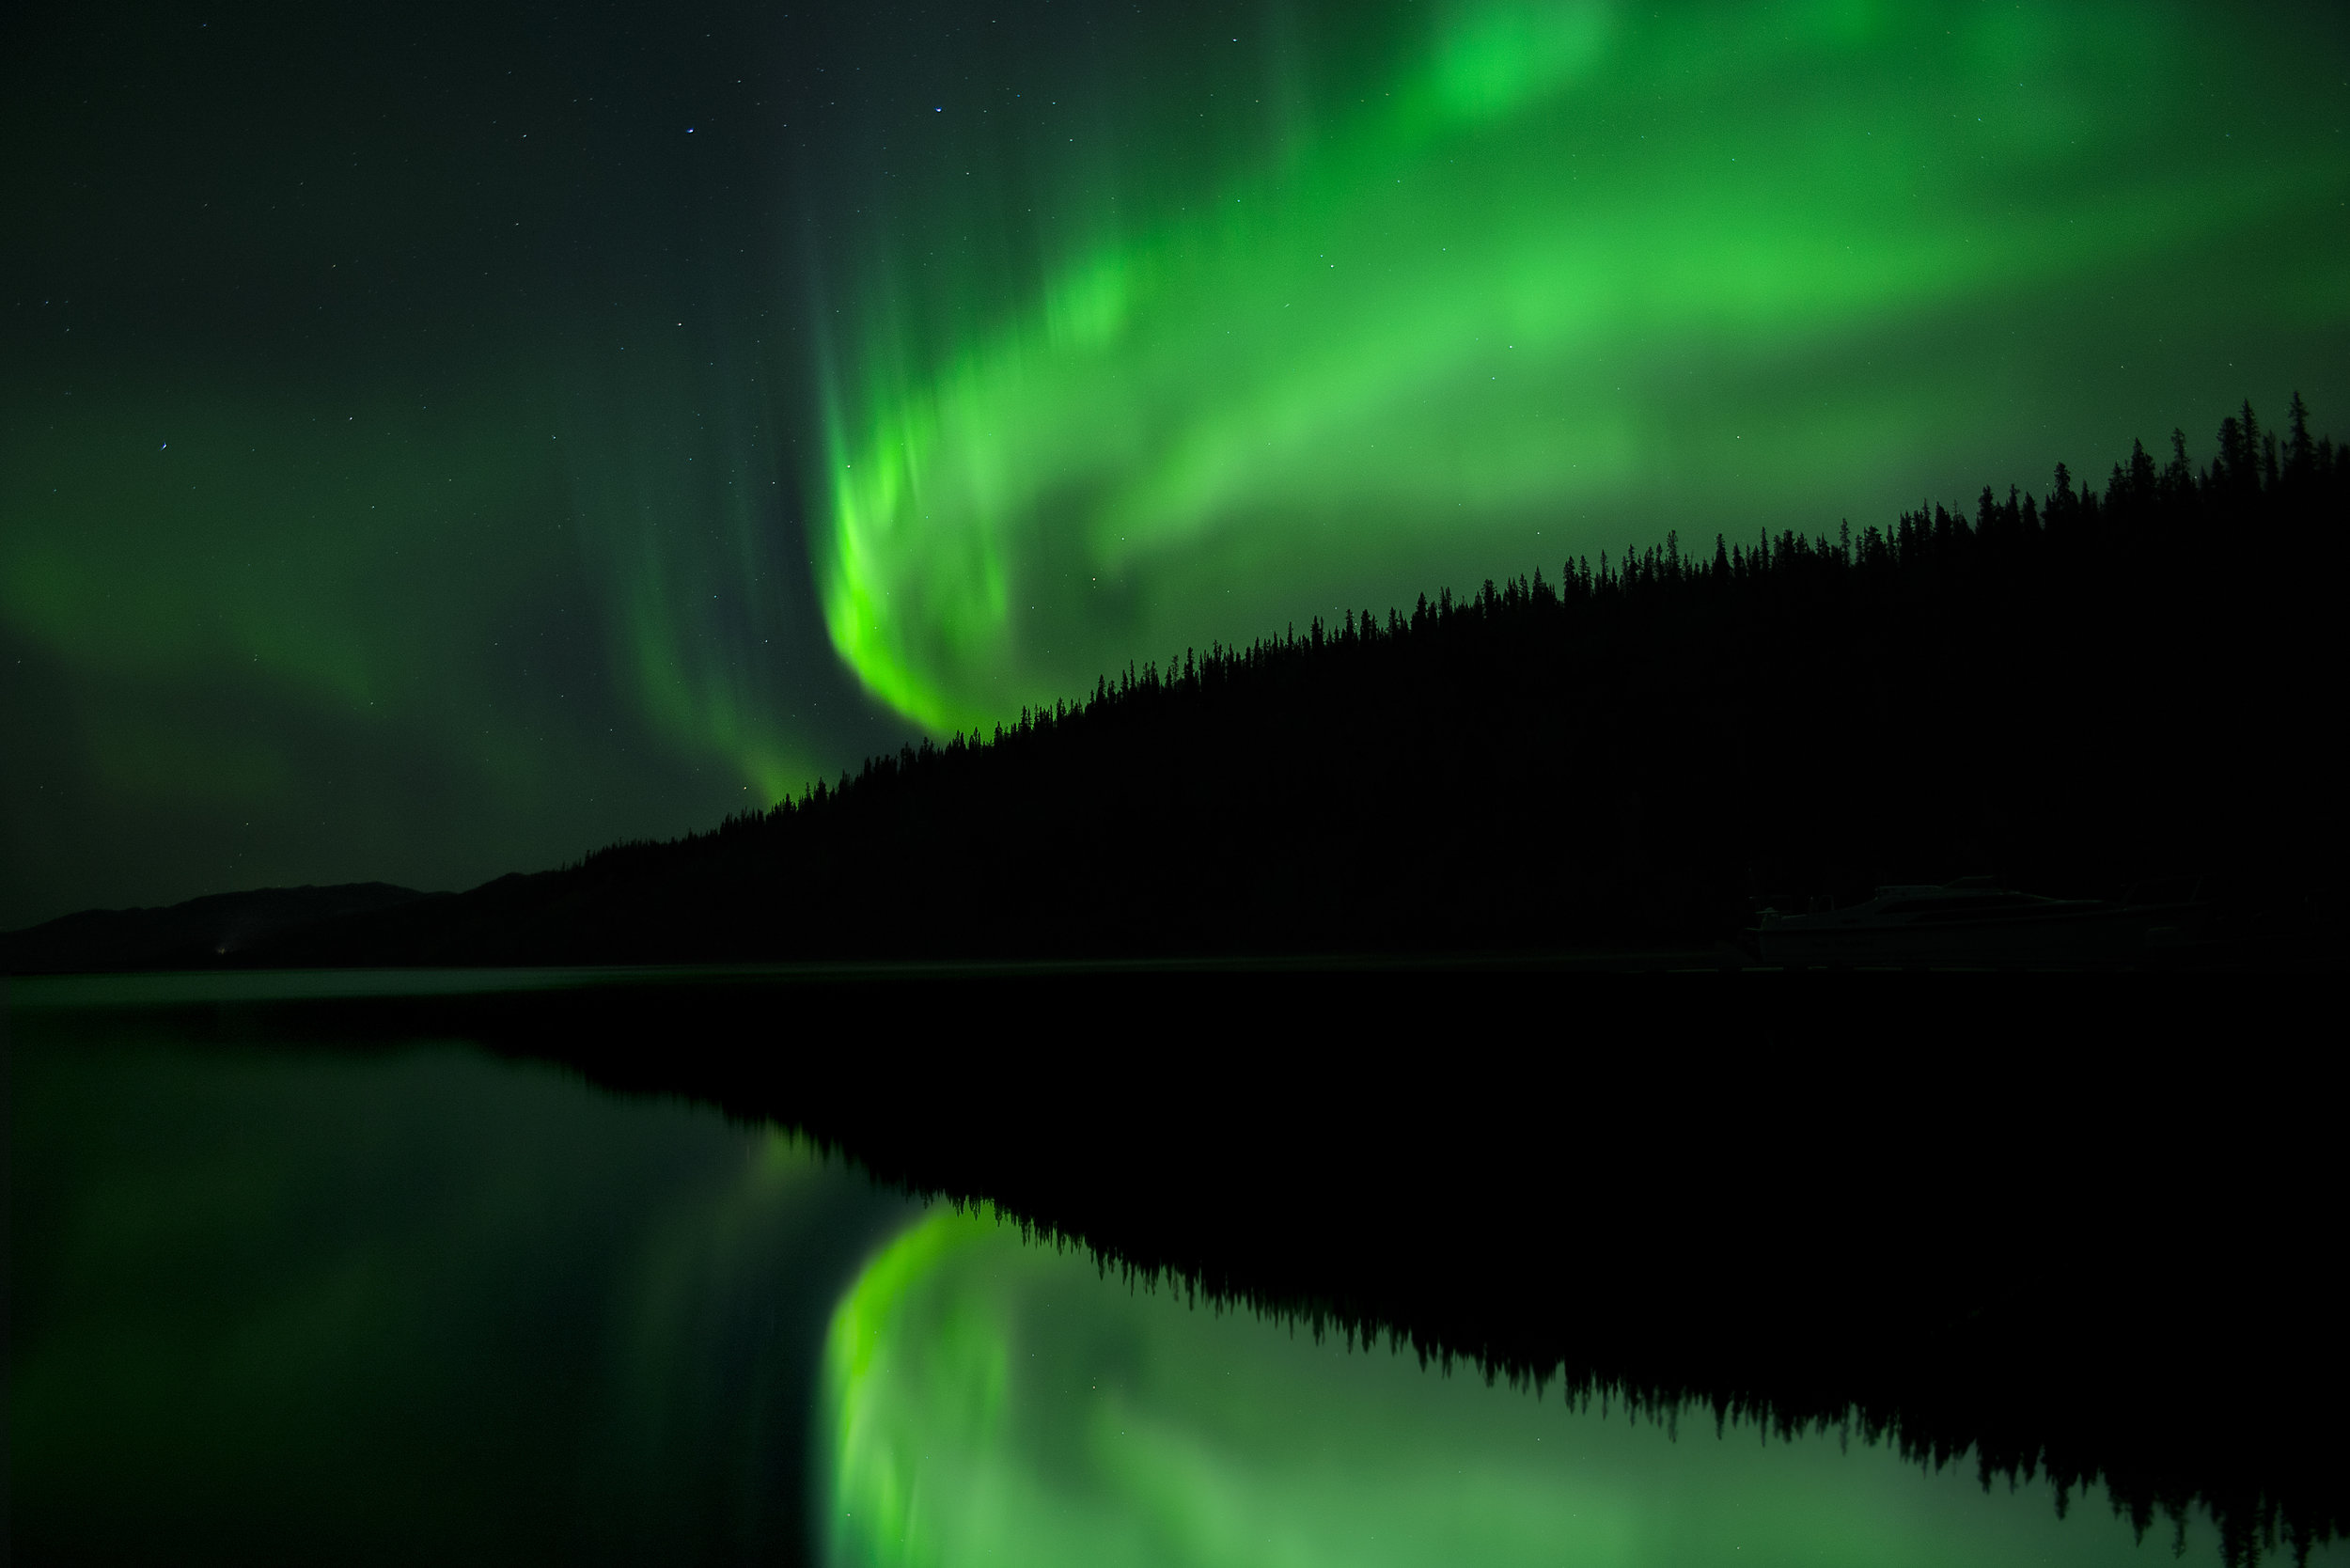
Camera and spare battery or even two cameras. I like to put my Lumix on a tripod and set up a time-lapse while we are out. I set this away from everybody so it eliminates people in the images and any artificial light used for checking settings or gear on other cameras. My other camera will be one that I will post in a specific direction to capture the lights when the quickly pop up, or use to work for different compositions. If you are around water or have different elements to set up around remember to move that tripod up and down as much as you can. If not you will realize when you come home all your pictures look the same.
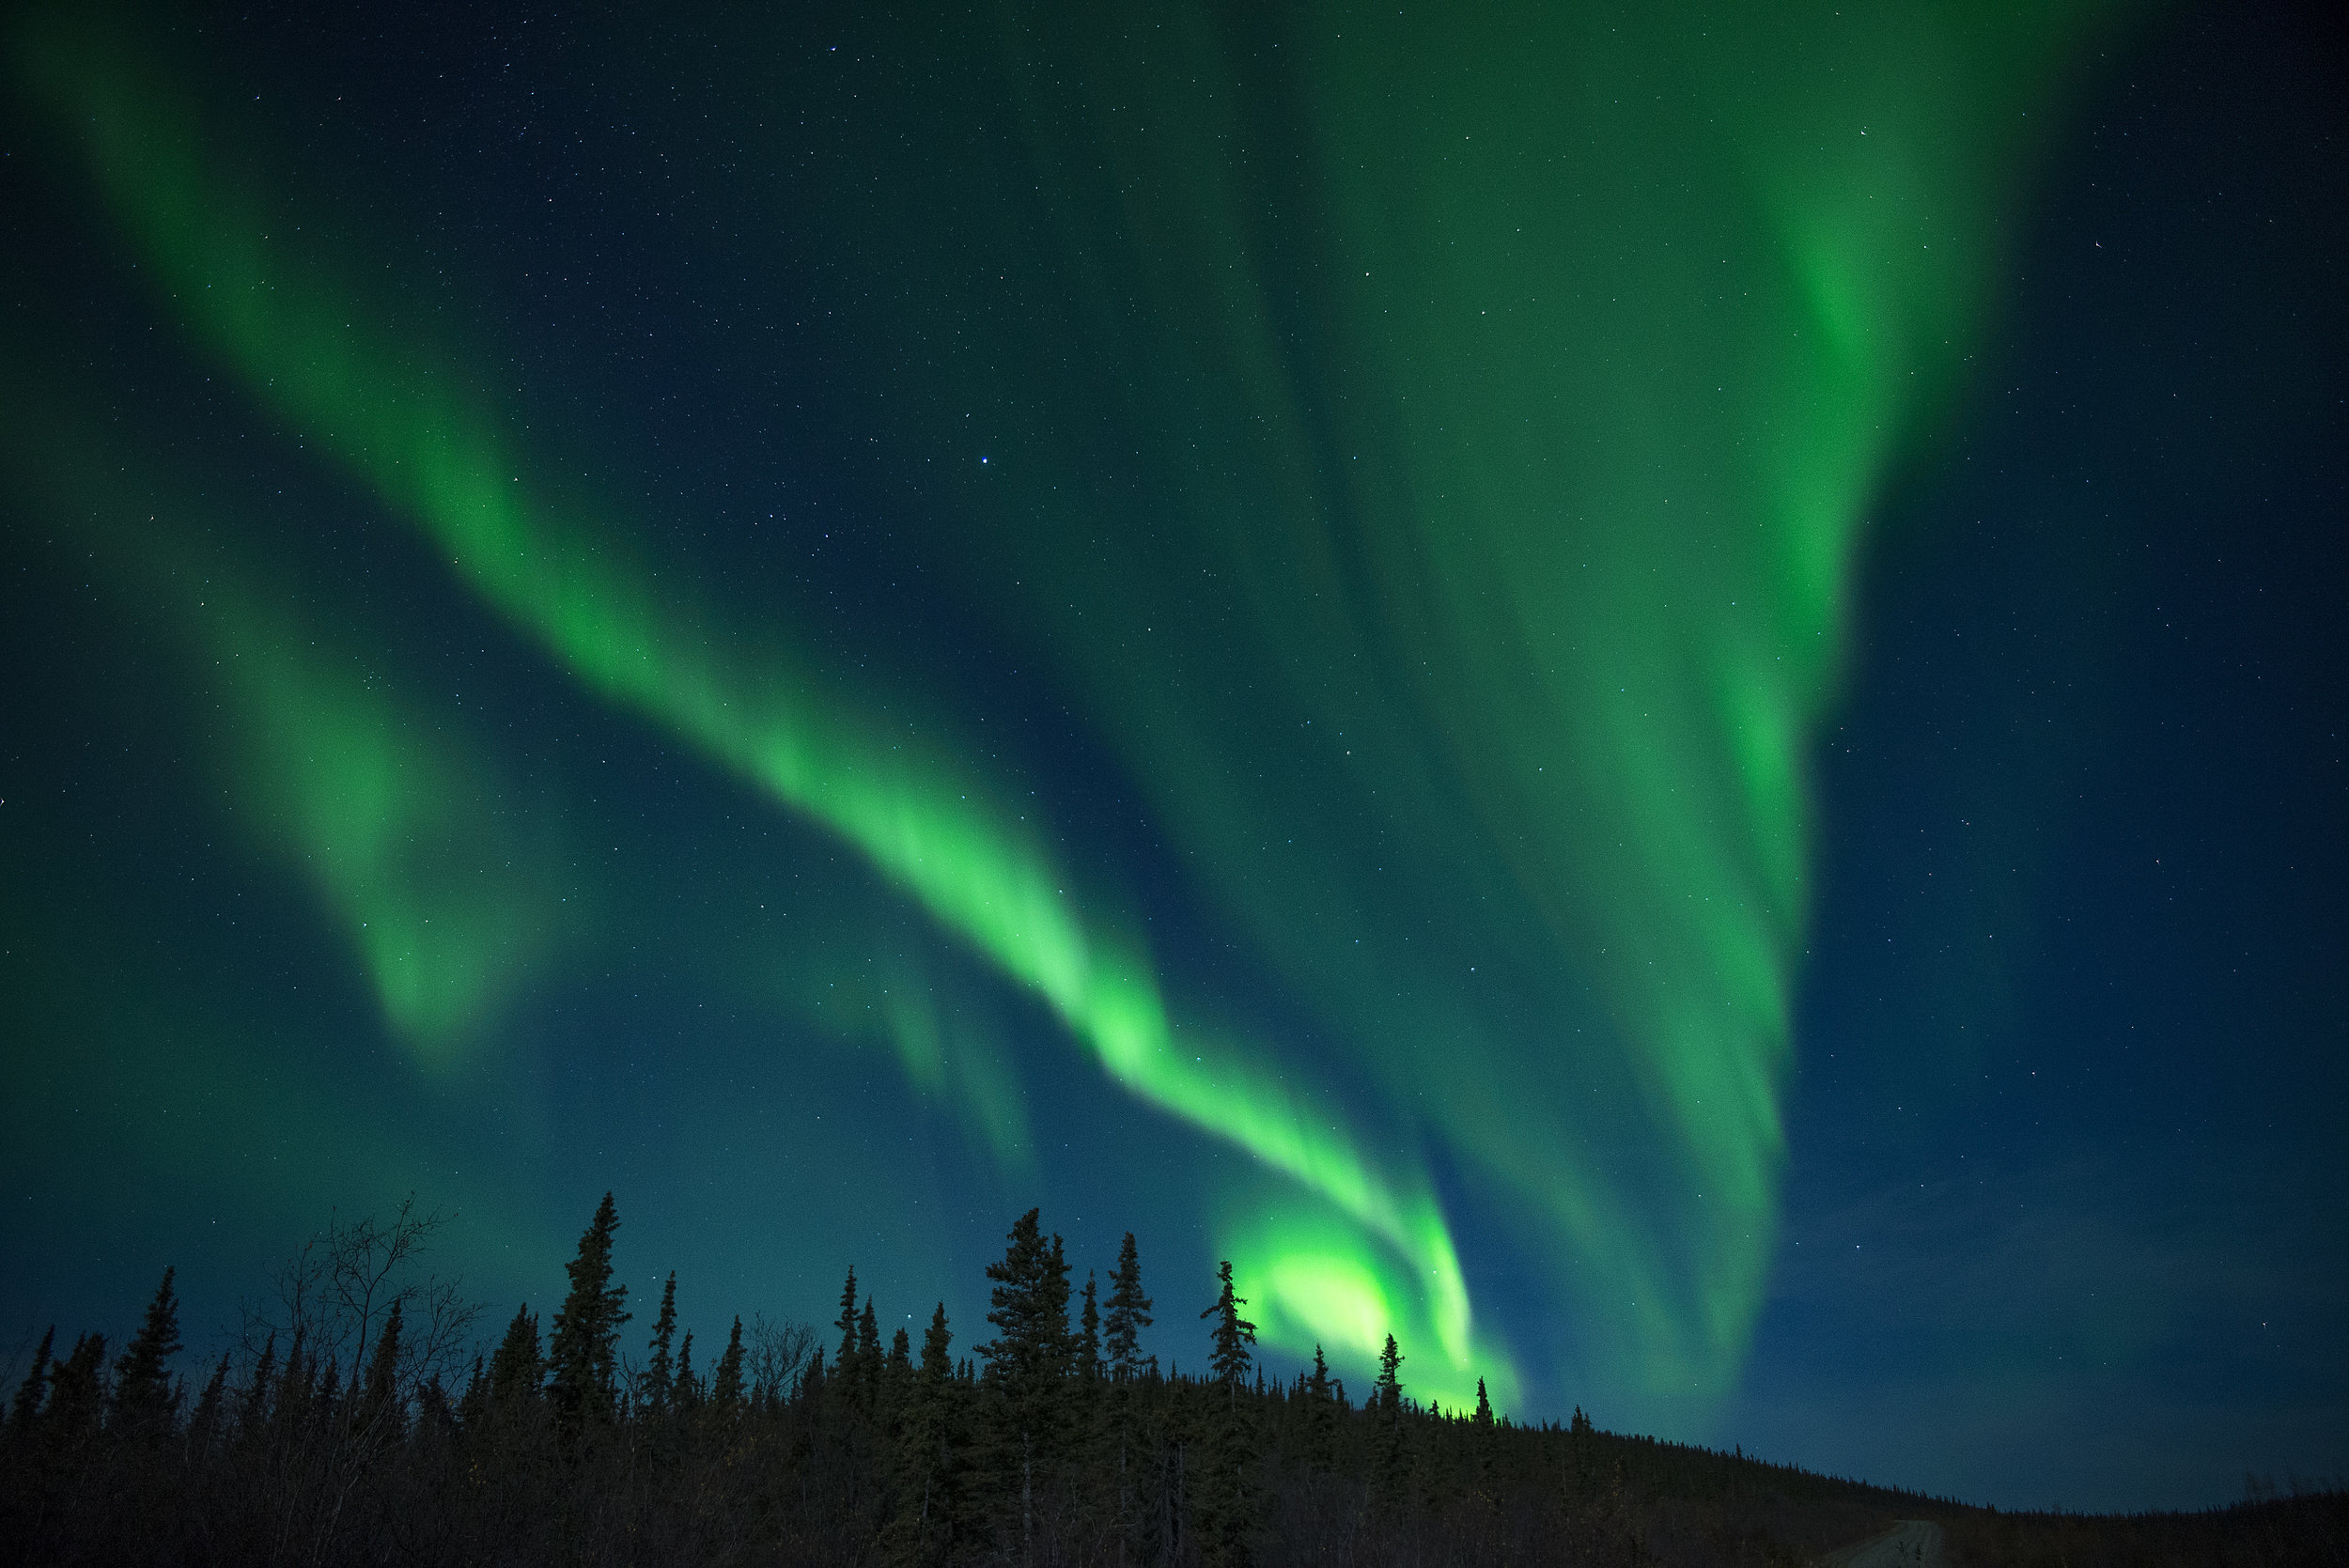
Lenses, you really want a fast lens for aurora or northern lights, ideally anything between 1.4 to 2.8 will bring in the best light. Don't worry if you don't have anything this low as its not the end of the world. You will just make up for it by adjusting your ISO accordingly. My advice would be to use a wide angle lens so you can capture as much of the sky as possible. If need be you can always crop any negative space afterwards.
Settings, So here is where you have to pay attention to get the best shots. First set up all your gear on a tripod and have it ready. If you have a sweet spot on your wide angle set it to that setting now. After a specific distance a wide angle lens will adjust itself to infinity. This little mark on the lens called the infinity symbol will be close to the area you want the focus to match up with. Not all lenses will this line up exactly, remember that. Take a super bright flashlight and have yourself or your group focus on this light. You want to light up a tree or something 75 to 100 yards away. Allow everybody to set up there focus by either using af focus or manual focus. After you are done look at your lens and see where your infinity mark lines up on your lens. Remember this when you are setting up another night or take a piece of tape and put it over your focus ring. Next set your camera or your lens to manual focus. We do this so when you hit the remote or shutter button the camera doesn't try to re focus again. Sometimes it will say the sky is in focus but really its not allowing a out of focus image to be taken. Ok, the gear is set up and we are ready to shoot now.
Shooting, set your ISO to 1000 to start with, your shutter speed at 2-4 seconds and your aperture as wide open as possible 1.4 or 2.8 what ever your lens will go to the lowest setting. Set your white balance to the kelvin setting, this usually has a K to signify it and adjust the temperature to 3500K this will give you something close to what the actual sky will be. Take your first image and look at the results, keep in mind a back screen is likely set 30% brighter than the actual image. So make sure you have a histogram or highlight monitor available. You want to push that image to the far right as possible on that histogram without clipping the highlights. This will give you a clean image to edit later, because if its to dark and you increase the exposure you will introduce more noise, this is called ETTR Expose To The Right. So lets get back to shooting, every night the northern lights or aurora will be completely different. It can move at different speeds, like a wave in the sky. Here is the part you have to really pay attention, if the lights are dancing and are super bright you want to have the fastest shutter speed as possible. For example one night the sky was dancing like I have never saw it dance before. My settings were 1/50th of a second, ISO 800 at f1.4 this allowed me to freeze the motion of the lights and get lots of detail in the image. If you would of shot it at ISO 1000 or higher, 6 seconds at f2.8 the sky would of looked like a big green blob of light. There really is no correct method to the madness, its all an experiment as you are shooting. So to re cap this is how I think when I shoot, my aperture always stays the same at 1.4 or f2.8 depending on the lens Im using. I look at the sky and think based on how many times I have shot the aurora what my shutter speed needs to be. Next is my ISO, I usually don't sacrifice a longer shutter speed like 8-10 seconds for more light in my image. Instead I adjust my ISO accordingly to get the proper exposure in my image. I have shot faint dancing lights at ISO 3200 so don't be afraid to bump that ISO up. I would rather capture the moment and have a bit of noise then not capture it properly. Plus now a days we have many different noise removal programs to help us produce cleaner images. Noise removal, that brings me to a great topic, if you can please shoot in raw as this will allow you more flexibility when editing. As well turn off the in camera noise removal. All this will do is for one ruin your images and two stop you from taking images when the sky could be blazing. For all of you who have never used in camera noise removal it has pros and cons, in my opinion more cons. Biggest one is if you take a 4 second image it will take another 4 seconds to preform a noise removal. Thats 8 seconds for one image when you could of just took 2 images. Time can be a very sensitive thing when the aurora sparks up, sometimes it can last seconds, sometimes 5-10 minutes, other times hours and hours of entertainment. So always be ready for any shot when you can!